1. Getting Started
1.1 Basic Load Existing Study
Purpose
This chapter explains how to import an existing study into the current WRIMS 3 GUI workspace.
Before you start
Before beginning, make sure that:
WRIMS 3 GUI is installed and can be launched from the
WRIMS2_GUI_x64package.You have access to an existing study folder that already contains a
.projectfile.The study is not currently listed in Project Explorer.
Procedure
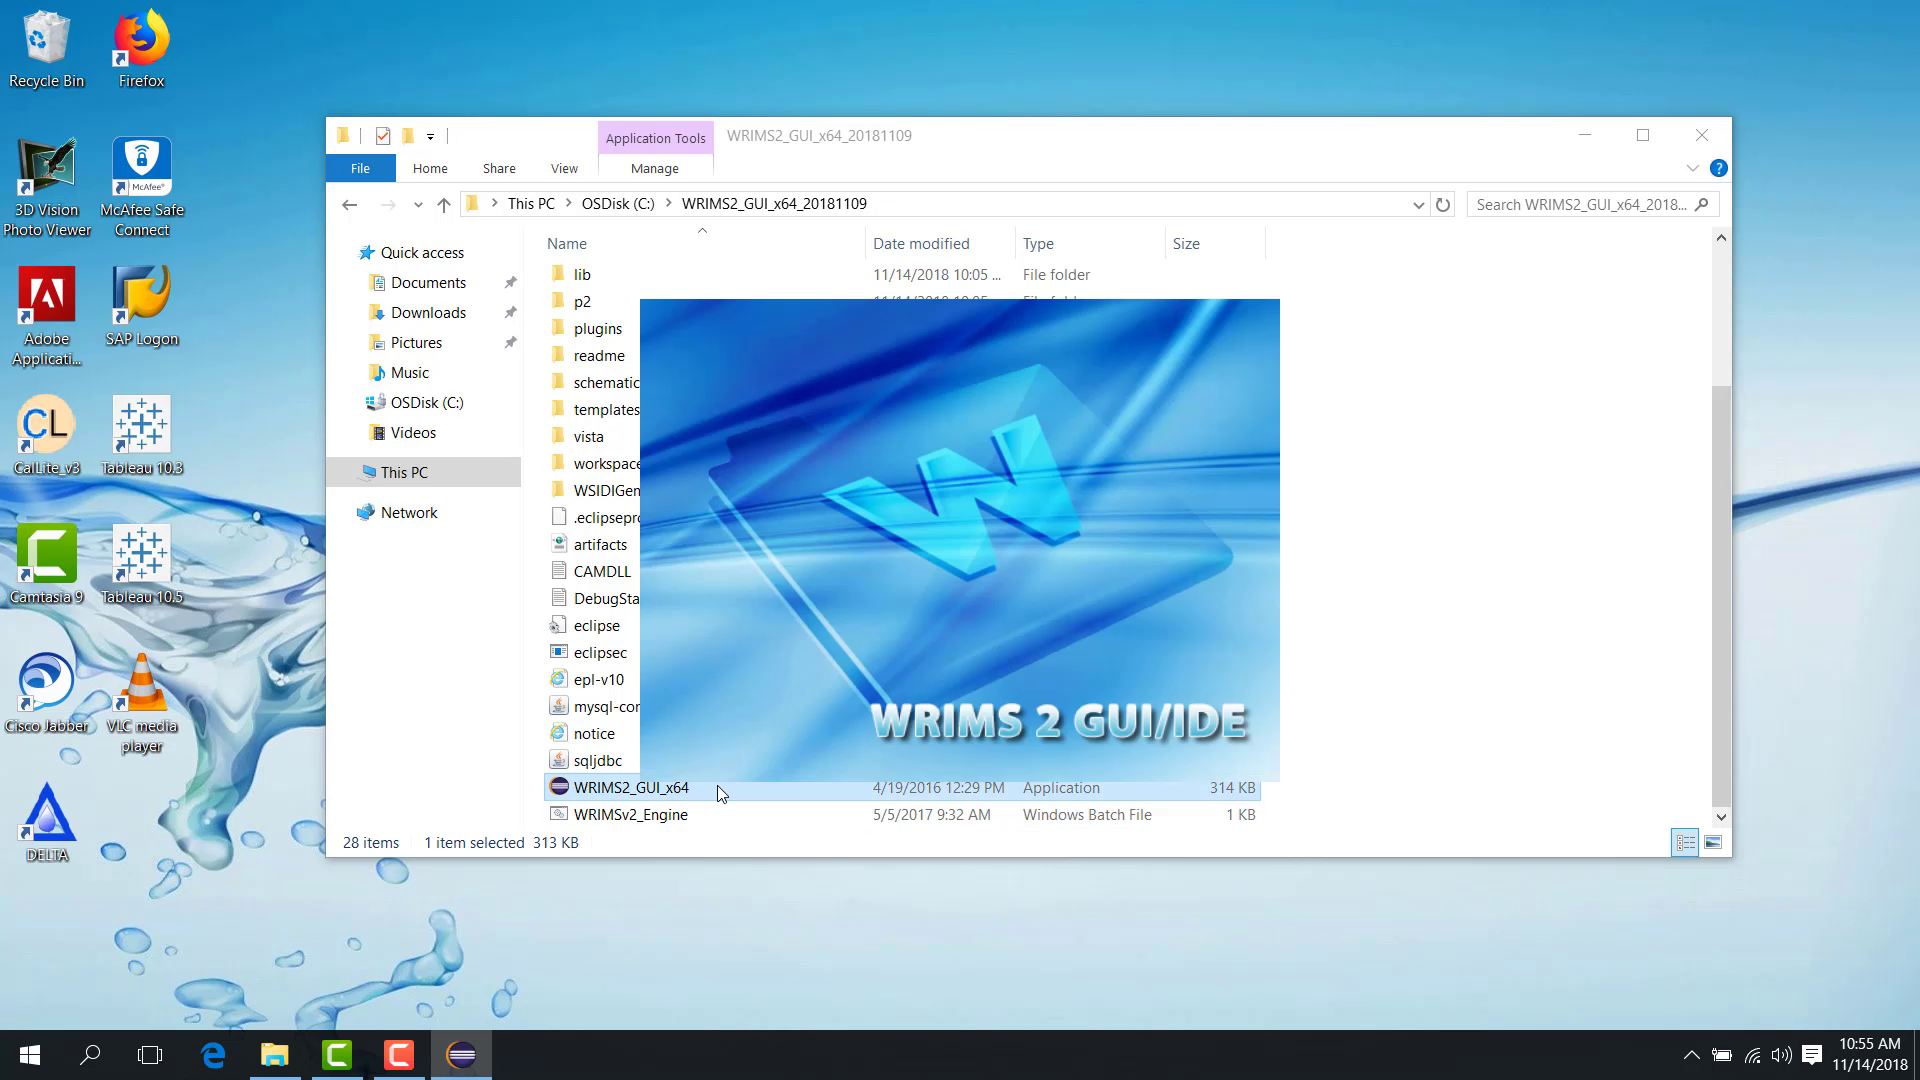
To launch WRIMS 3 GUI, open the WRIMS2_GUI_x64 package folder and double-click WRIMS2_GUI_x64.
If no study is listed in Project Explorer, import the existing study into the workspace before working with it.
For the distinction between an existing study and a new study, see 2.1 Existing Studies and New Studies.
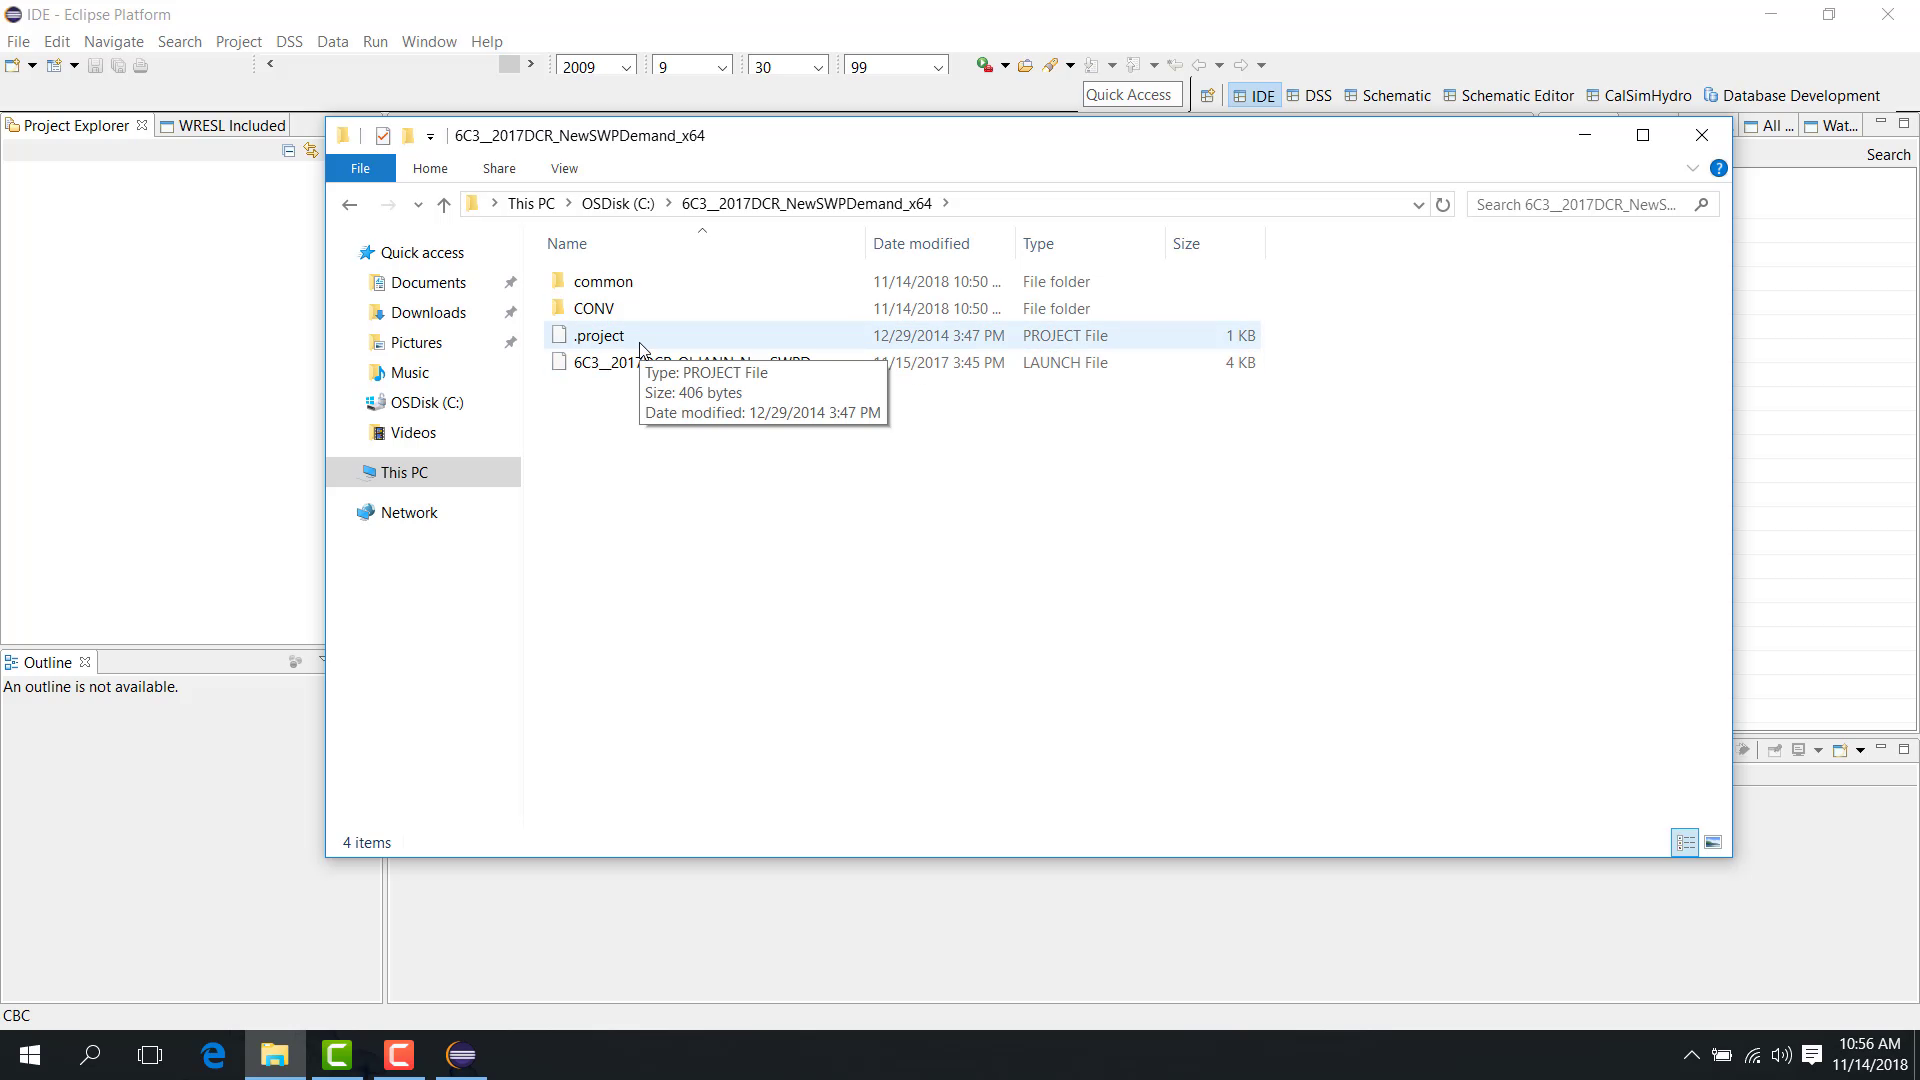
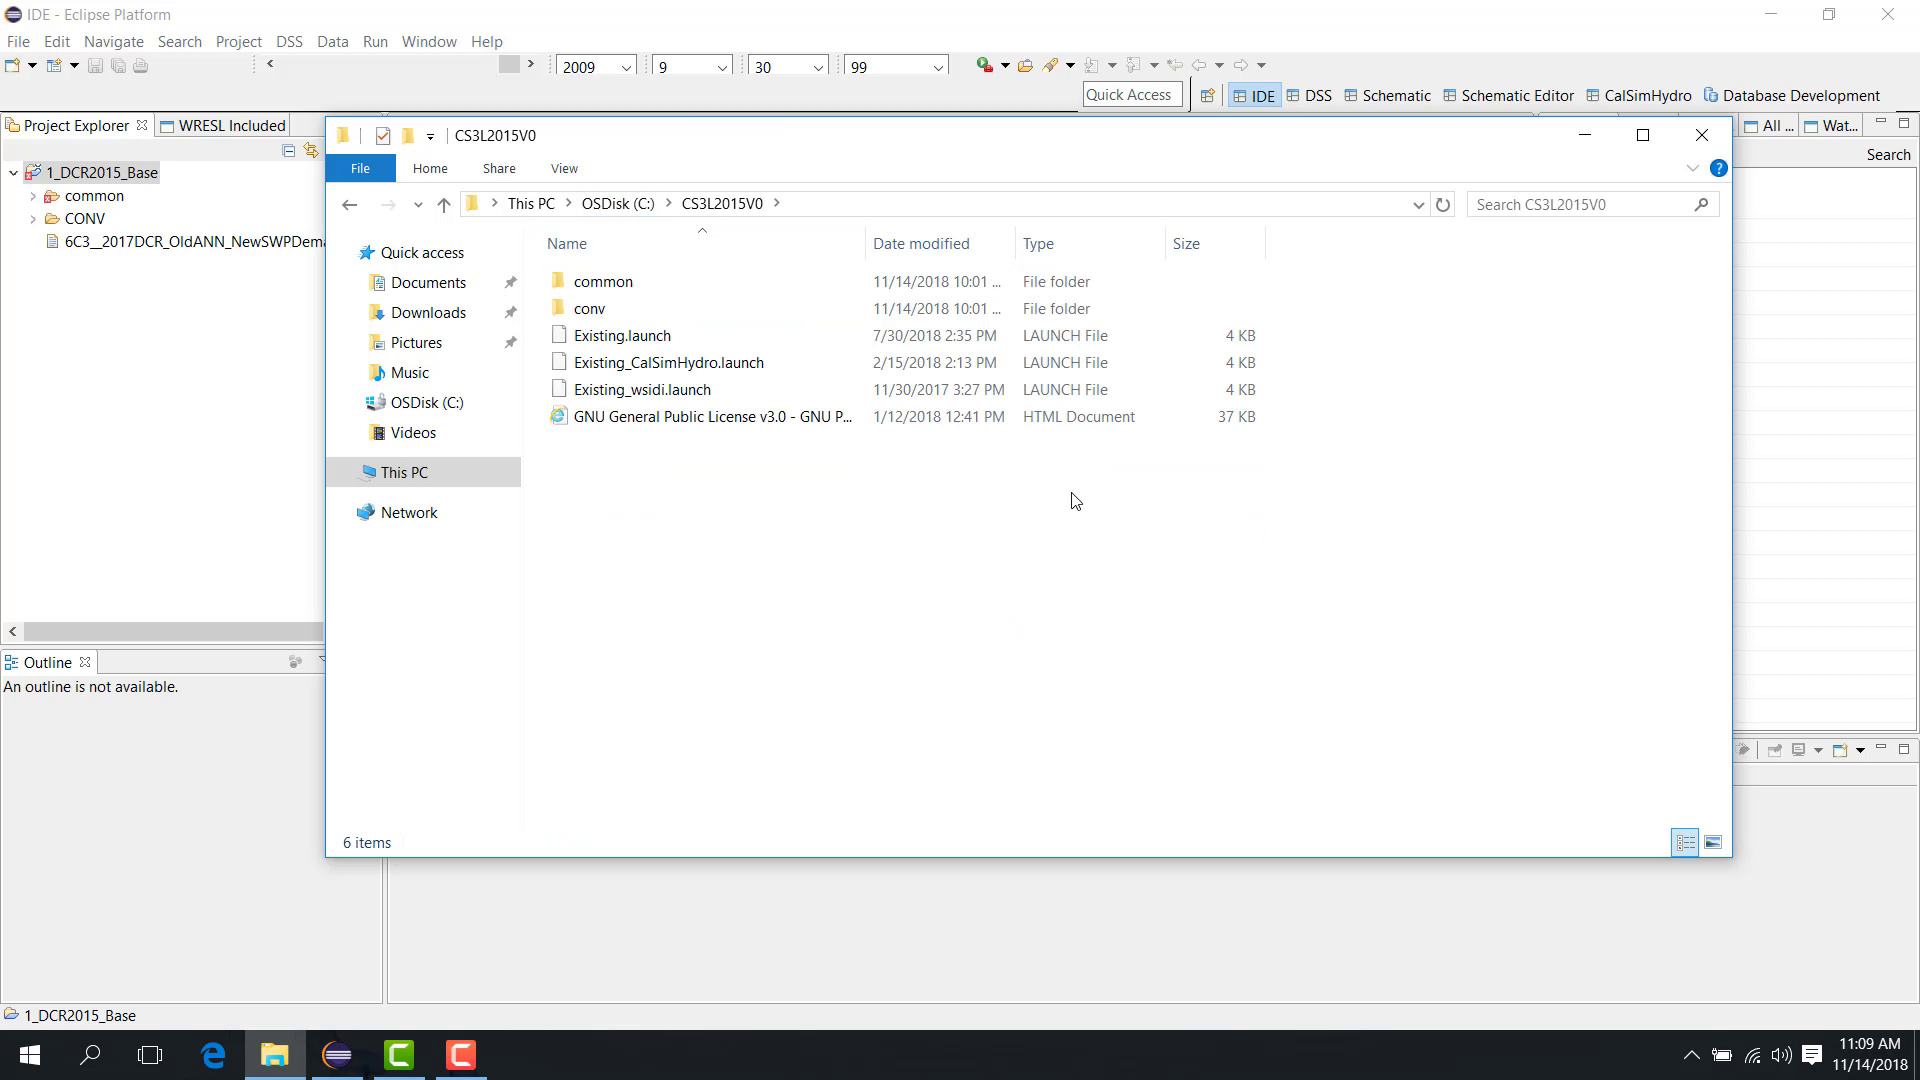
The following example shows an existing study folder that contains a .project file.
To import an existing study:
In Project Explorer, right-click and select Import.
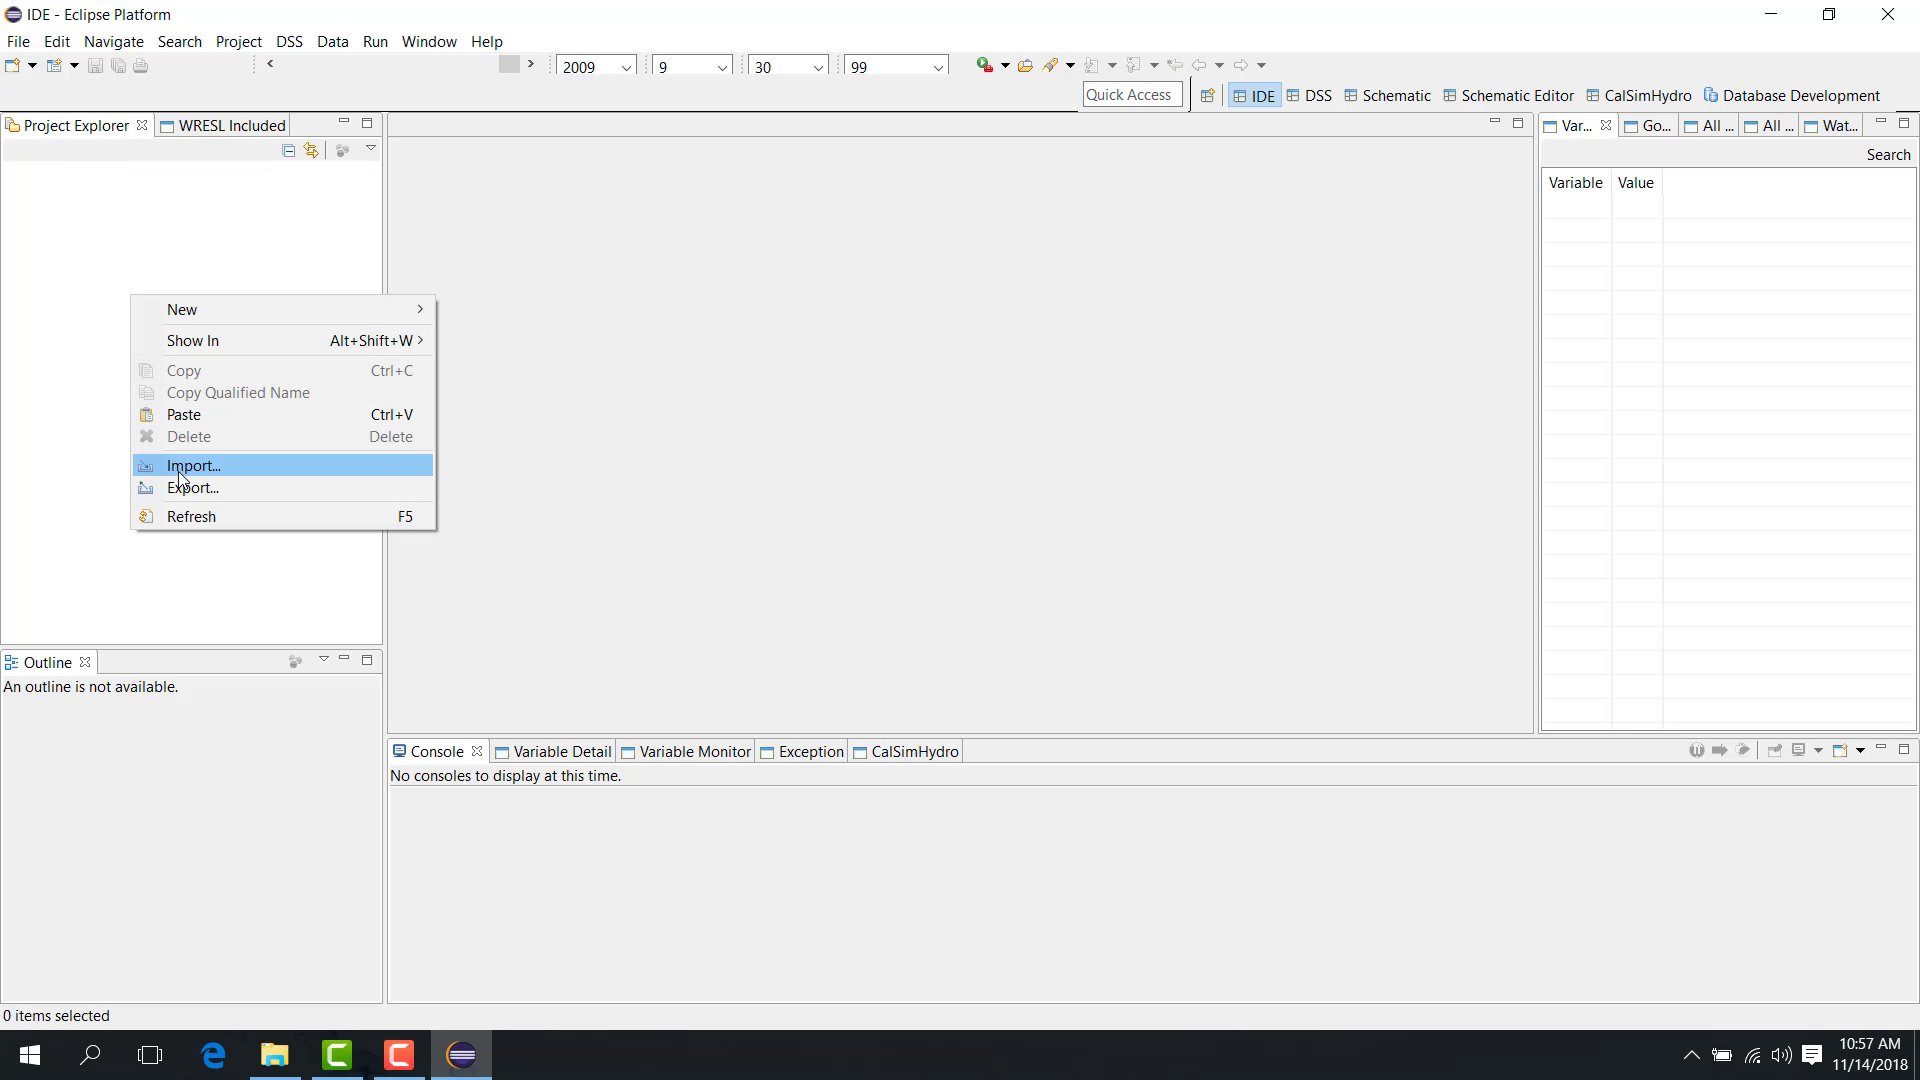
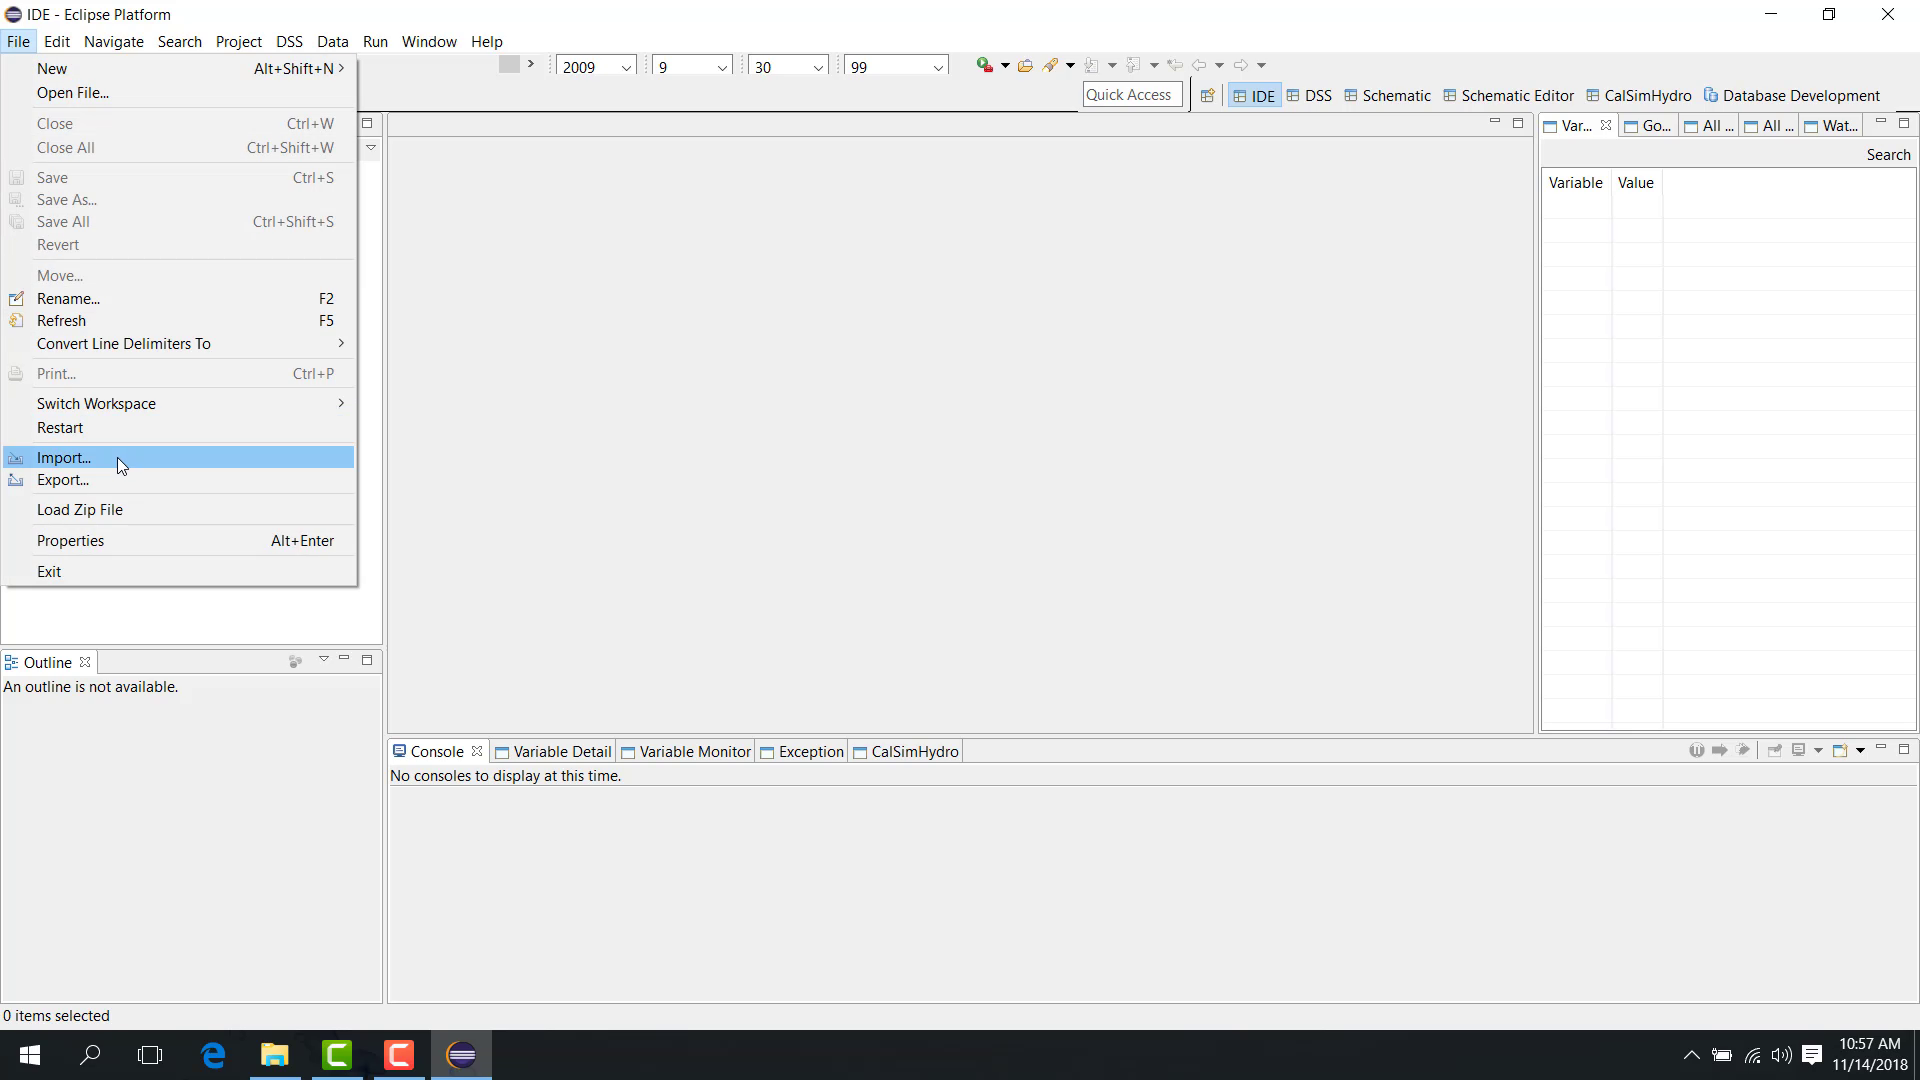
You can also open the File menu and select Import.
In the Import dialog, expand General.
Select Existing Project into Workspace.
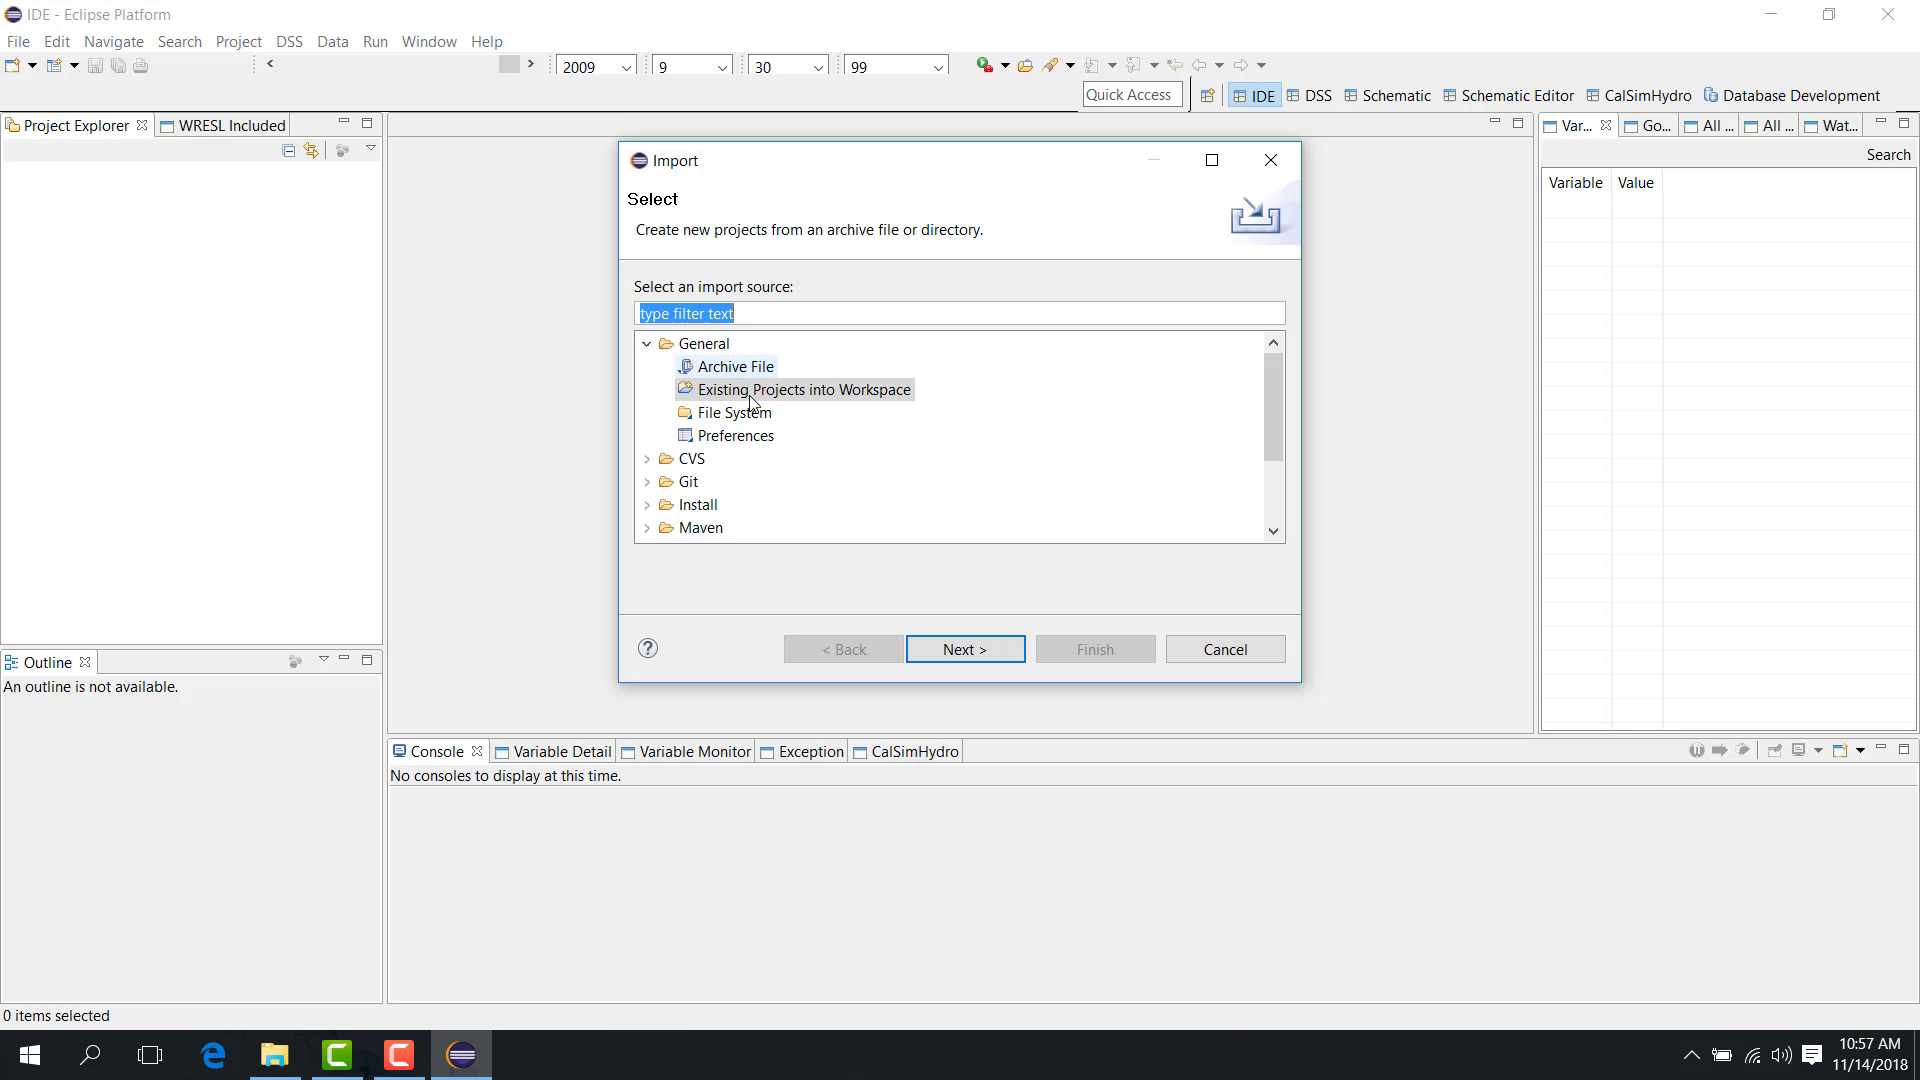
Click Next.
Browse to the main folder of the study you want to import.
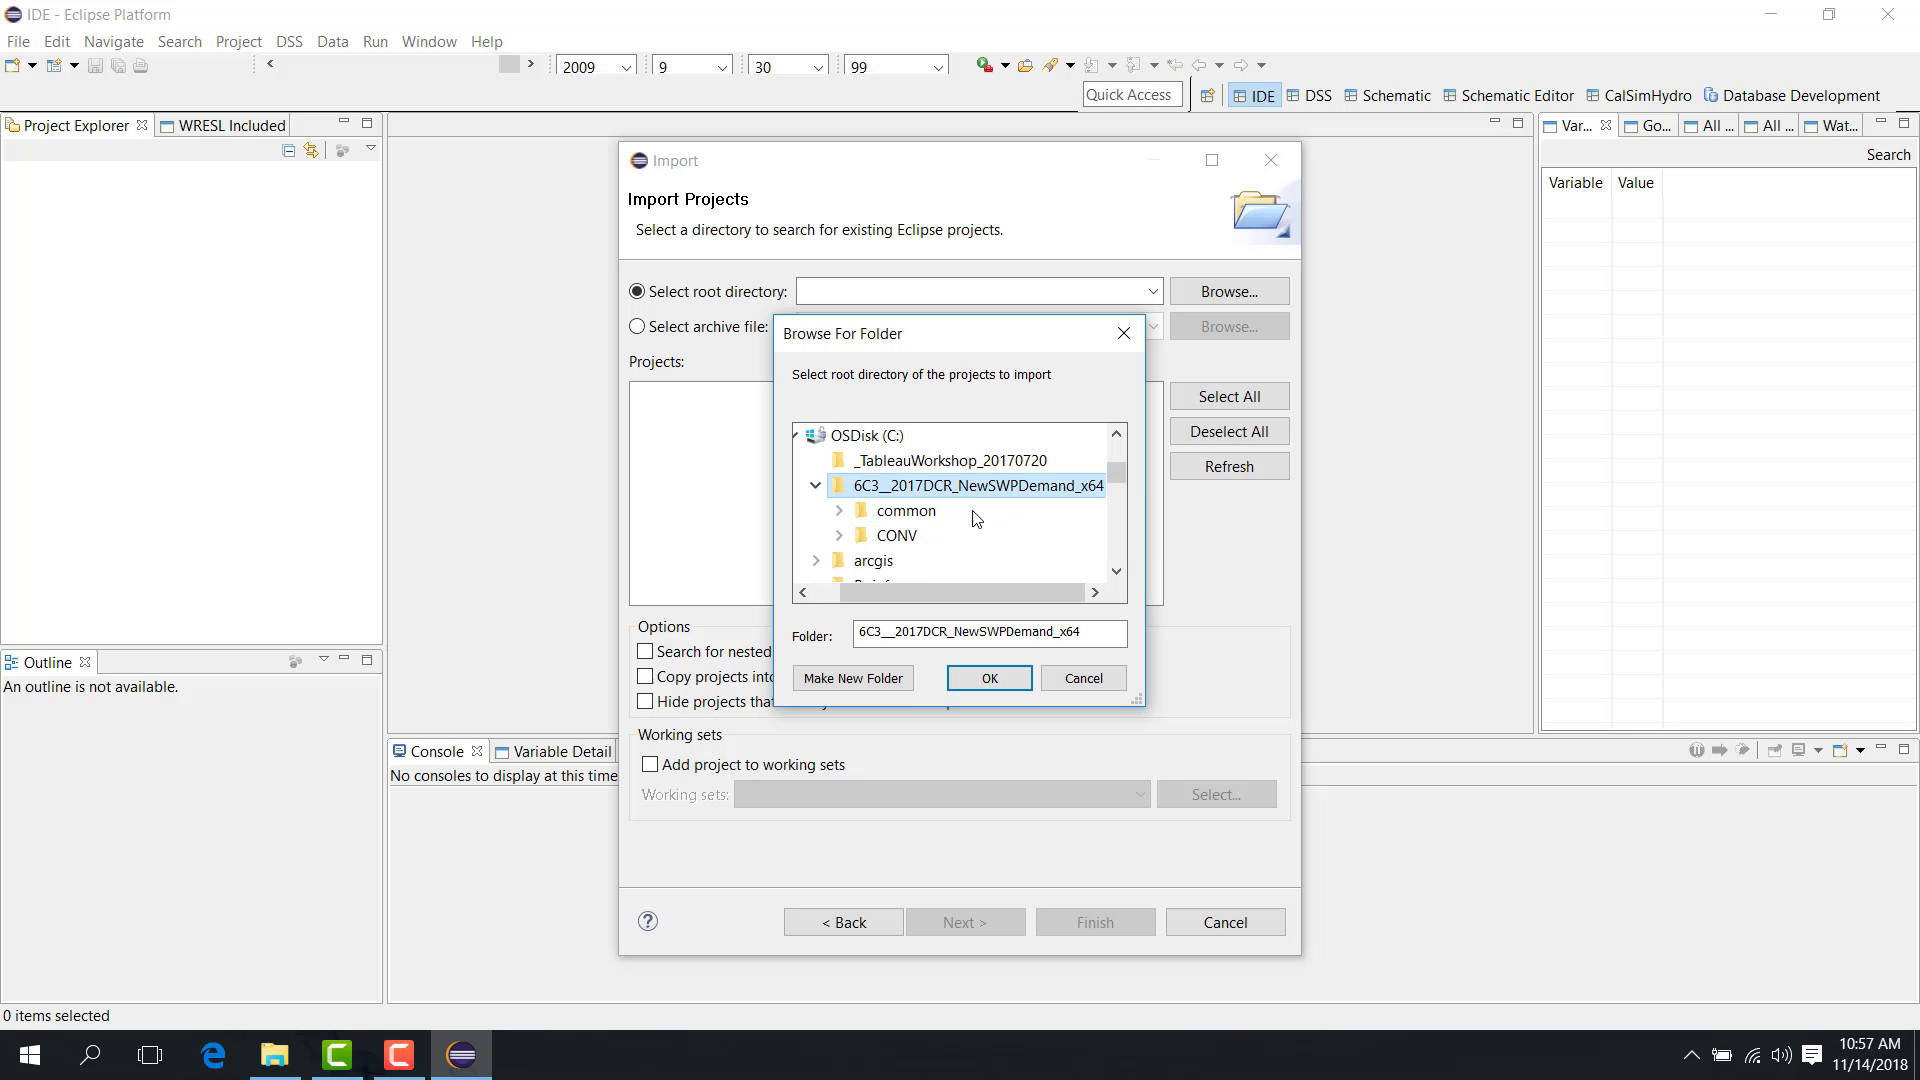
Click OK to confirm the selected folder.
Verify that the project appears in the import list and is selected.
Click Finish to import the study into the workspace.
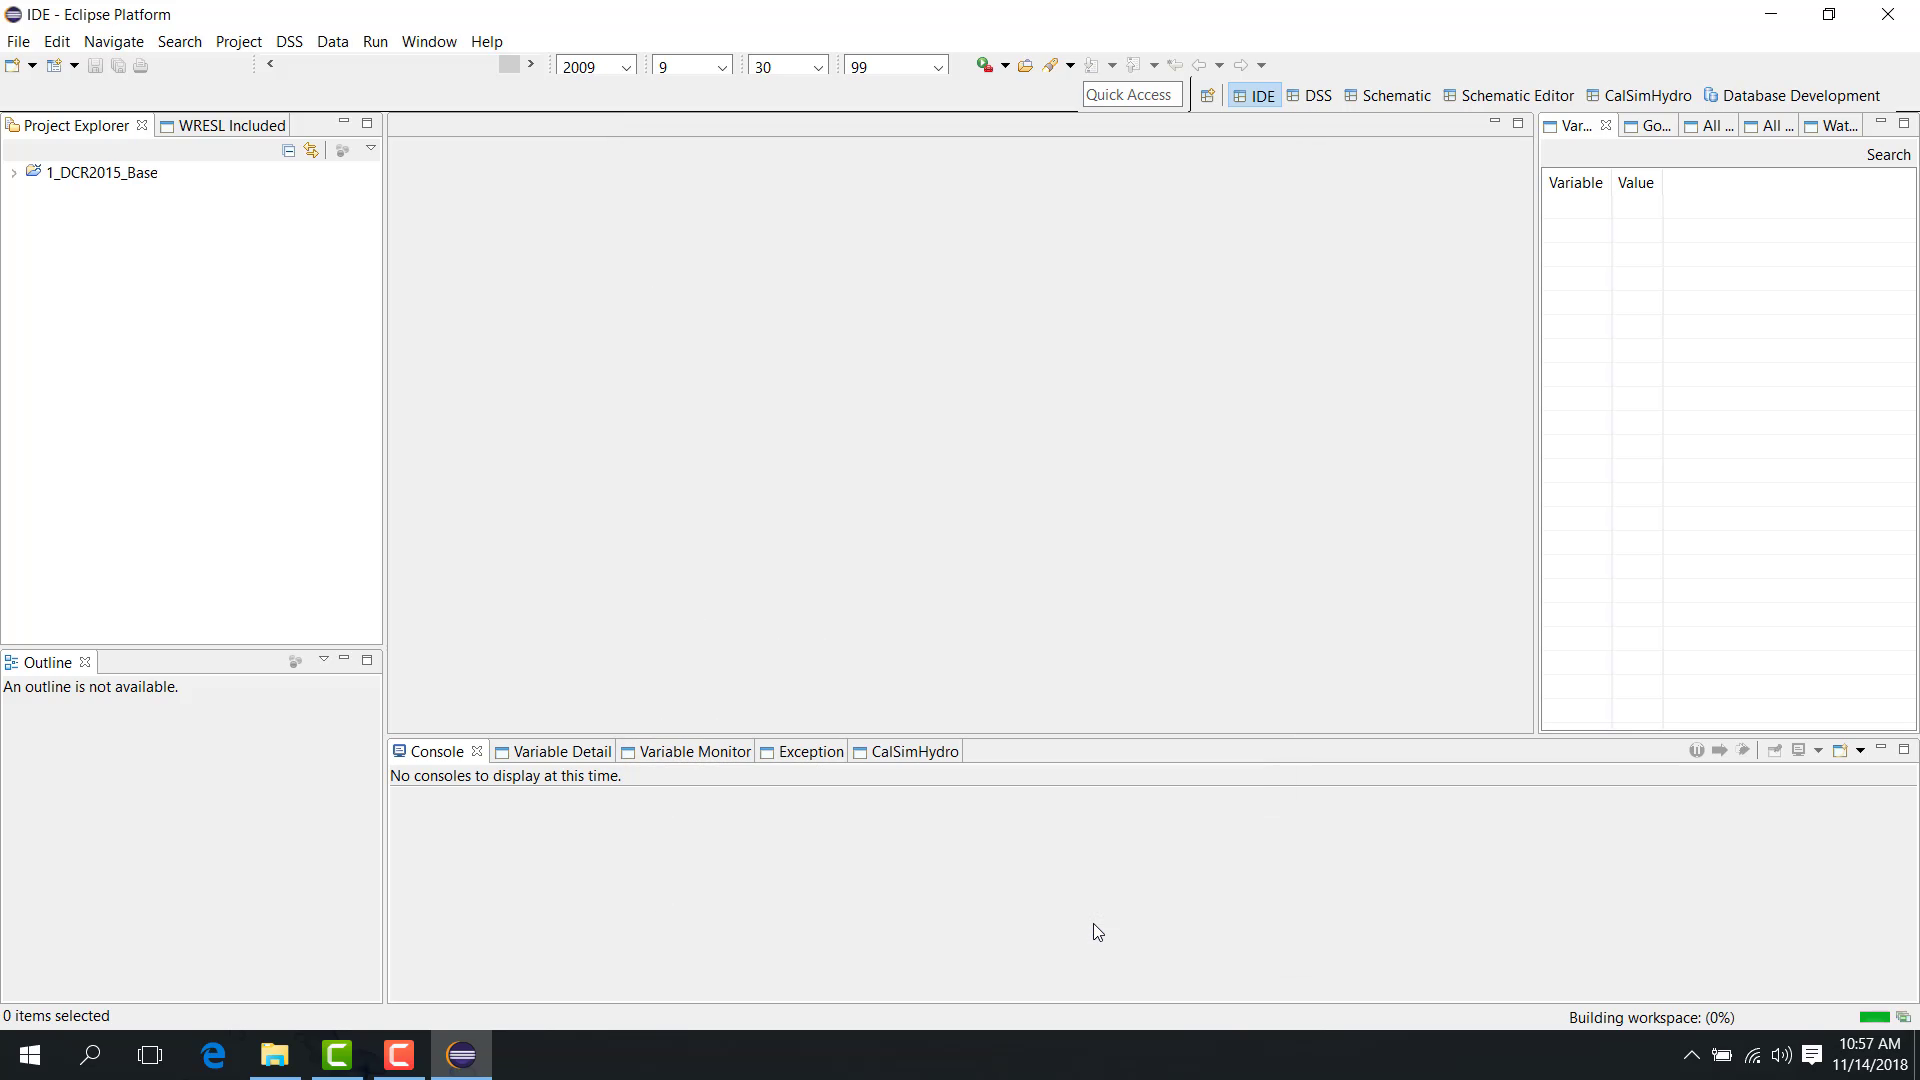
After the import is complete, the study appears in Project Explorer and is ready to use in WRIMS 3 GUI.
Notes
A study can only be imported as an existing study if its main folder contains a
.projectfile.In WRIMS 3 GUI, each study is generally managed as a separate project in Project Explorer.
If the expected project does not appear after import, verify that you selected the correct study folder.
On some systems, a security scan prompt may appear when the GUI is launched for the first time. This depends on the local Windows and security configuration rather than on WRIMS itself.
Related sections
1.2 Basic New Study
Purpose
This chapter explains how to create a project entry in WRIMS 3 GUI for a study that has not been loaded before.
Before you start
WRIMS 3 GUI is installed and can be launched.
You have a new study (CALSIM3) folder that does not yet contain a
.projectfile.
For the distinction between an existing study and a new study, see 2.1 Existing Studies and New Studies.
Procedure
To load a new study:
In Project Explorer, right-click and choose New.
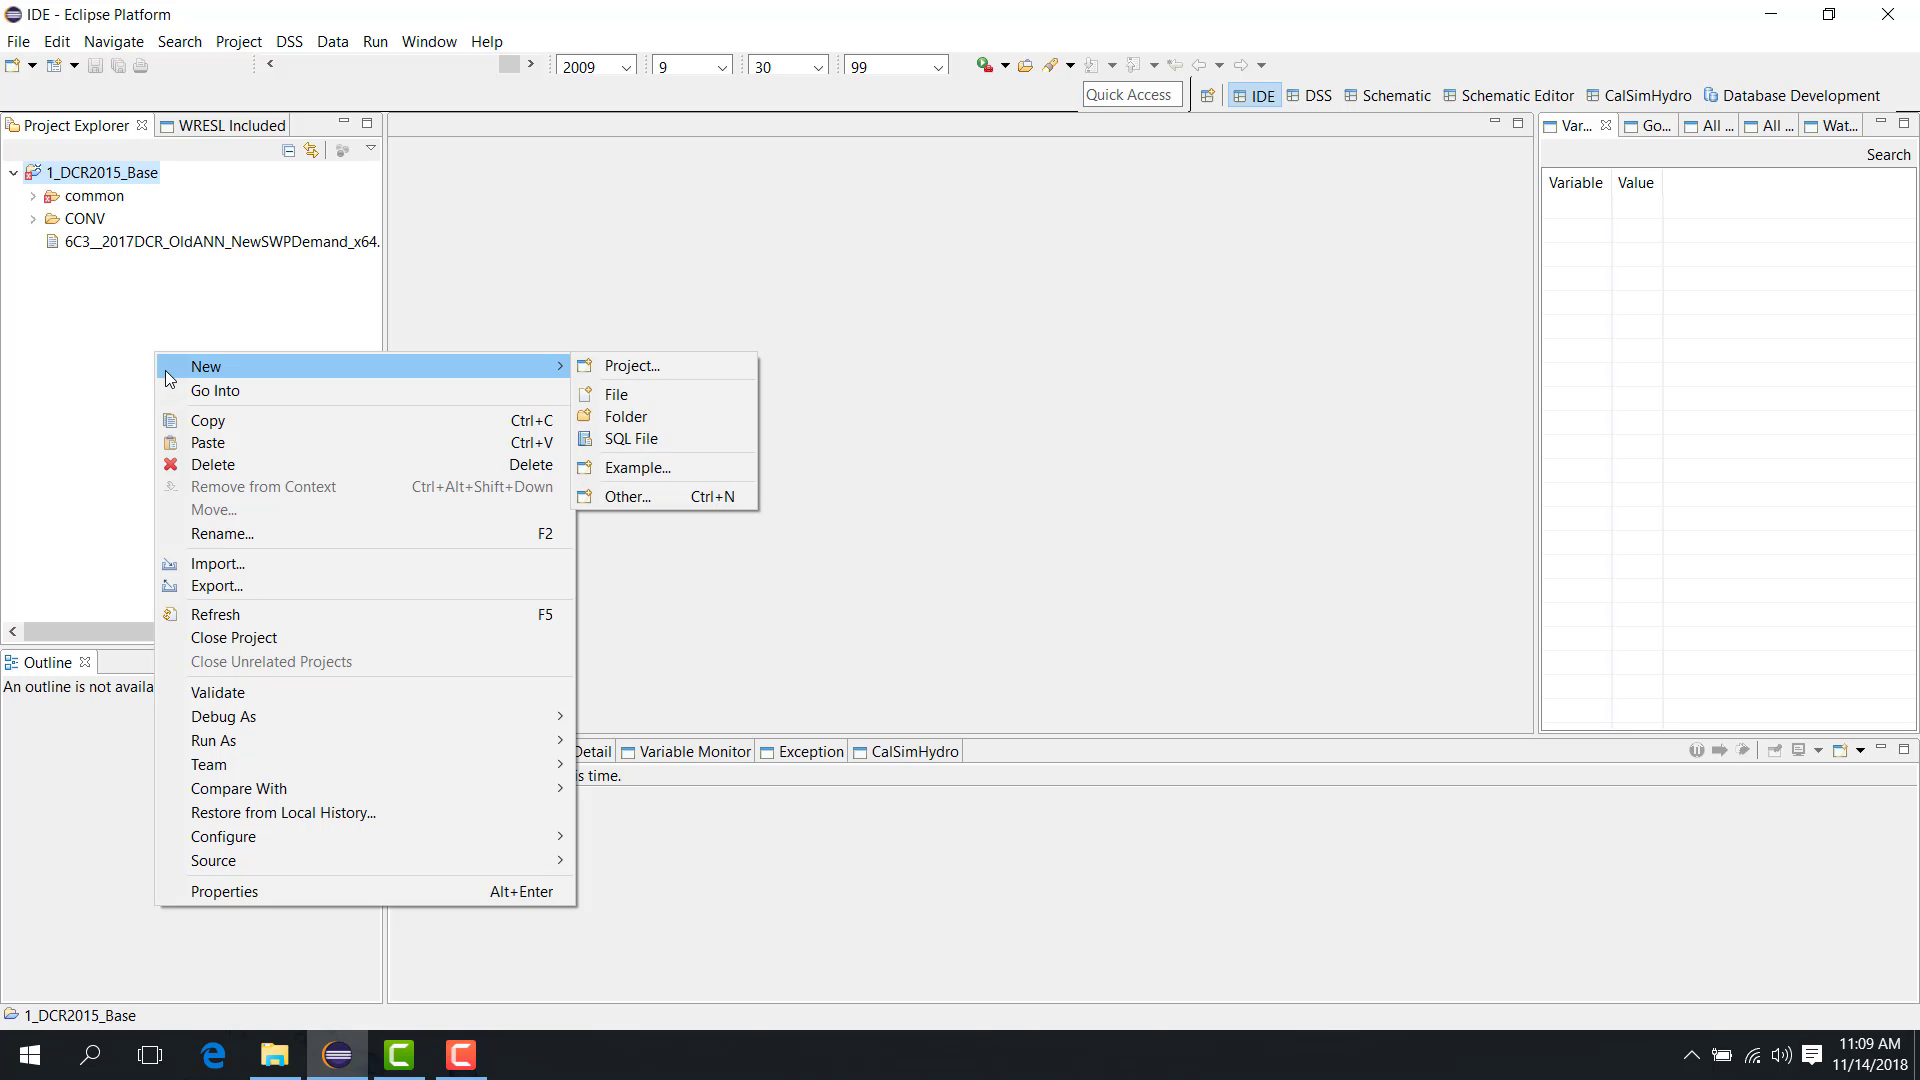
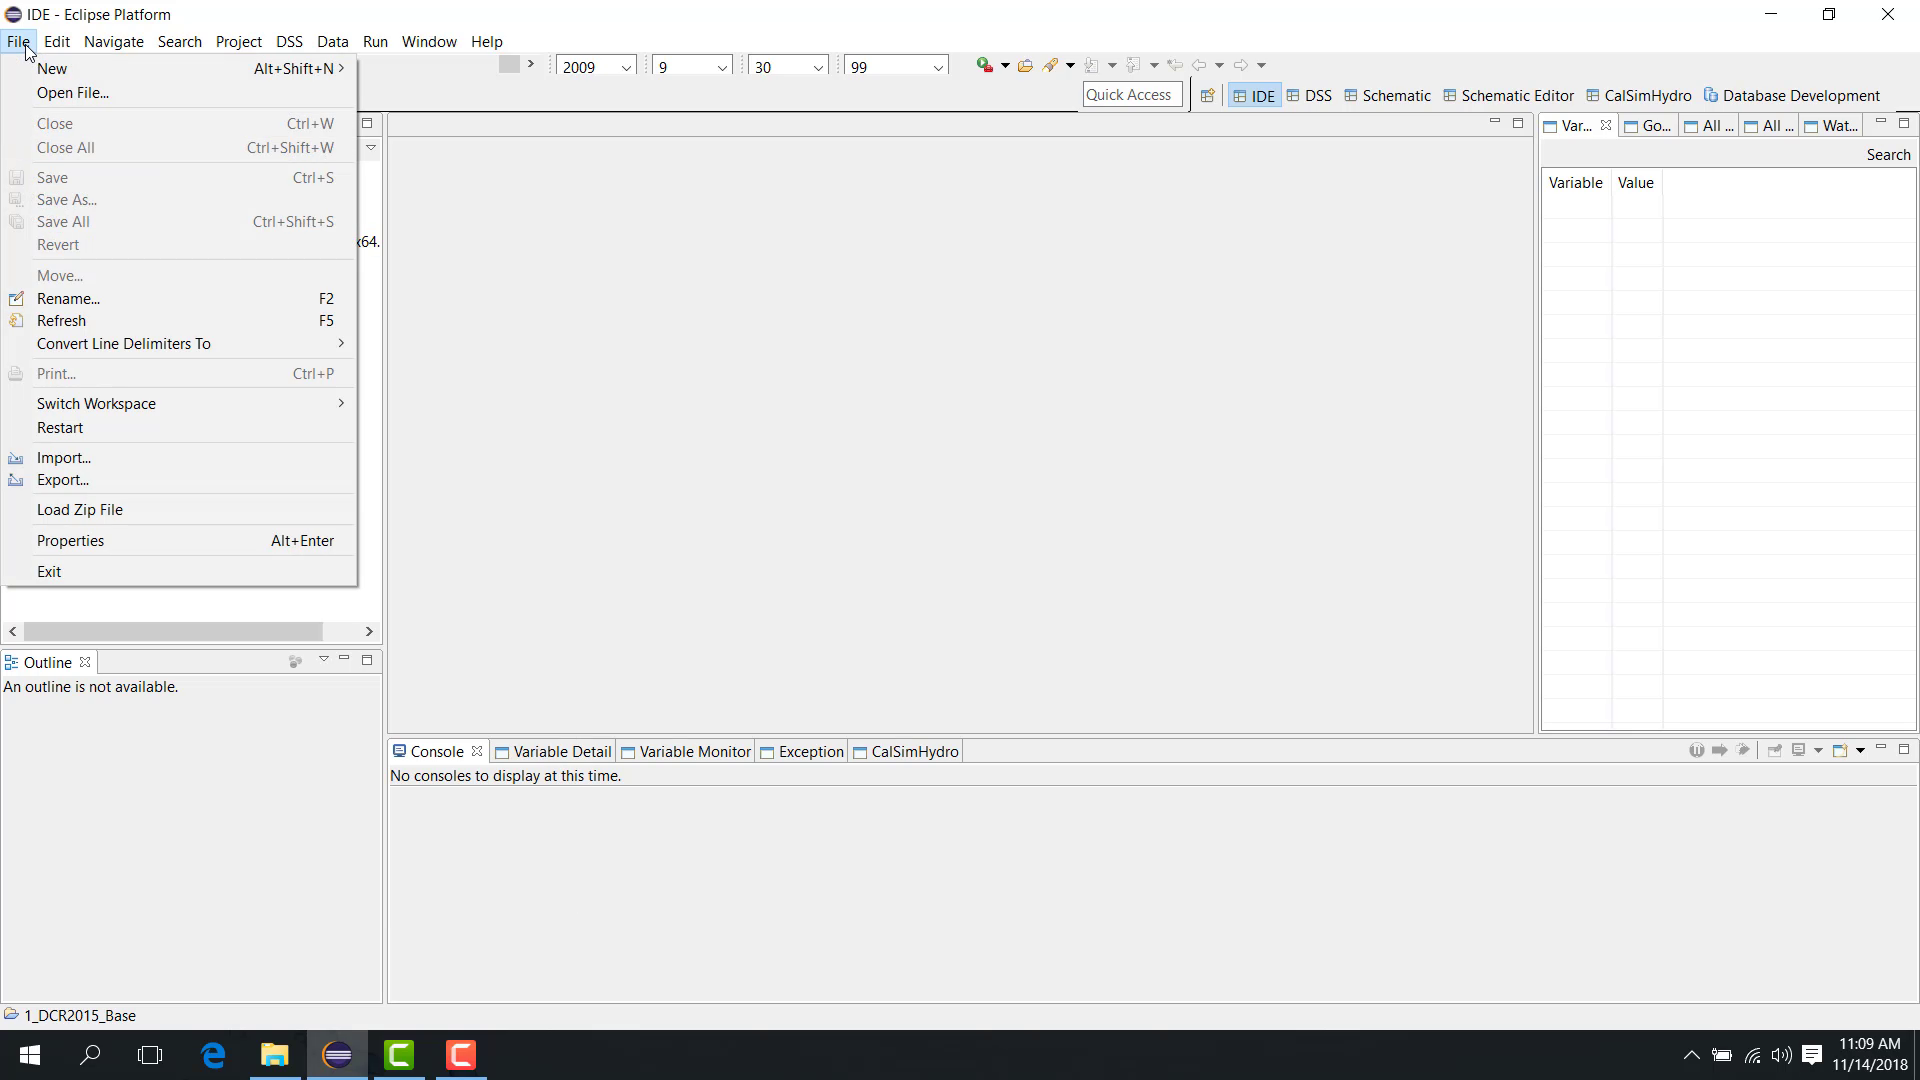
You can also open File > New Project.
In the wizard, go to General > Project.
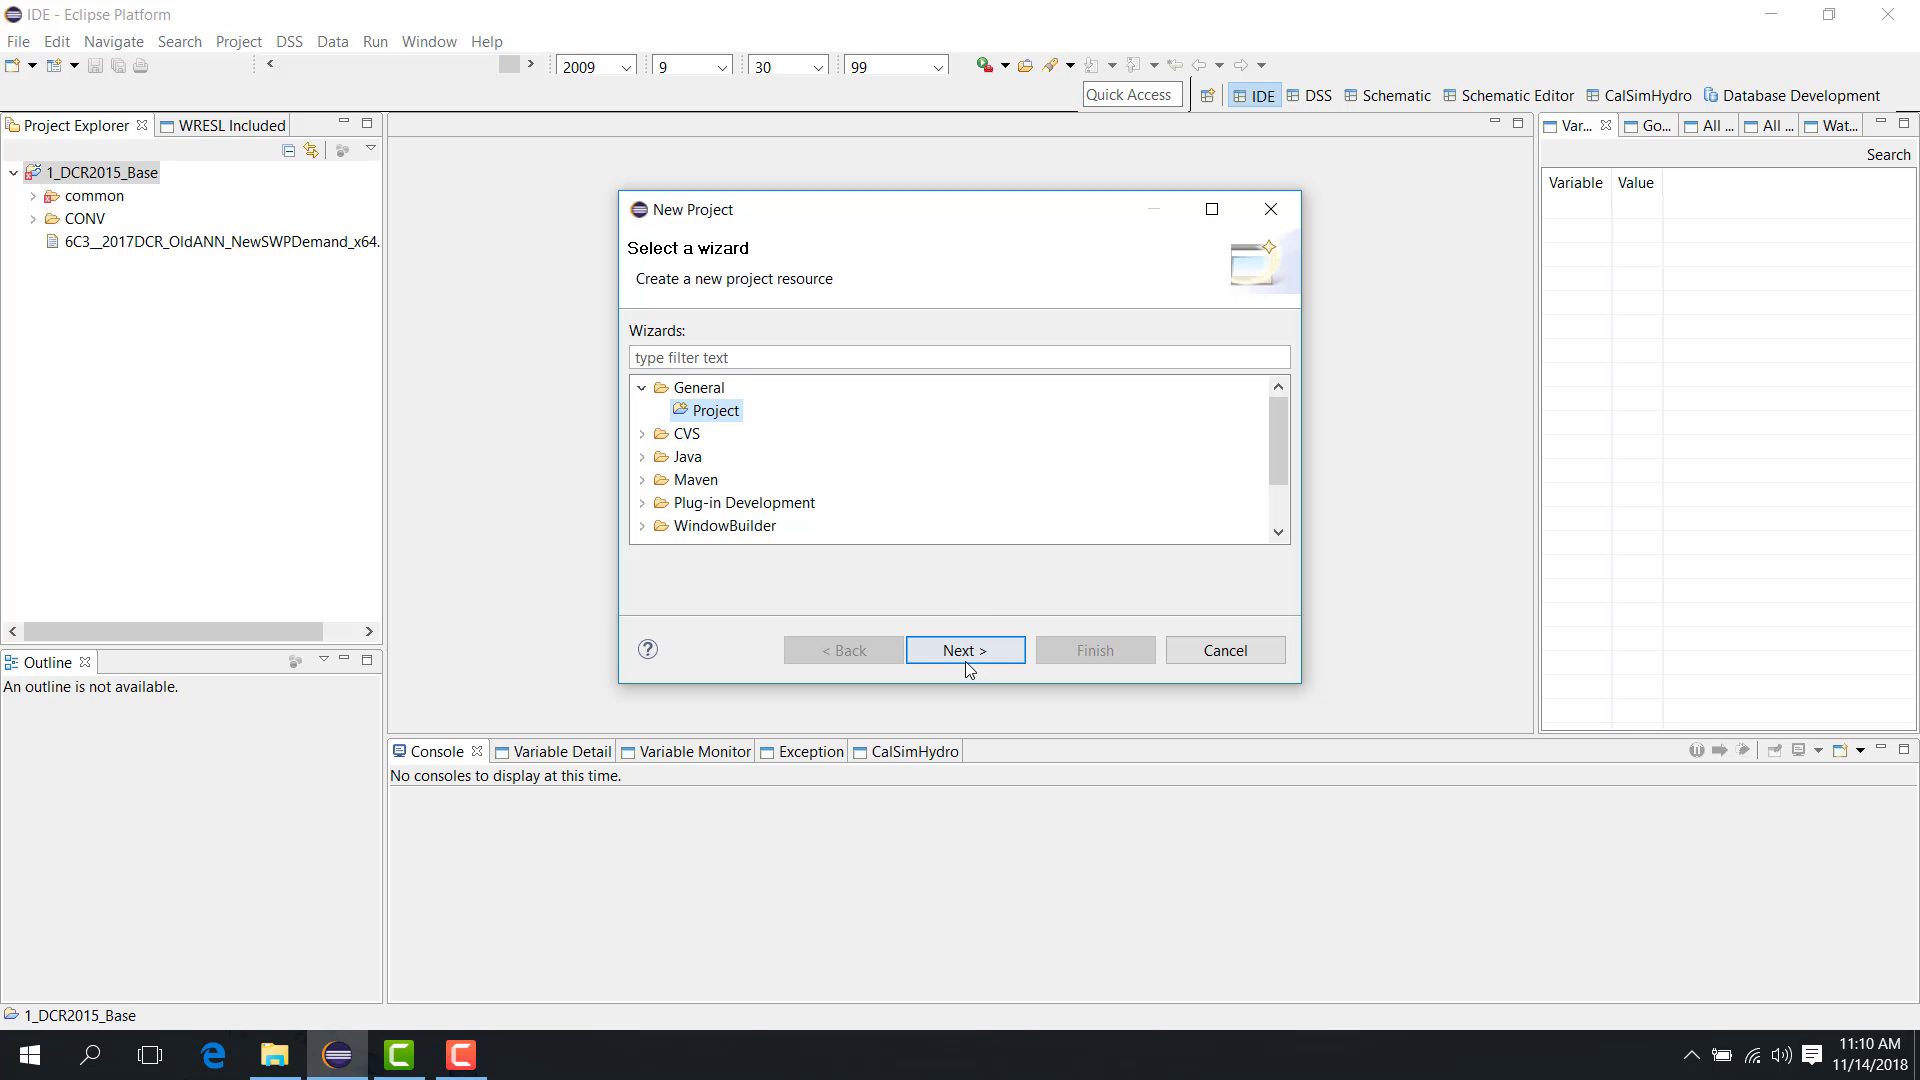
Click Next.
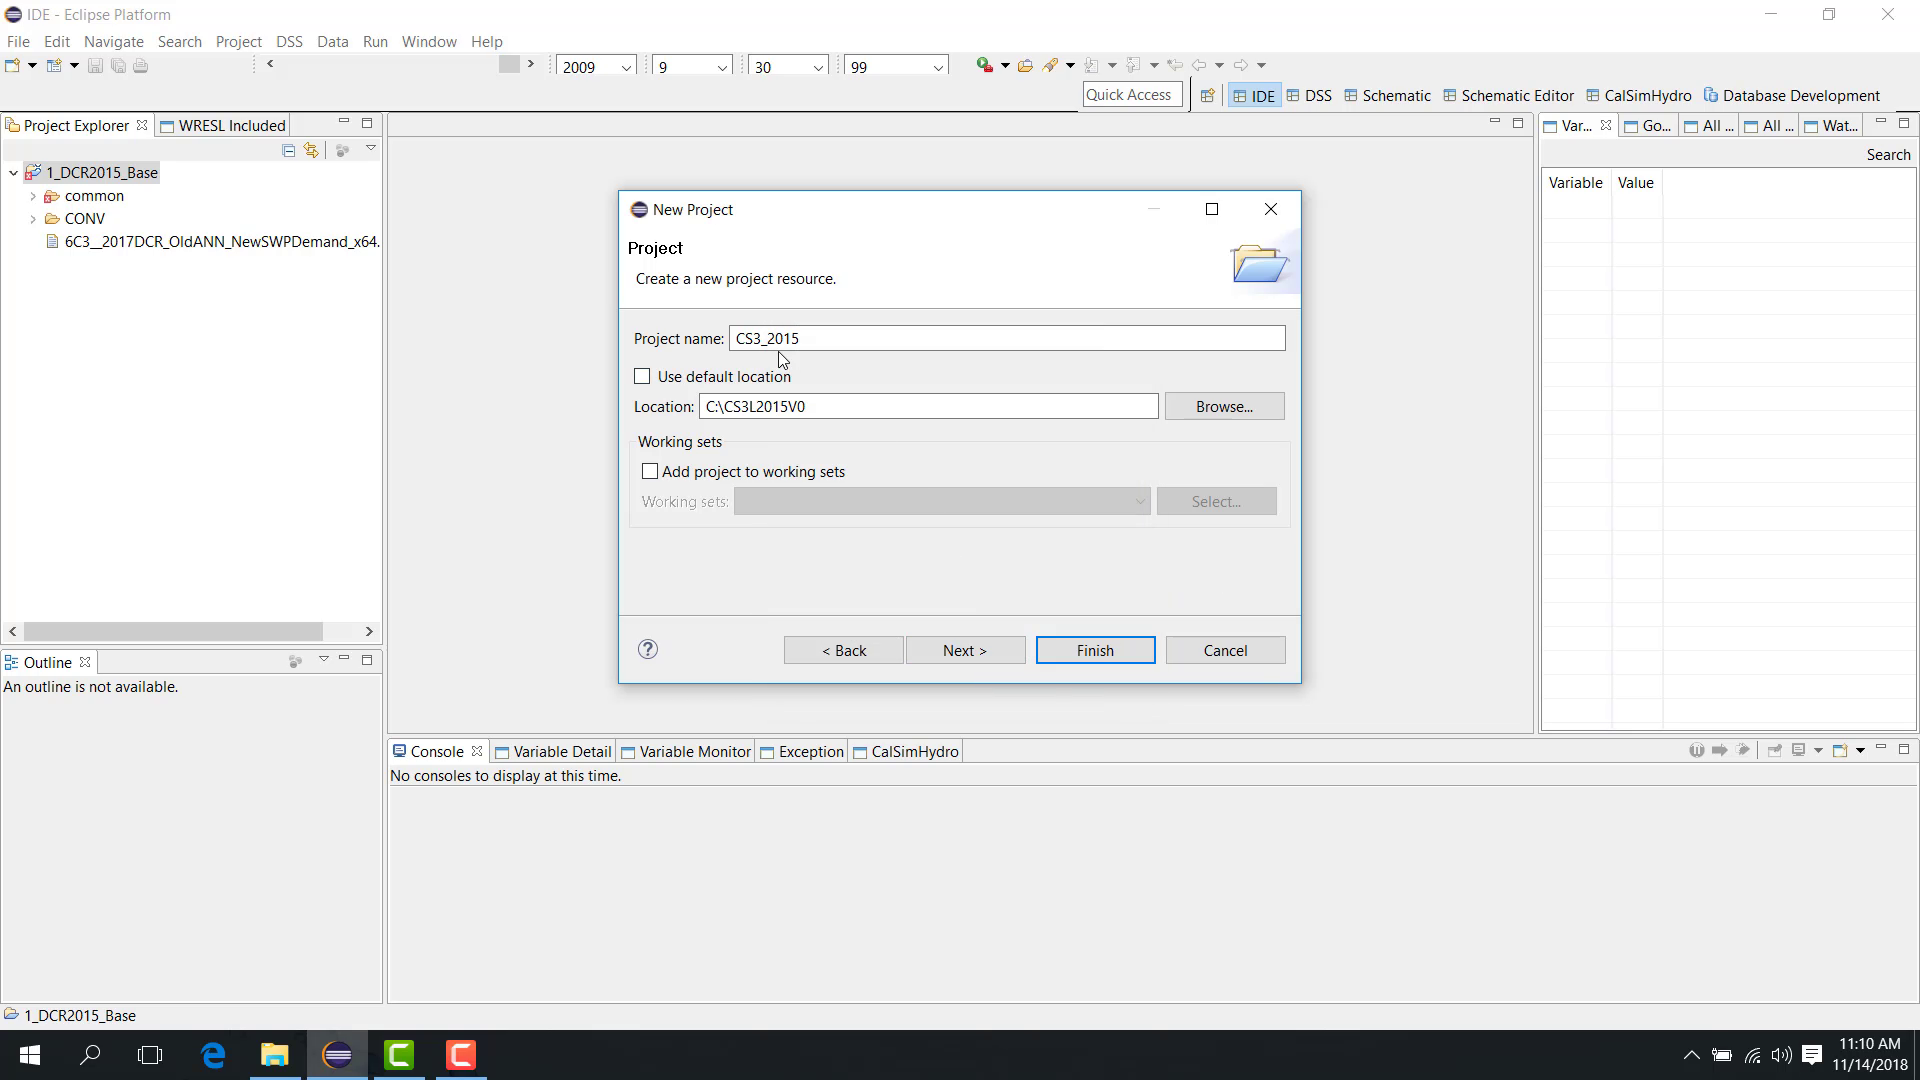
Enter a project name. For a CALSIM3 study, for example, you might enter
cs3_2015.
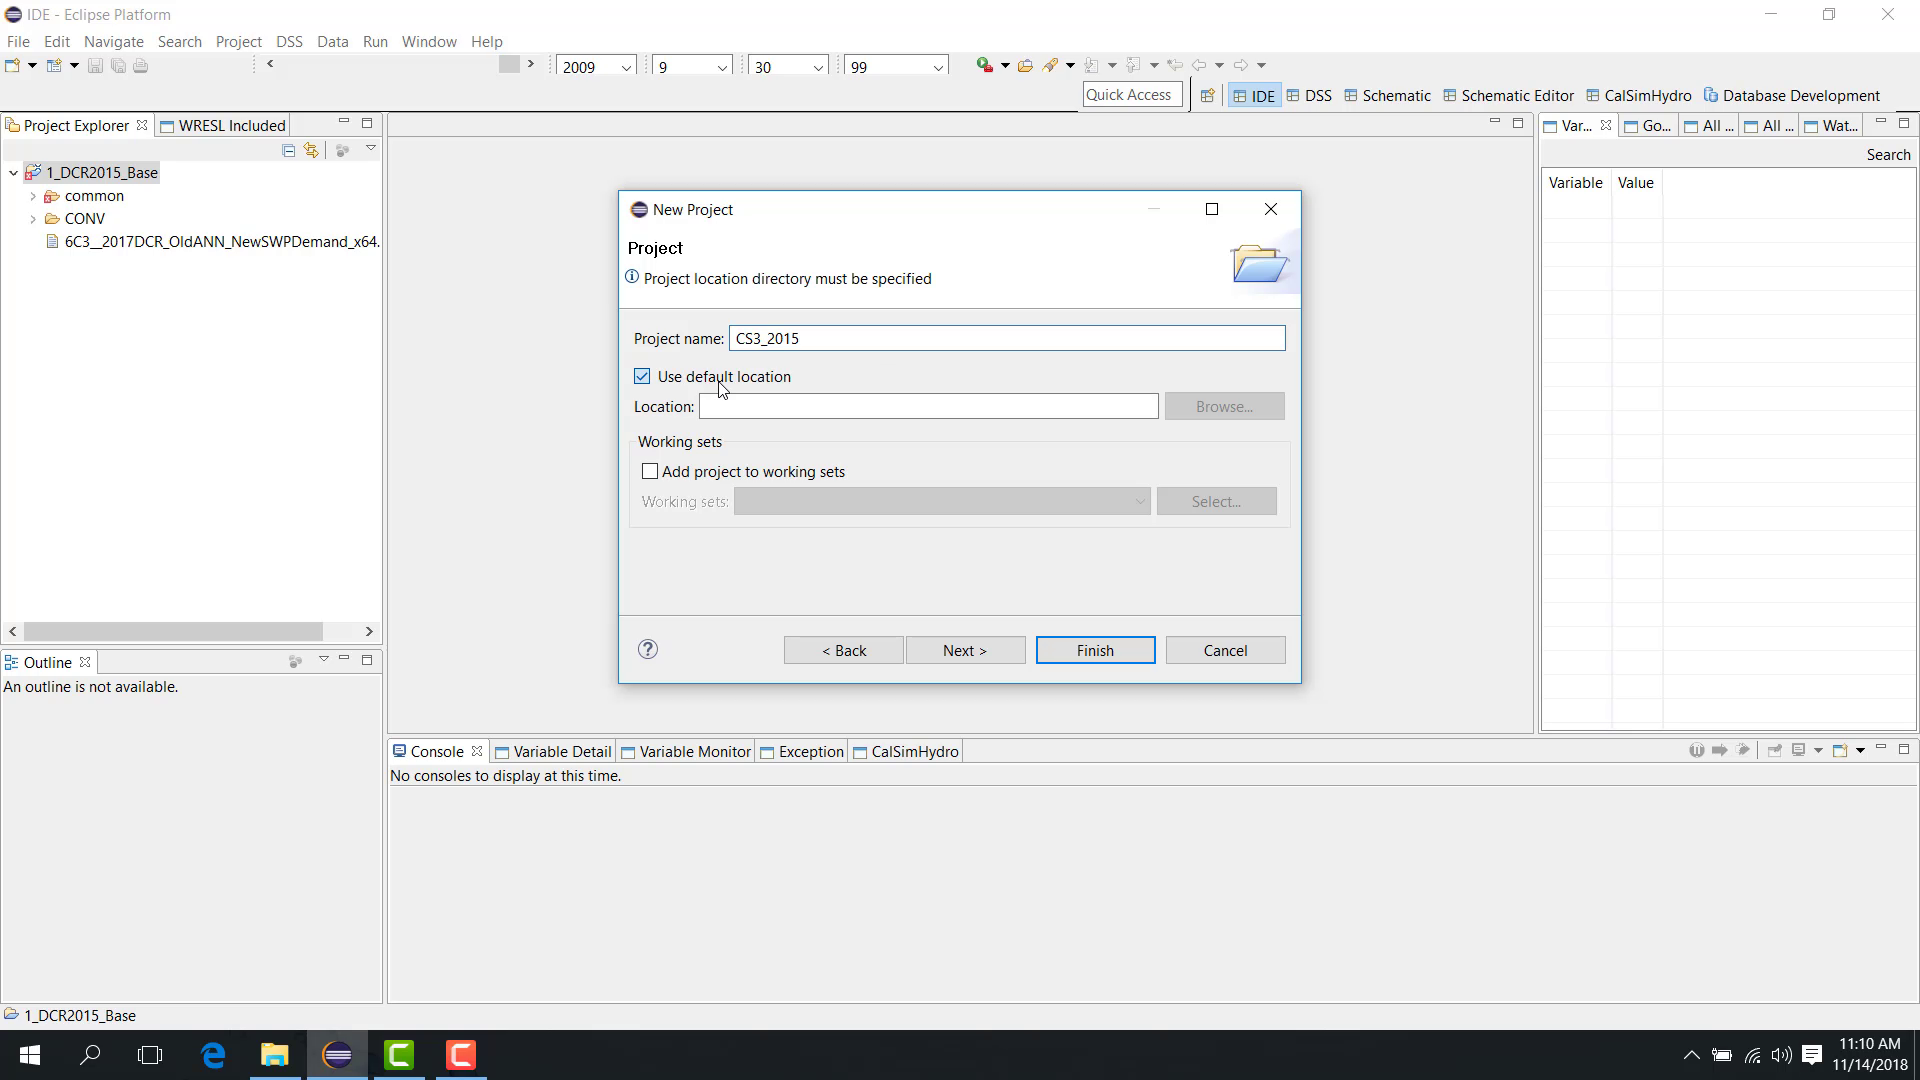
Clear the default location option.
Browse to the location of the study folder.
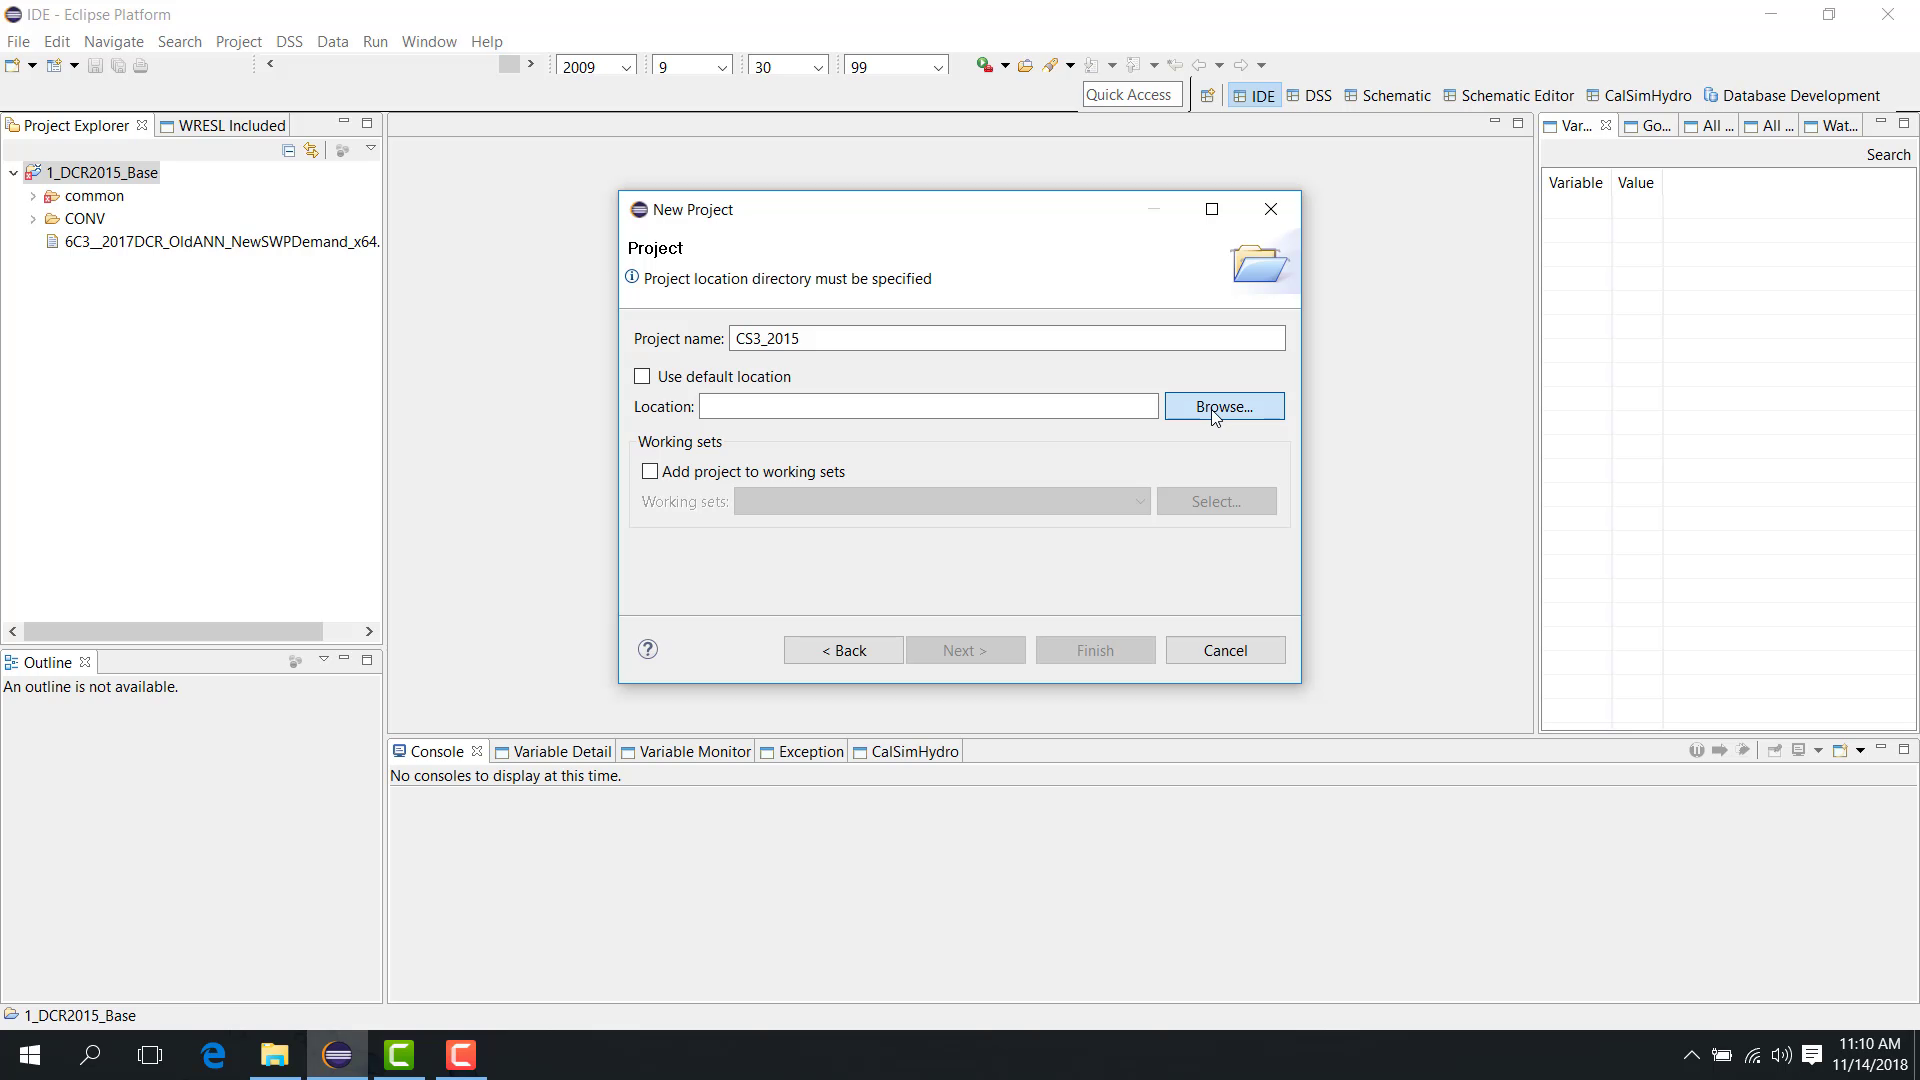
Click OK.
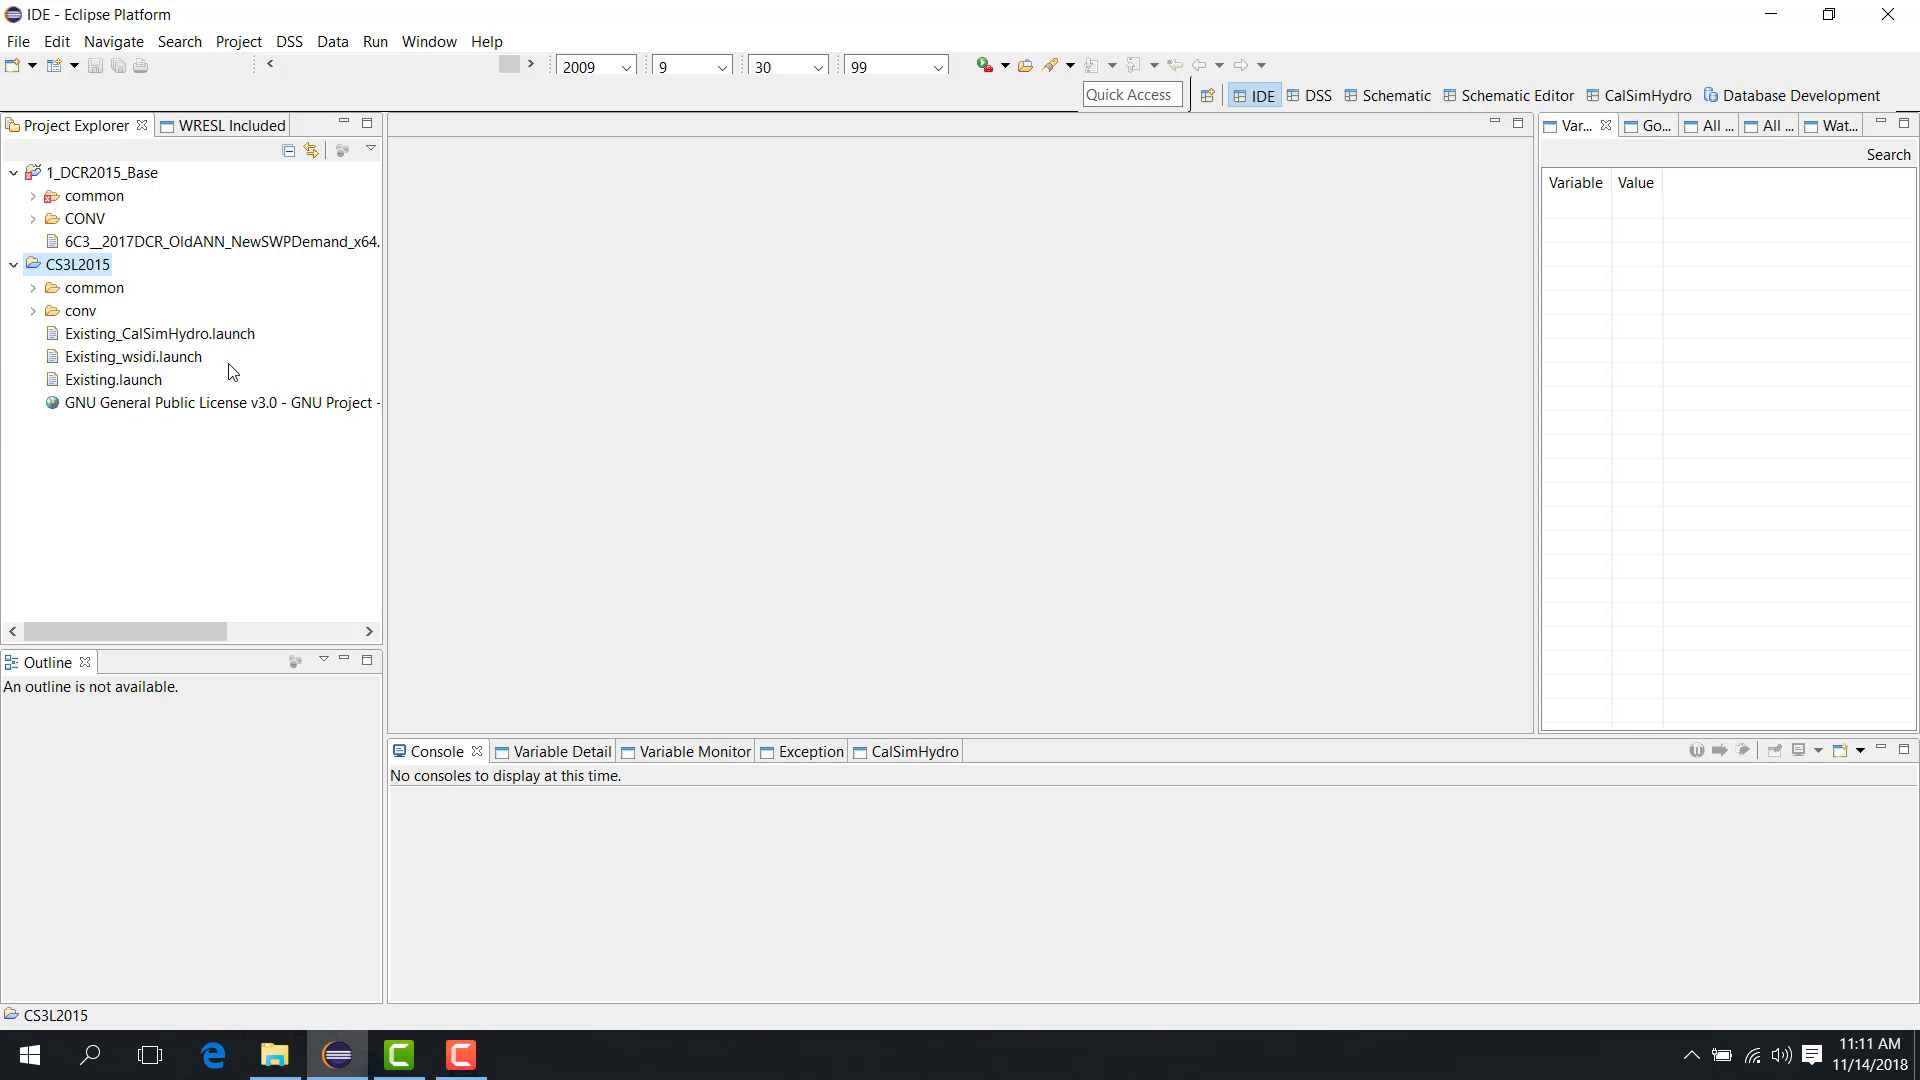
Click Finish.
The study is now loaded into WRIMS 3 GUI.
Notes
When the study is loaded, WRIMS 3 GUI creates a
.projectfile in the study folder.From that point forward, the study is treated as an existing study from the WRIMS 3 GUI perspective.
Related sections
1.3 Basic Load Zip File
Purpose
This chapter shows how to load a study directly from a zip file.
Before you start
You have a study packaged as a
.zipfile.WRIMS 3 GUI is open.
Procedure
Studies are often shared as zip files. WRIMS 3 GUI includes a function that can:
unzip the file
load the study directly into the workspace.
To do this:
Open WRIMS 3 GUI.
Open the File menu.
Choose Load Zip File.
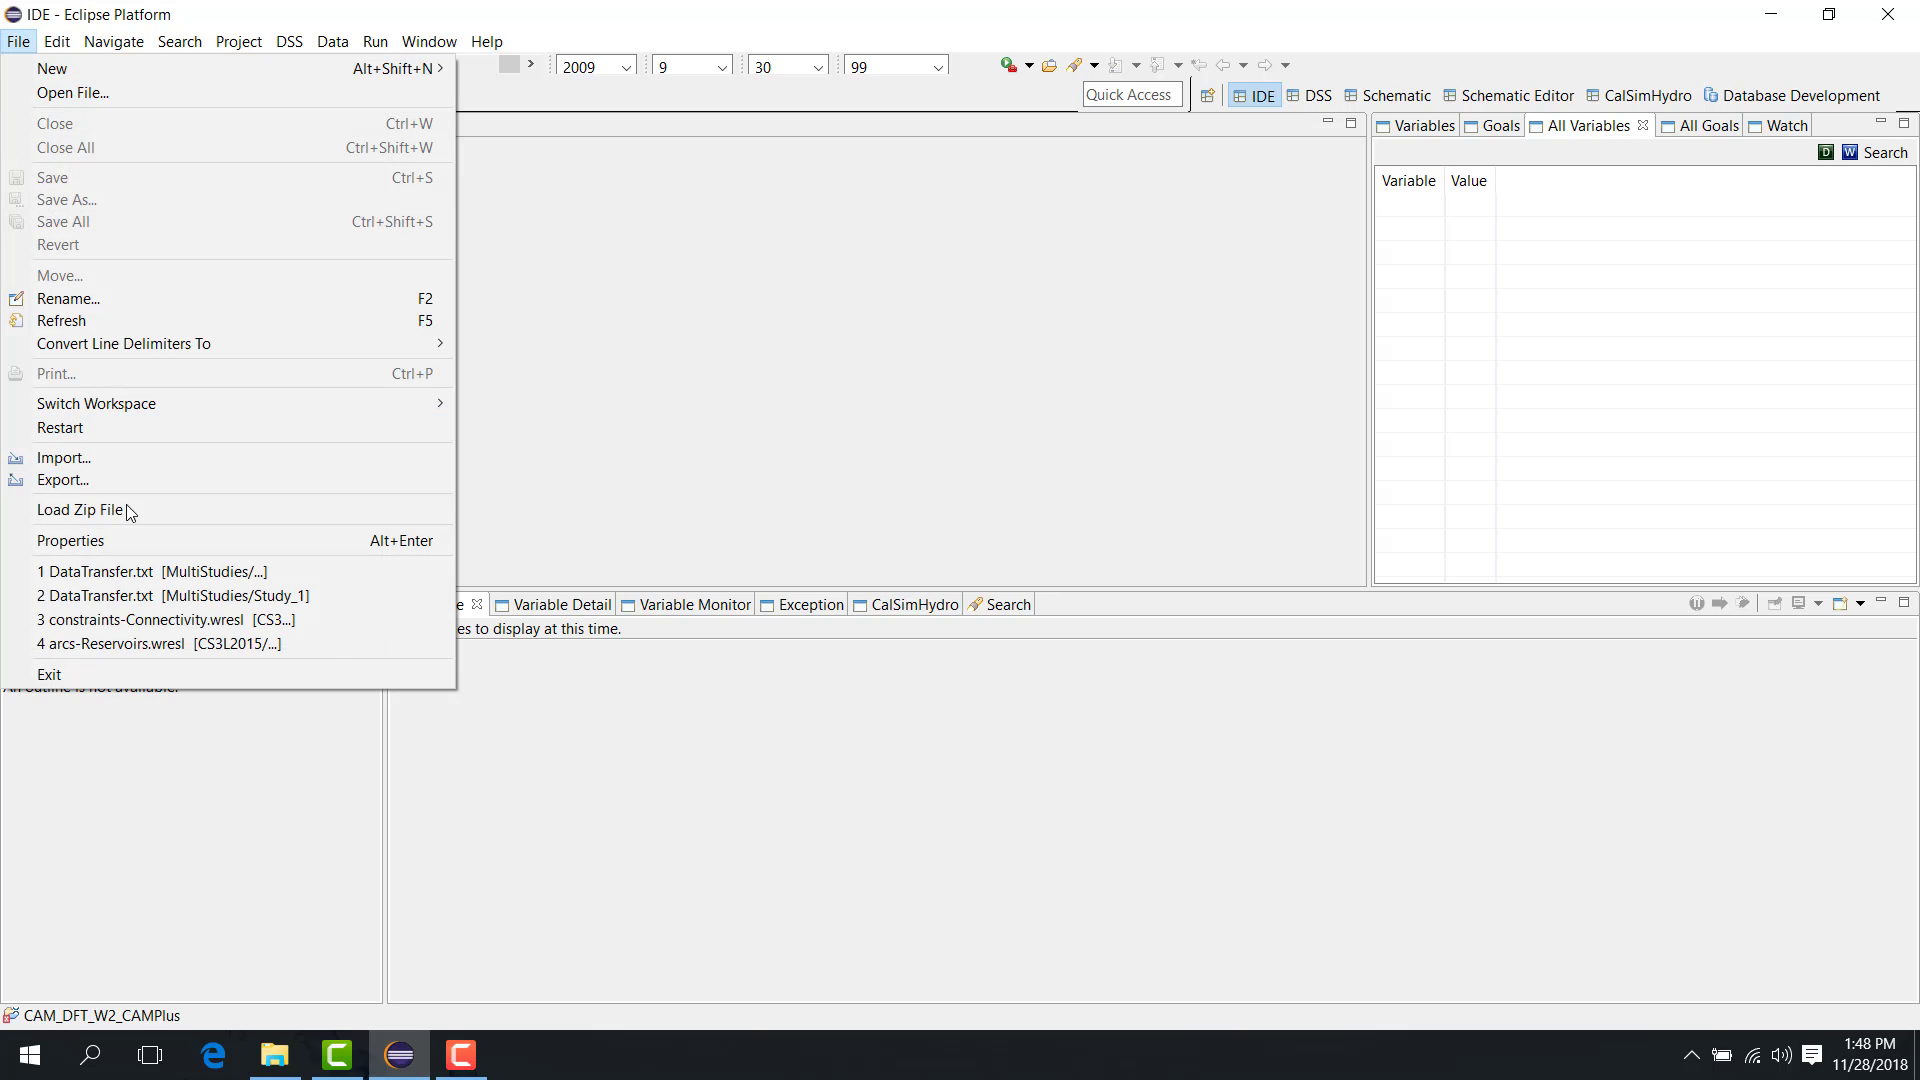
Browse to the zip file.
Select the zip file.
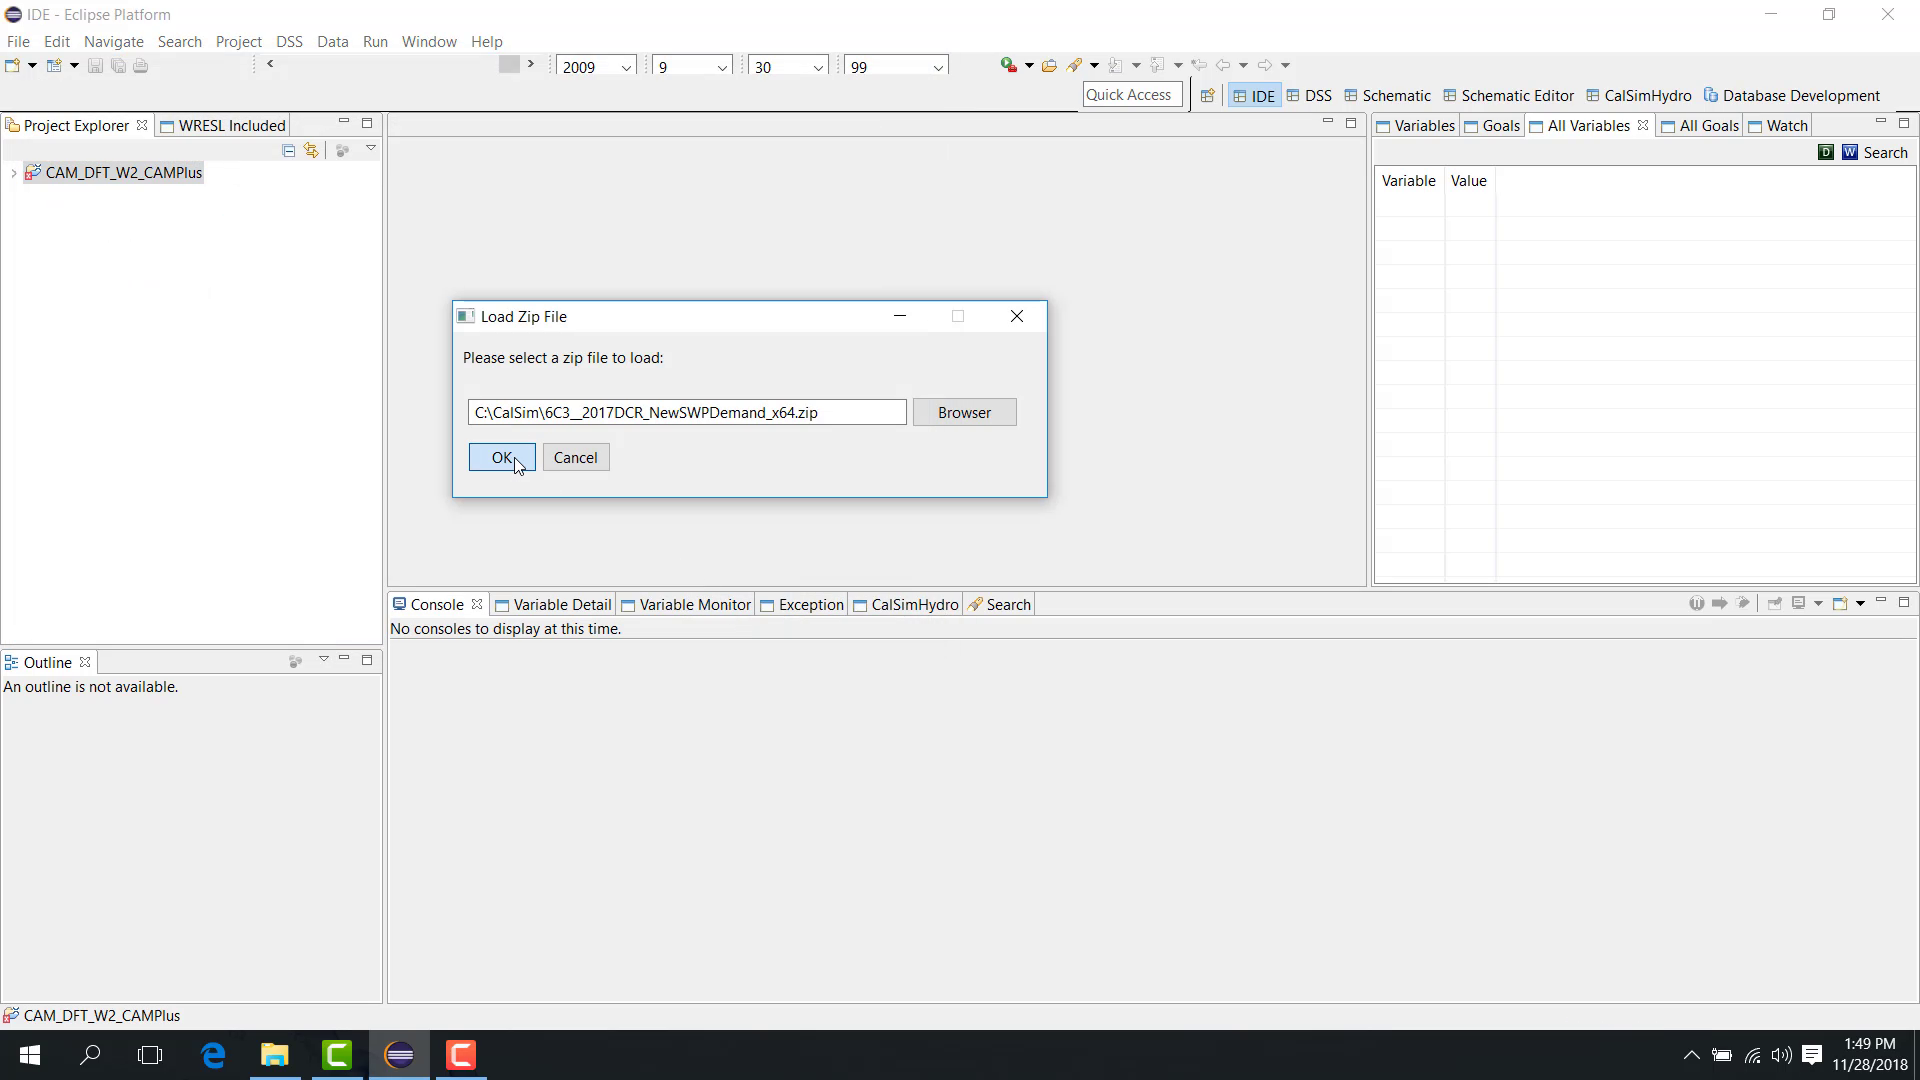
Click Open.
Click OK.
WRIMS 3 GUI then:
unzips the study;
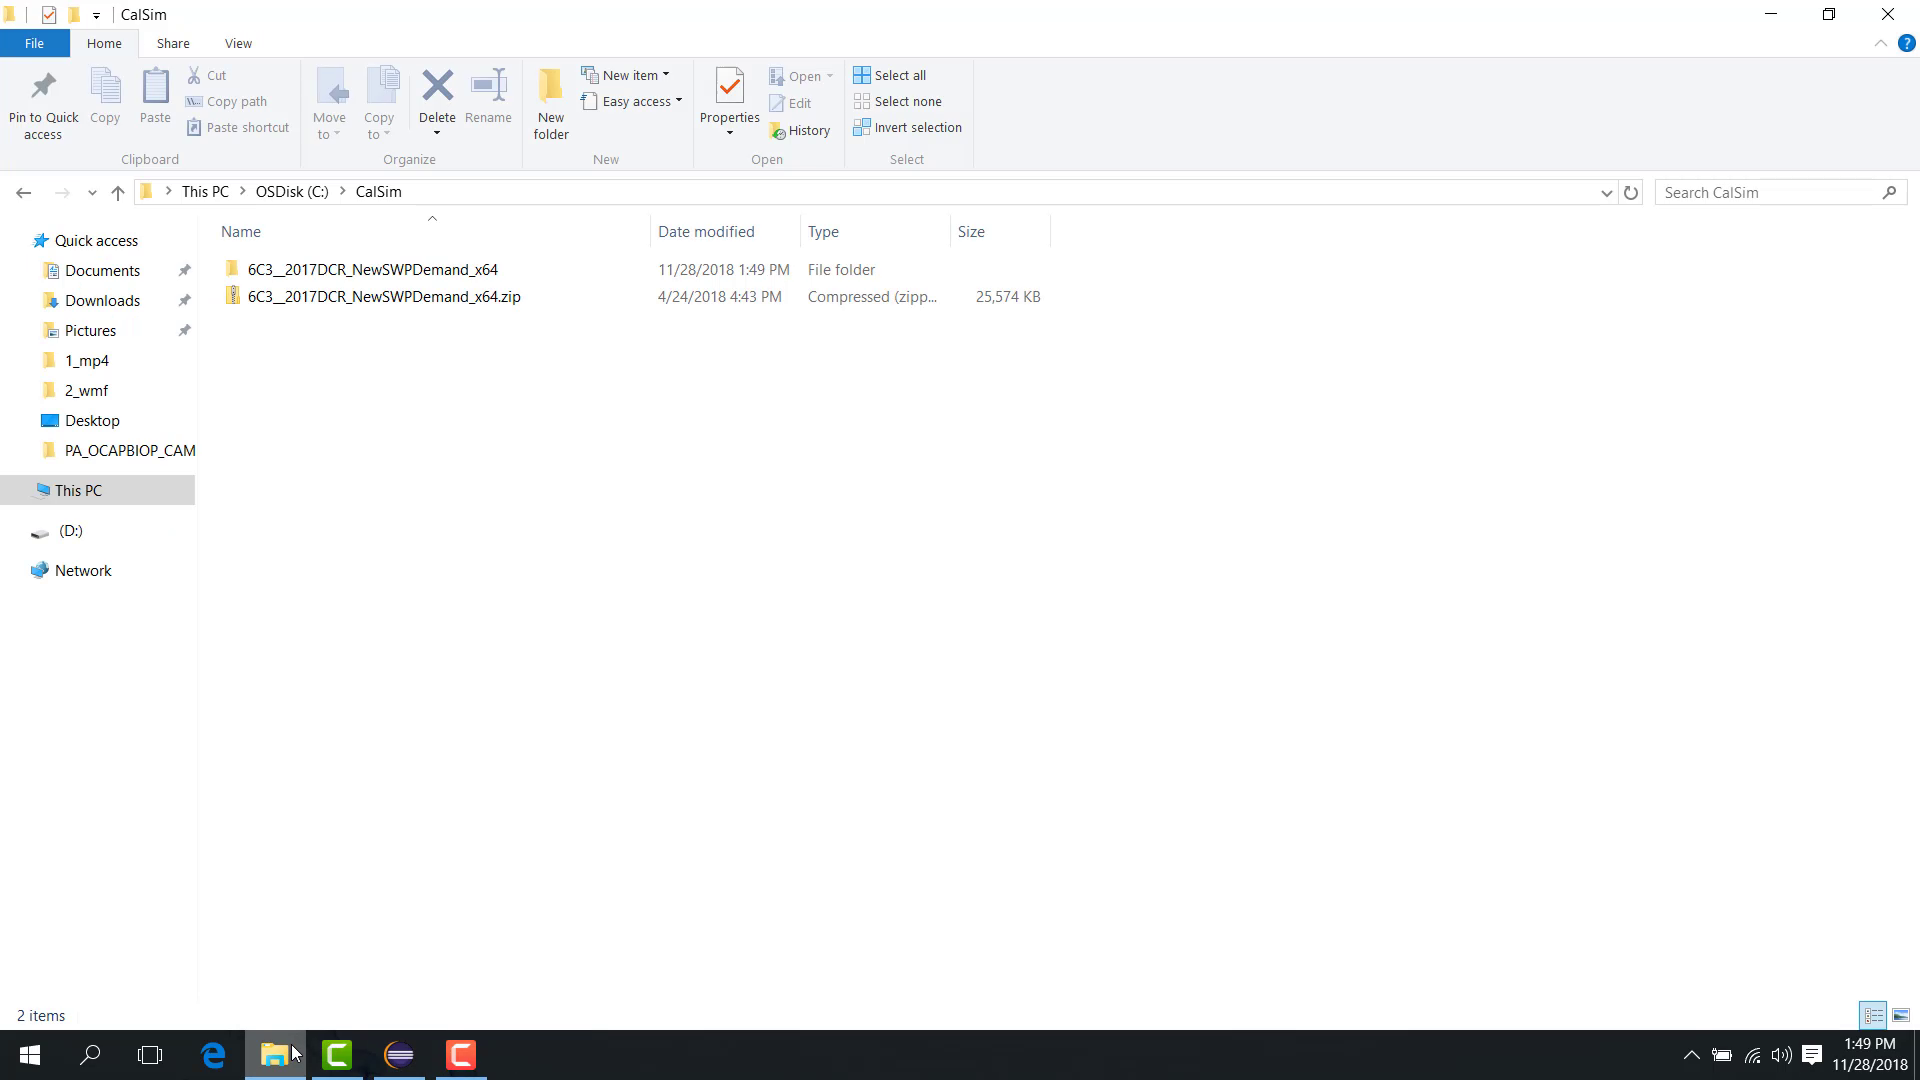
creates a folder next to the zip file;
loads the study into the GUI.
If a launch file is included in the package, it is also available after the study is loaded.
Notes
Confirm where the zip file will be extracted before finishing the load operation.
After extraction, verify that the expected study structure appears in Project Explorer.
If there is no .project file in the zip file, unzip function will only unzip the zip file but not import to WRIMS GUI.
** Troubleshooting **
If you receive an error when attempting to load a zip file, the contents may exceed the default maximum file size limit for zip extraction.
To resolve this: Use the following -D flag to increase the maximum file size limit for zip extraction. Append these flags to the command line call present in the WRIMS3_GUI_Start.bat script.
MAX_EXTRACTED_SIZE_KEY: gov.ca.water.wrims.zip.max.size MAX_ENTRIES_KEY: gov.ca.water.wrims.zip.max.entries MAX_ENTRY_SIZE_KEY: gov.ca.water.wrims.zip.max.entry.size
Both of the size limits are set in bytes, while the maximum entries limit is set in number of entries.
For example, to set the maximum file size limit to 10 GB, you can use the following flag: -Dgov.ca.water.wrims.zip.max.size=10737418240
Related sections
1.4 Basic Create Launch File
Purpose
This chapter explains how to create a launch configuration for running or debugging a study.
Before you start
The study is already loaded in Project Explorer.
You know the locations of the main WRESL file, DSS files, and any groundwater folder used by the study.
You know the start date, end date, and whether the study is monthly or daily.
Procedure
A study may already contain multiple launch files. To create a new one, use either:
Debug As > Debug Configuration
Run As > Run Configuration
This chapter uses Run Configuration. For the role of a launch file and the distinction between Run and Debug, see 2.2 Launch Files and Run Modes.
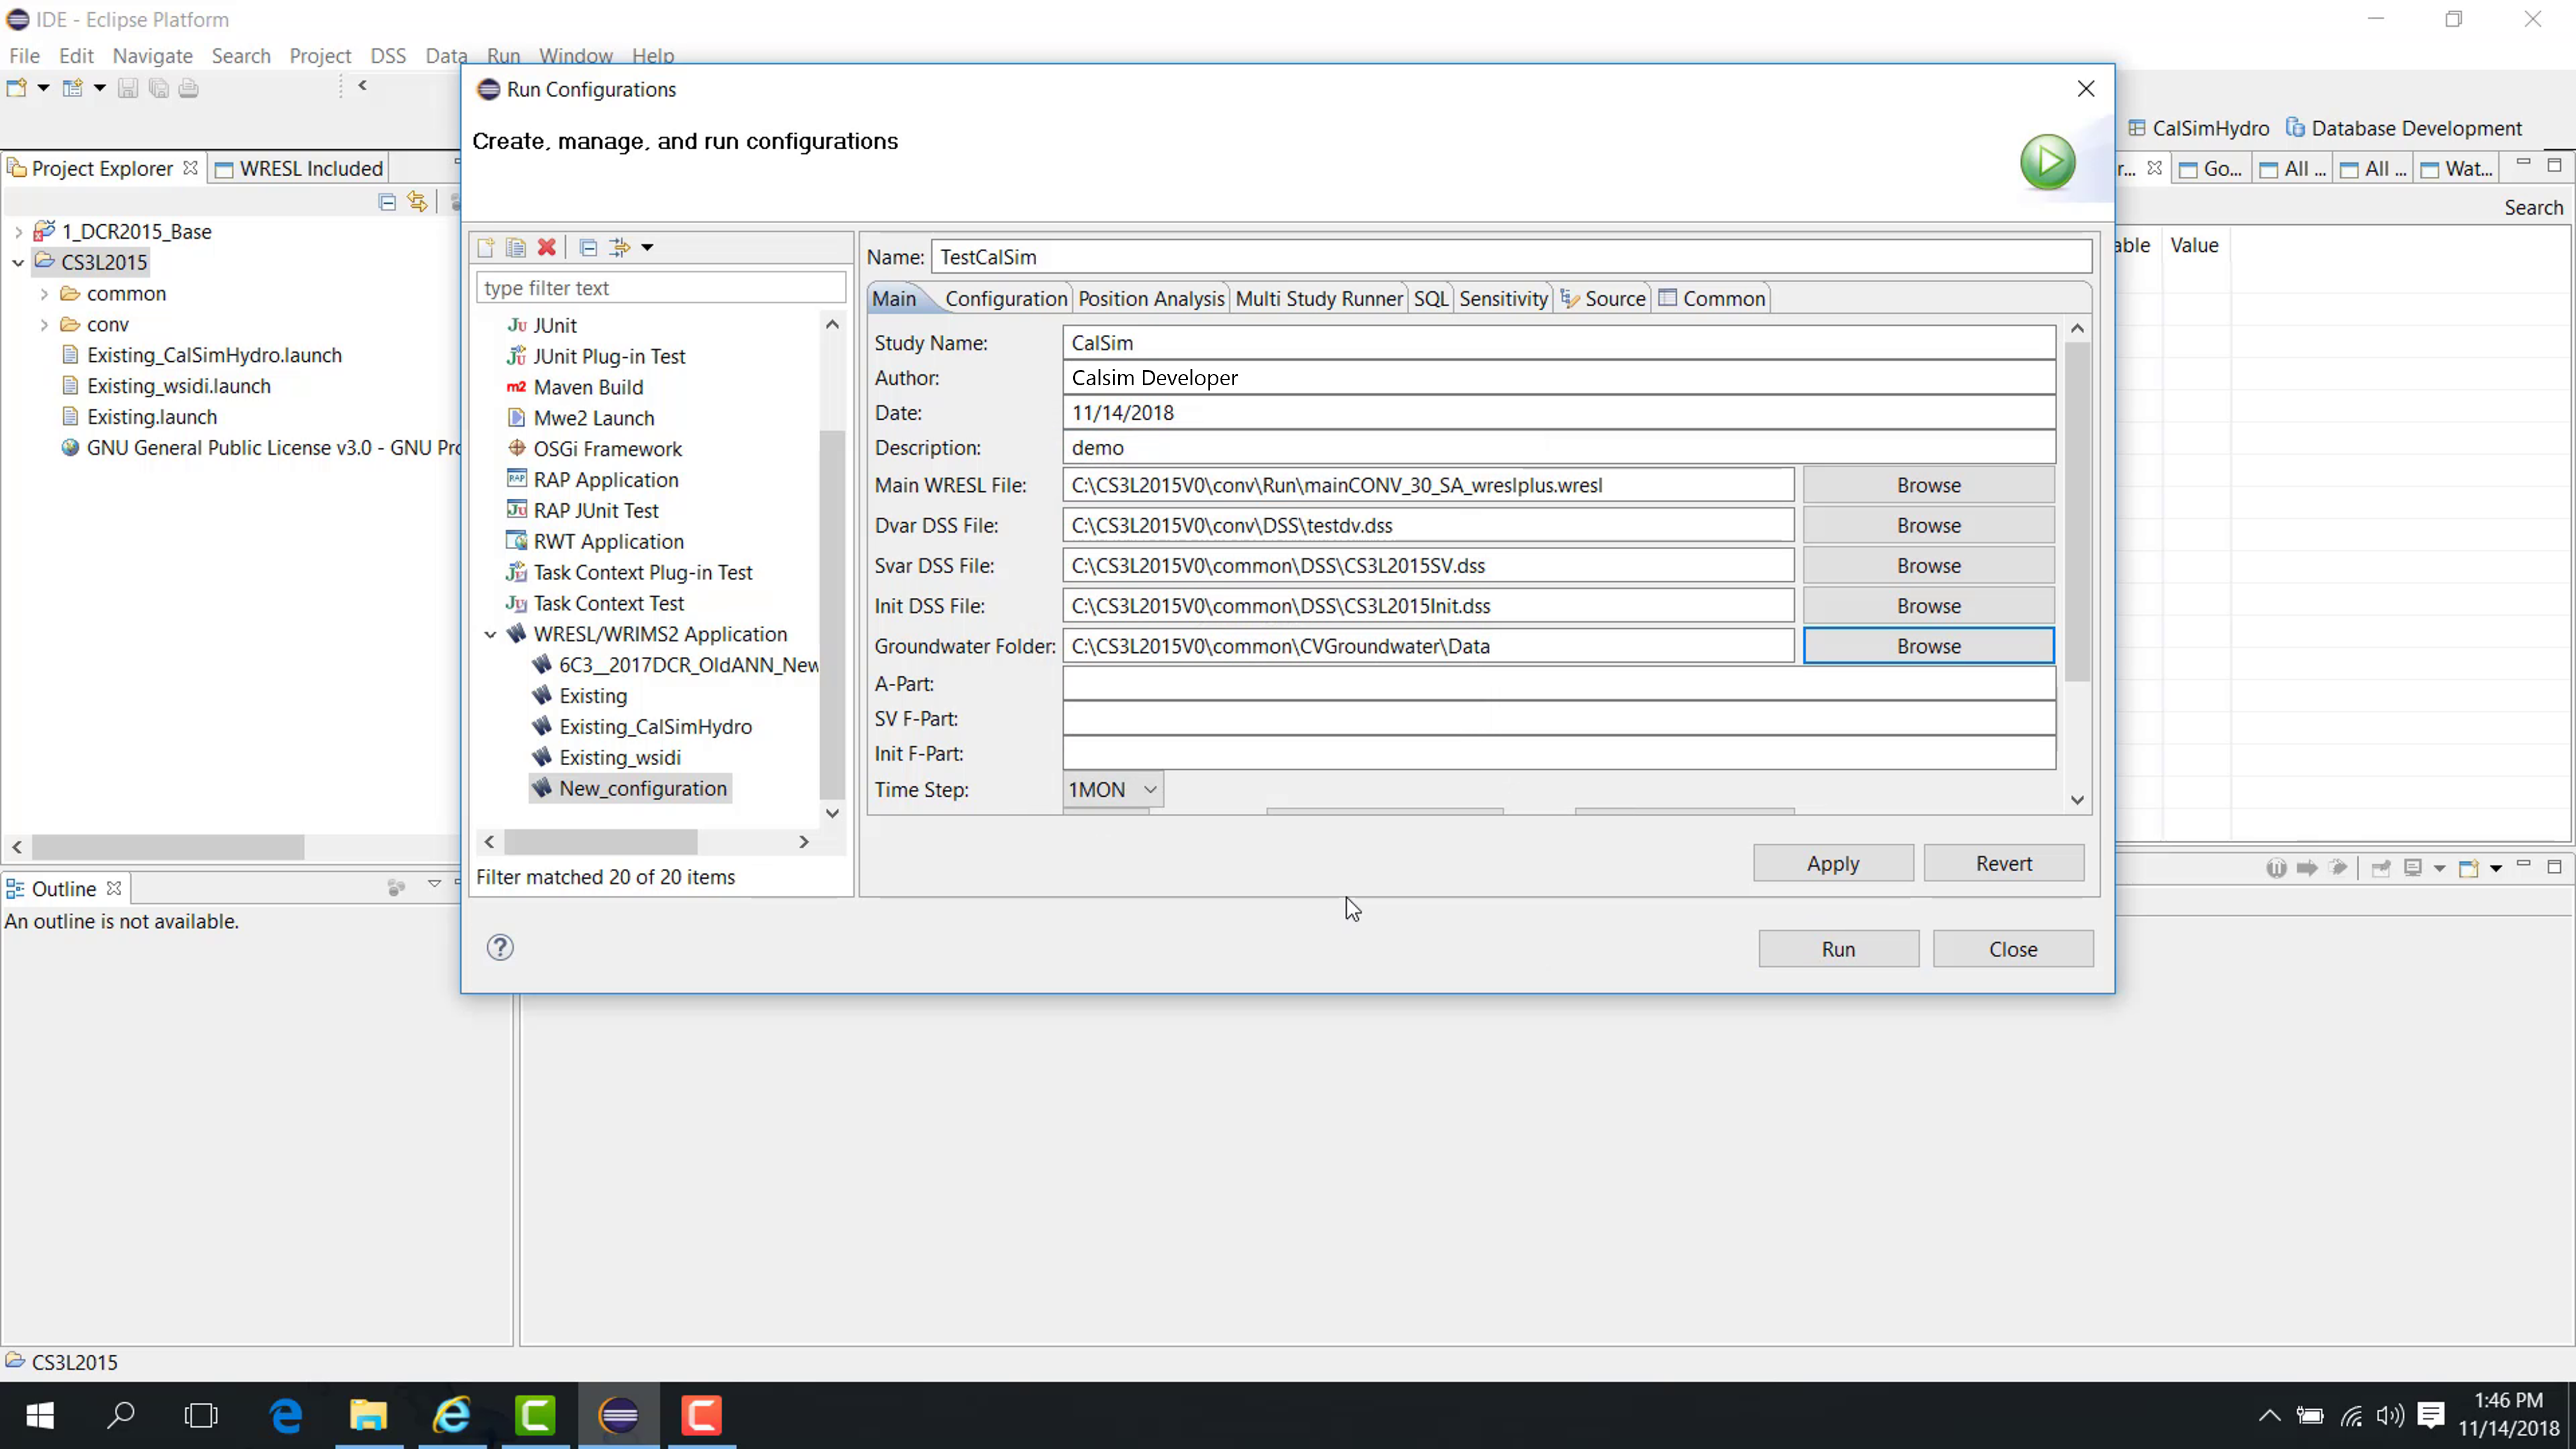
Right-click the study and choose Run As > Run Configuration.
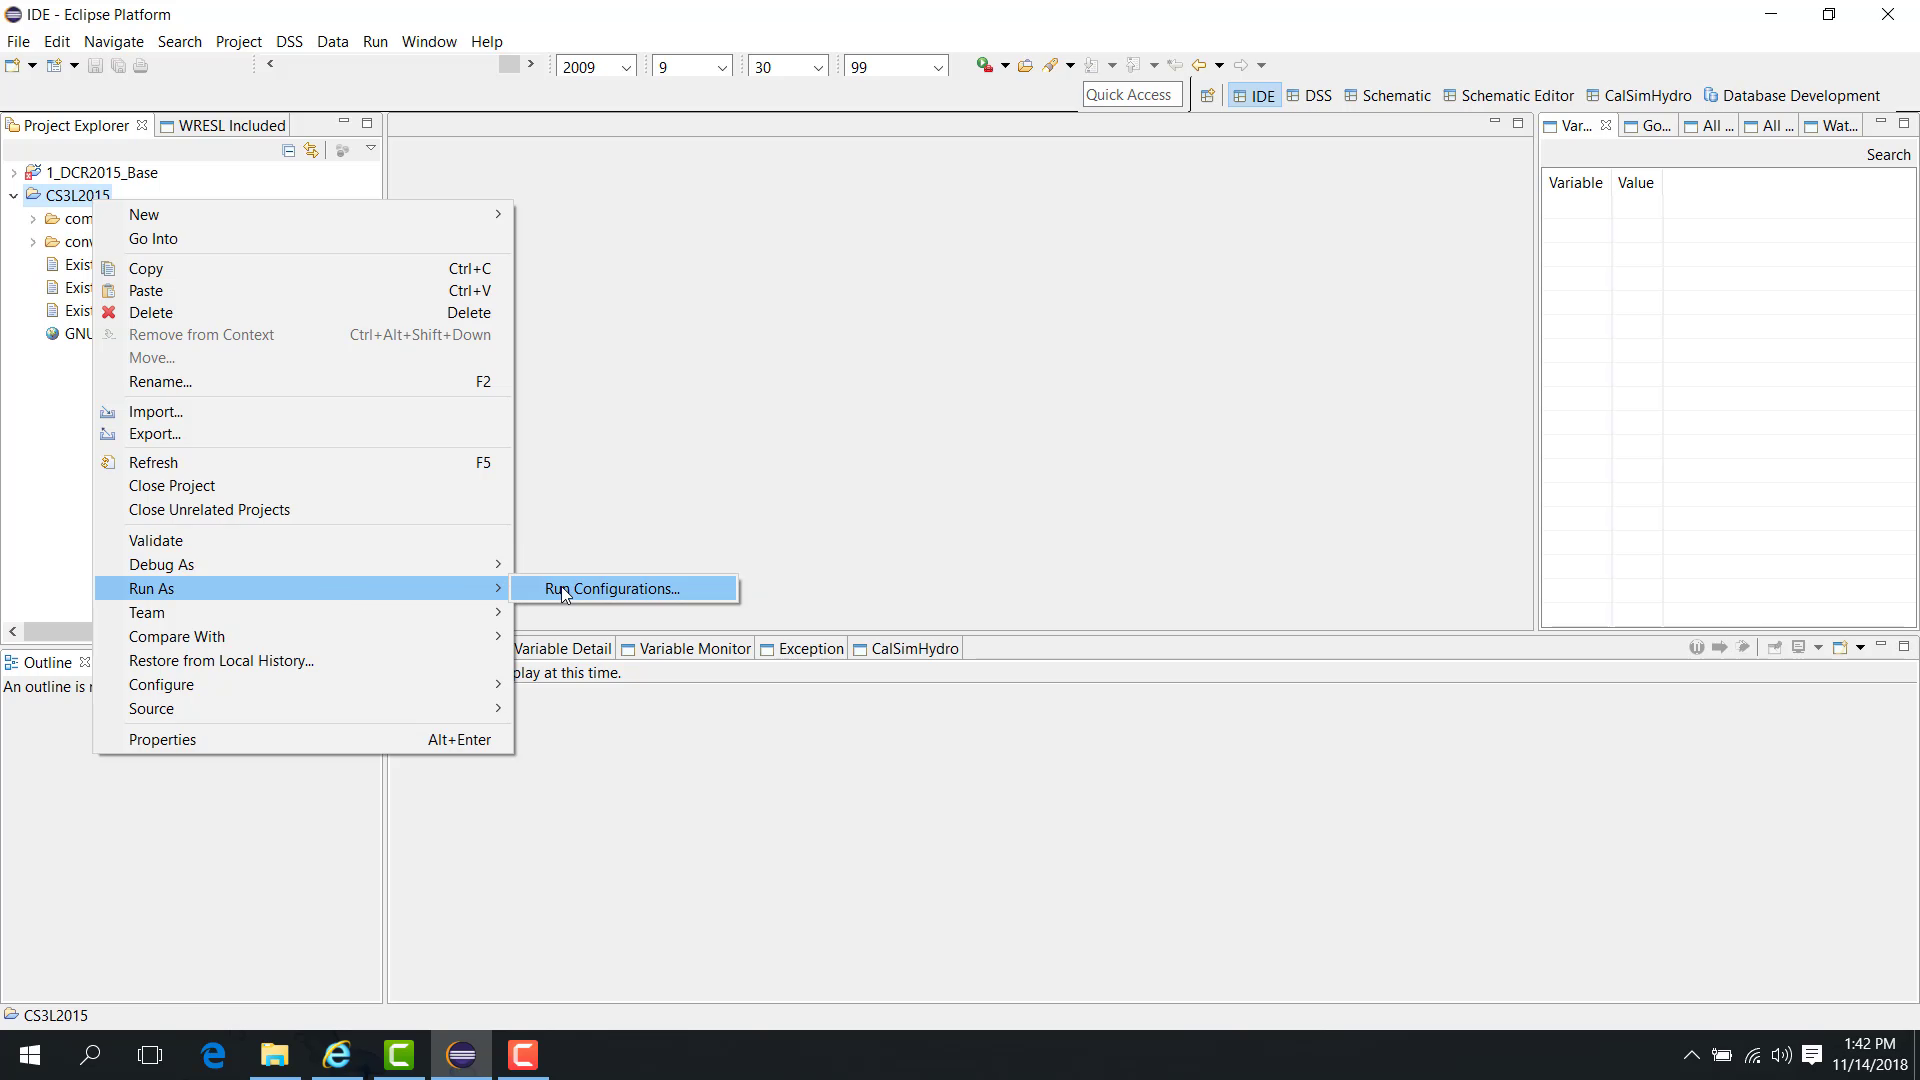
In the configuration window, locate WRESL/WRIMS2 Application.
Right-click WRESL/WRIMS2 Application and choose New.
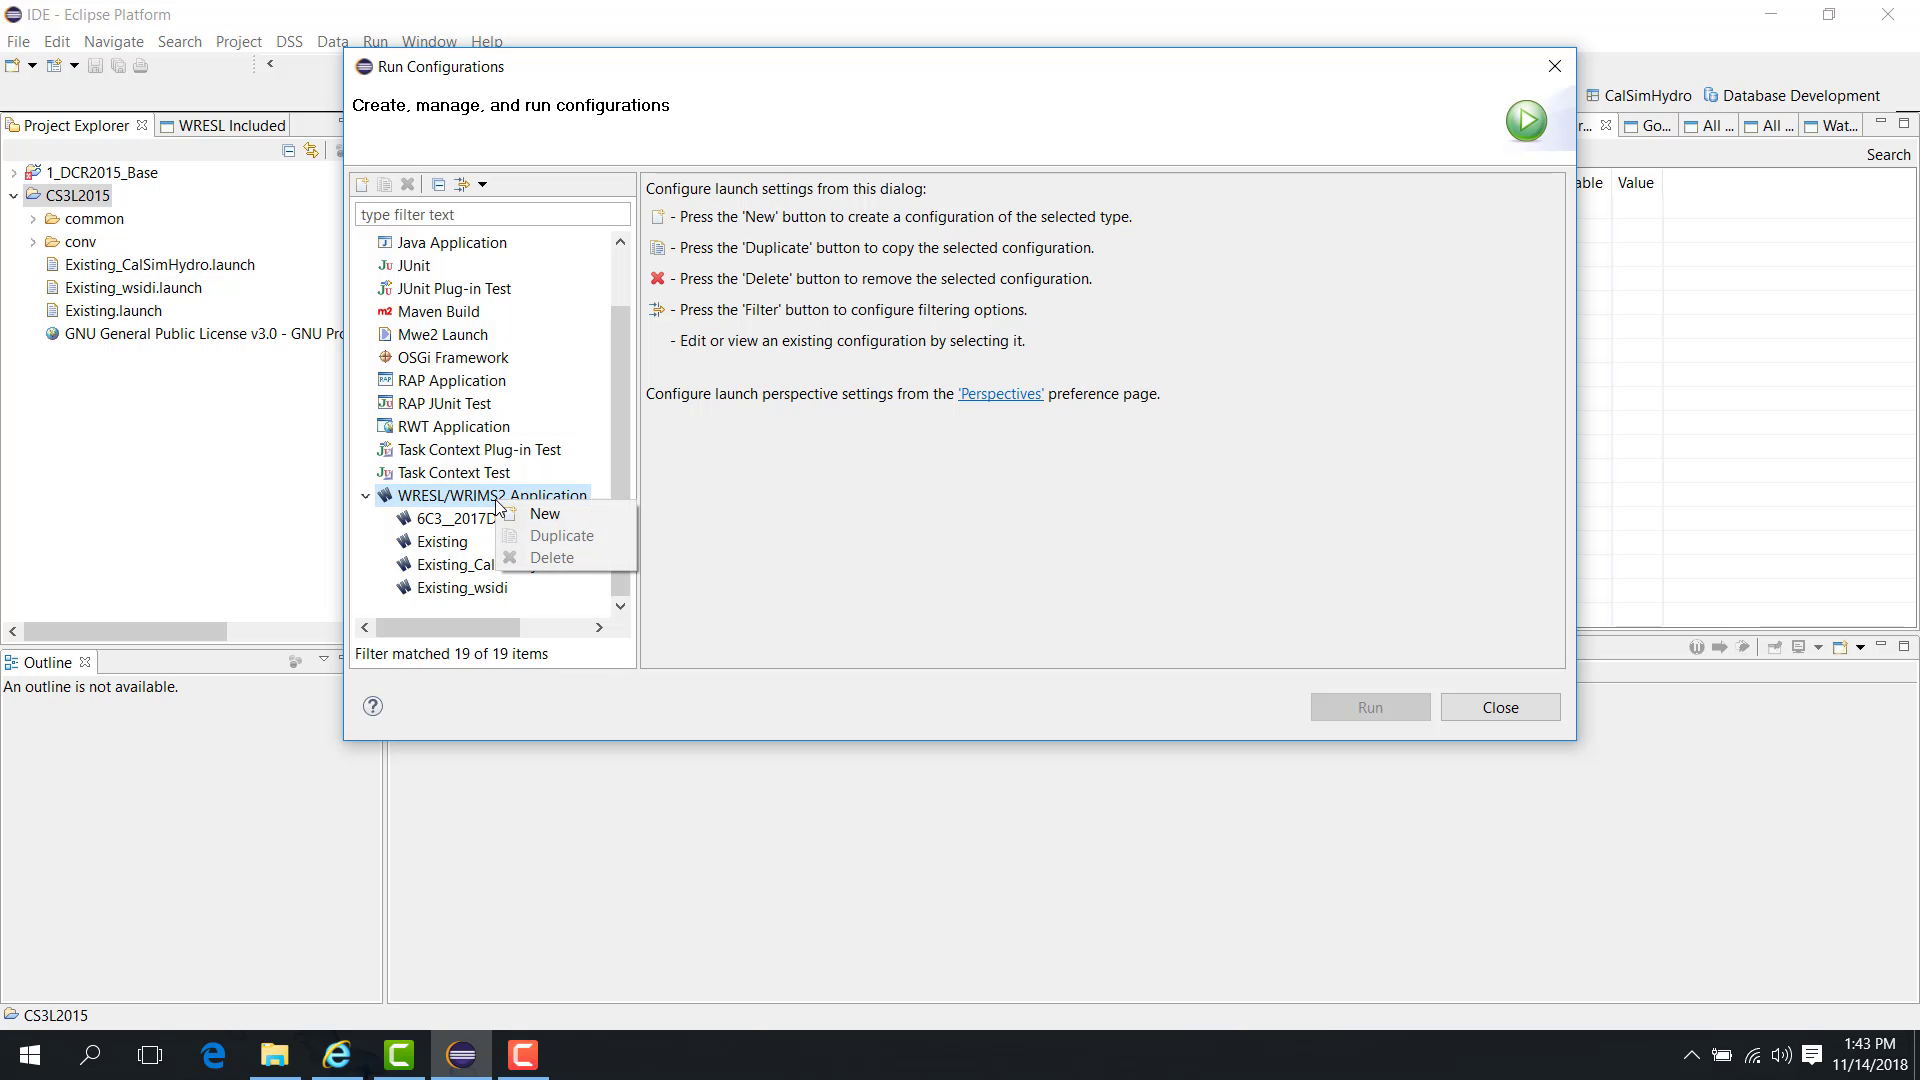
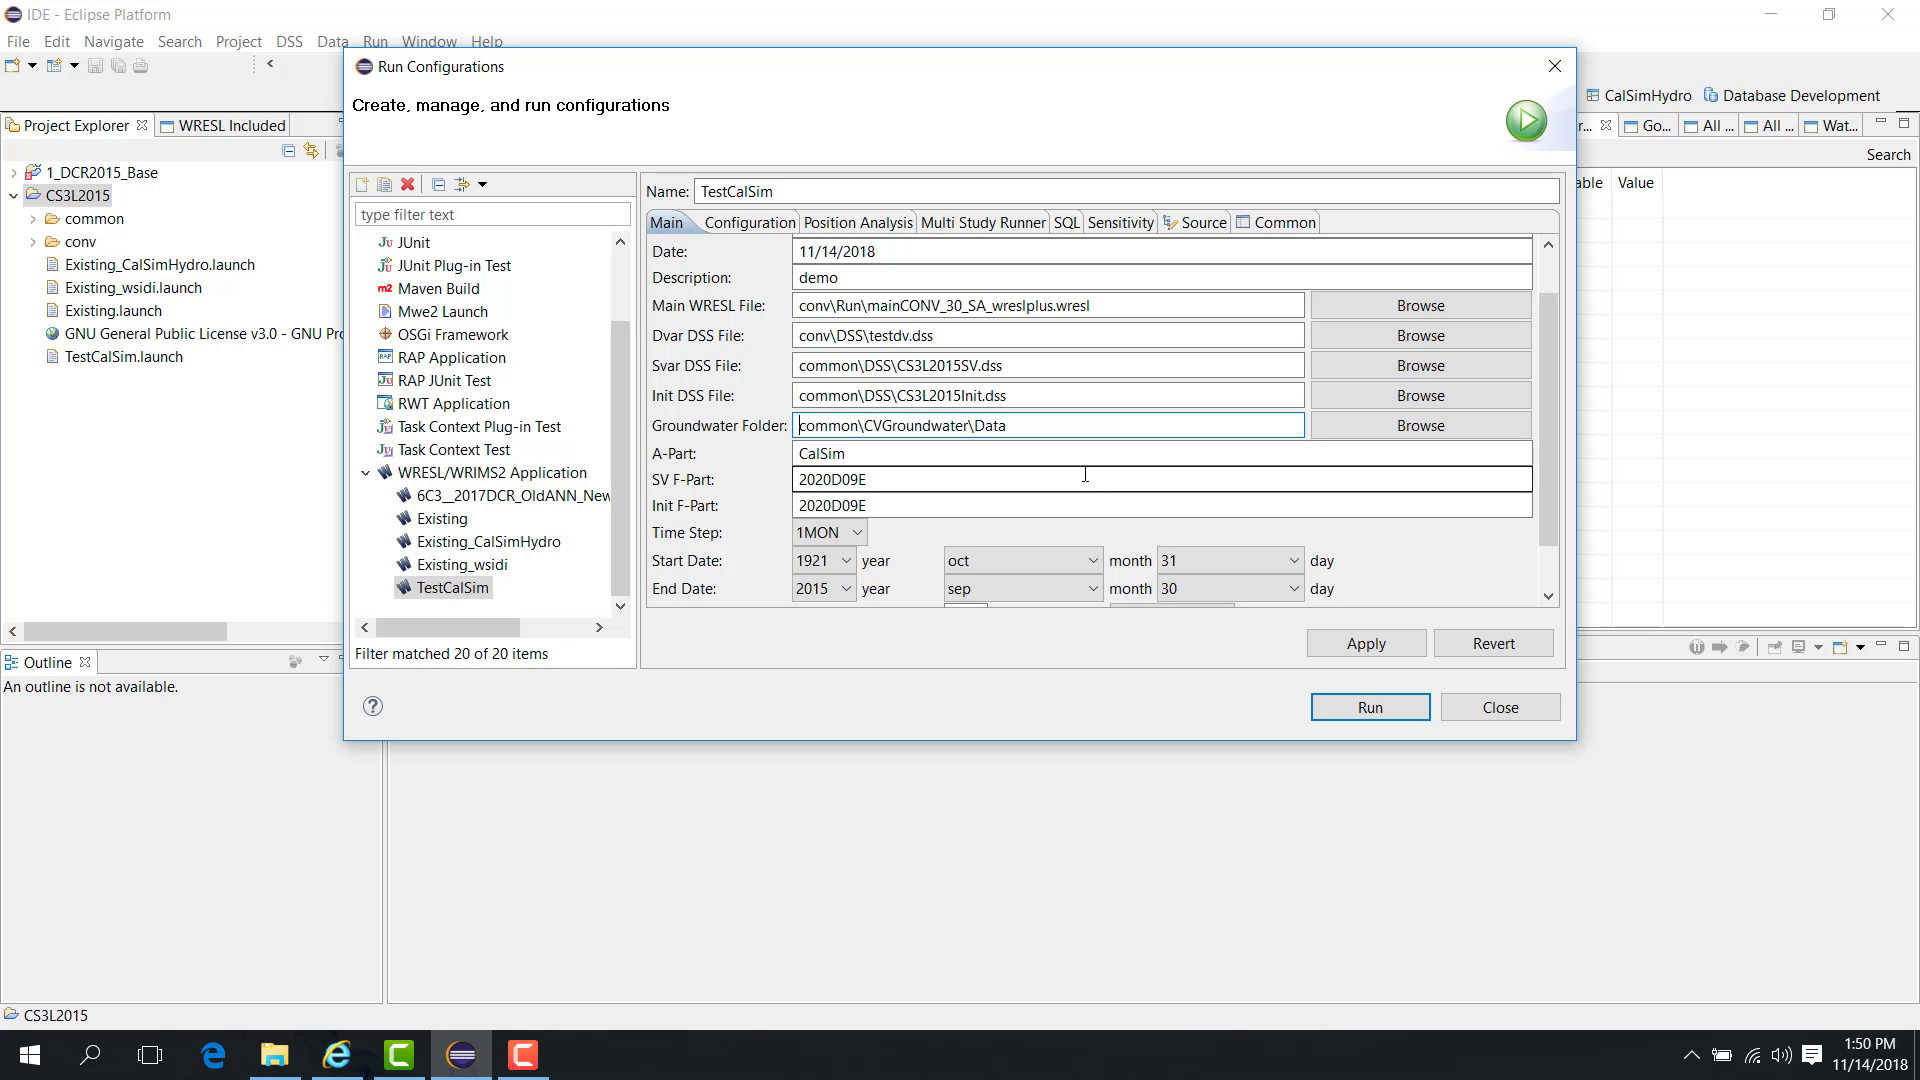
Enter a name for the launch file, such as
testCalSim.Fill in the study information, including: - study name - author - date - description
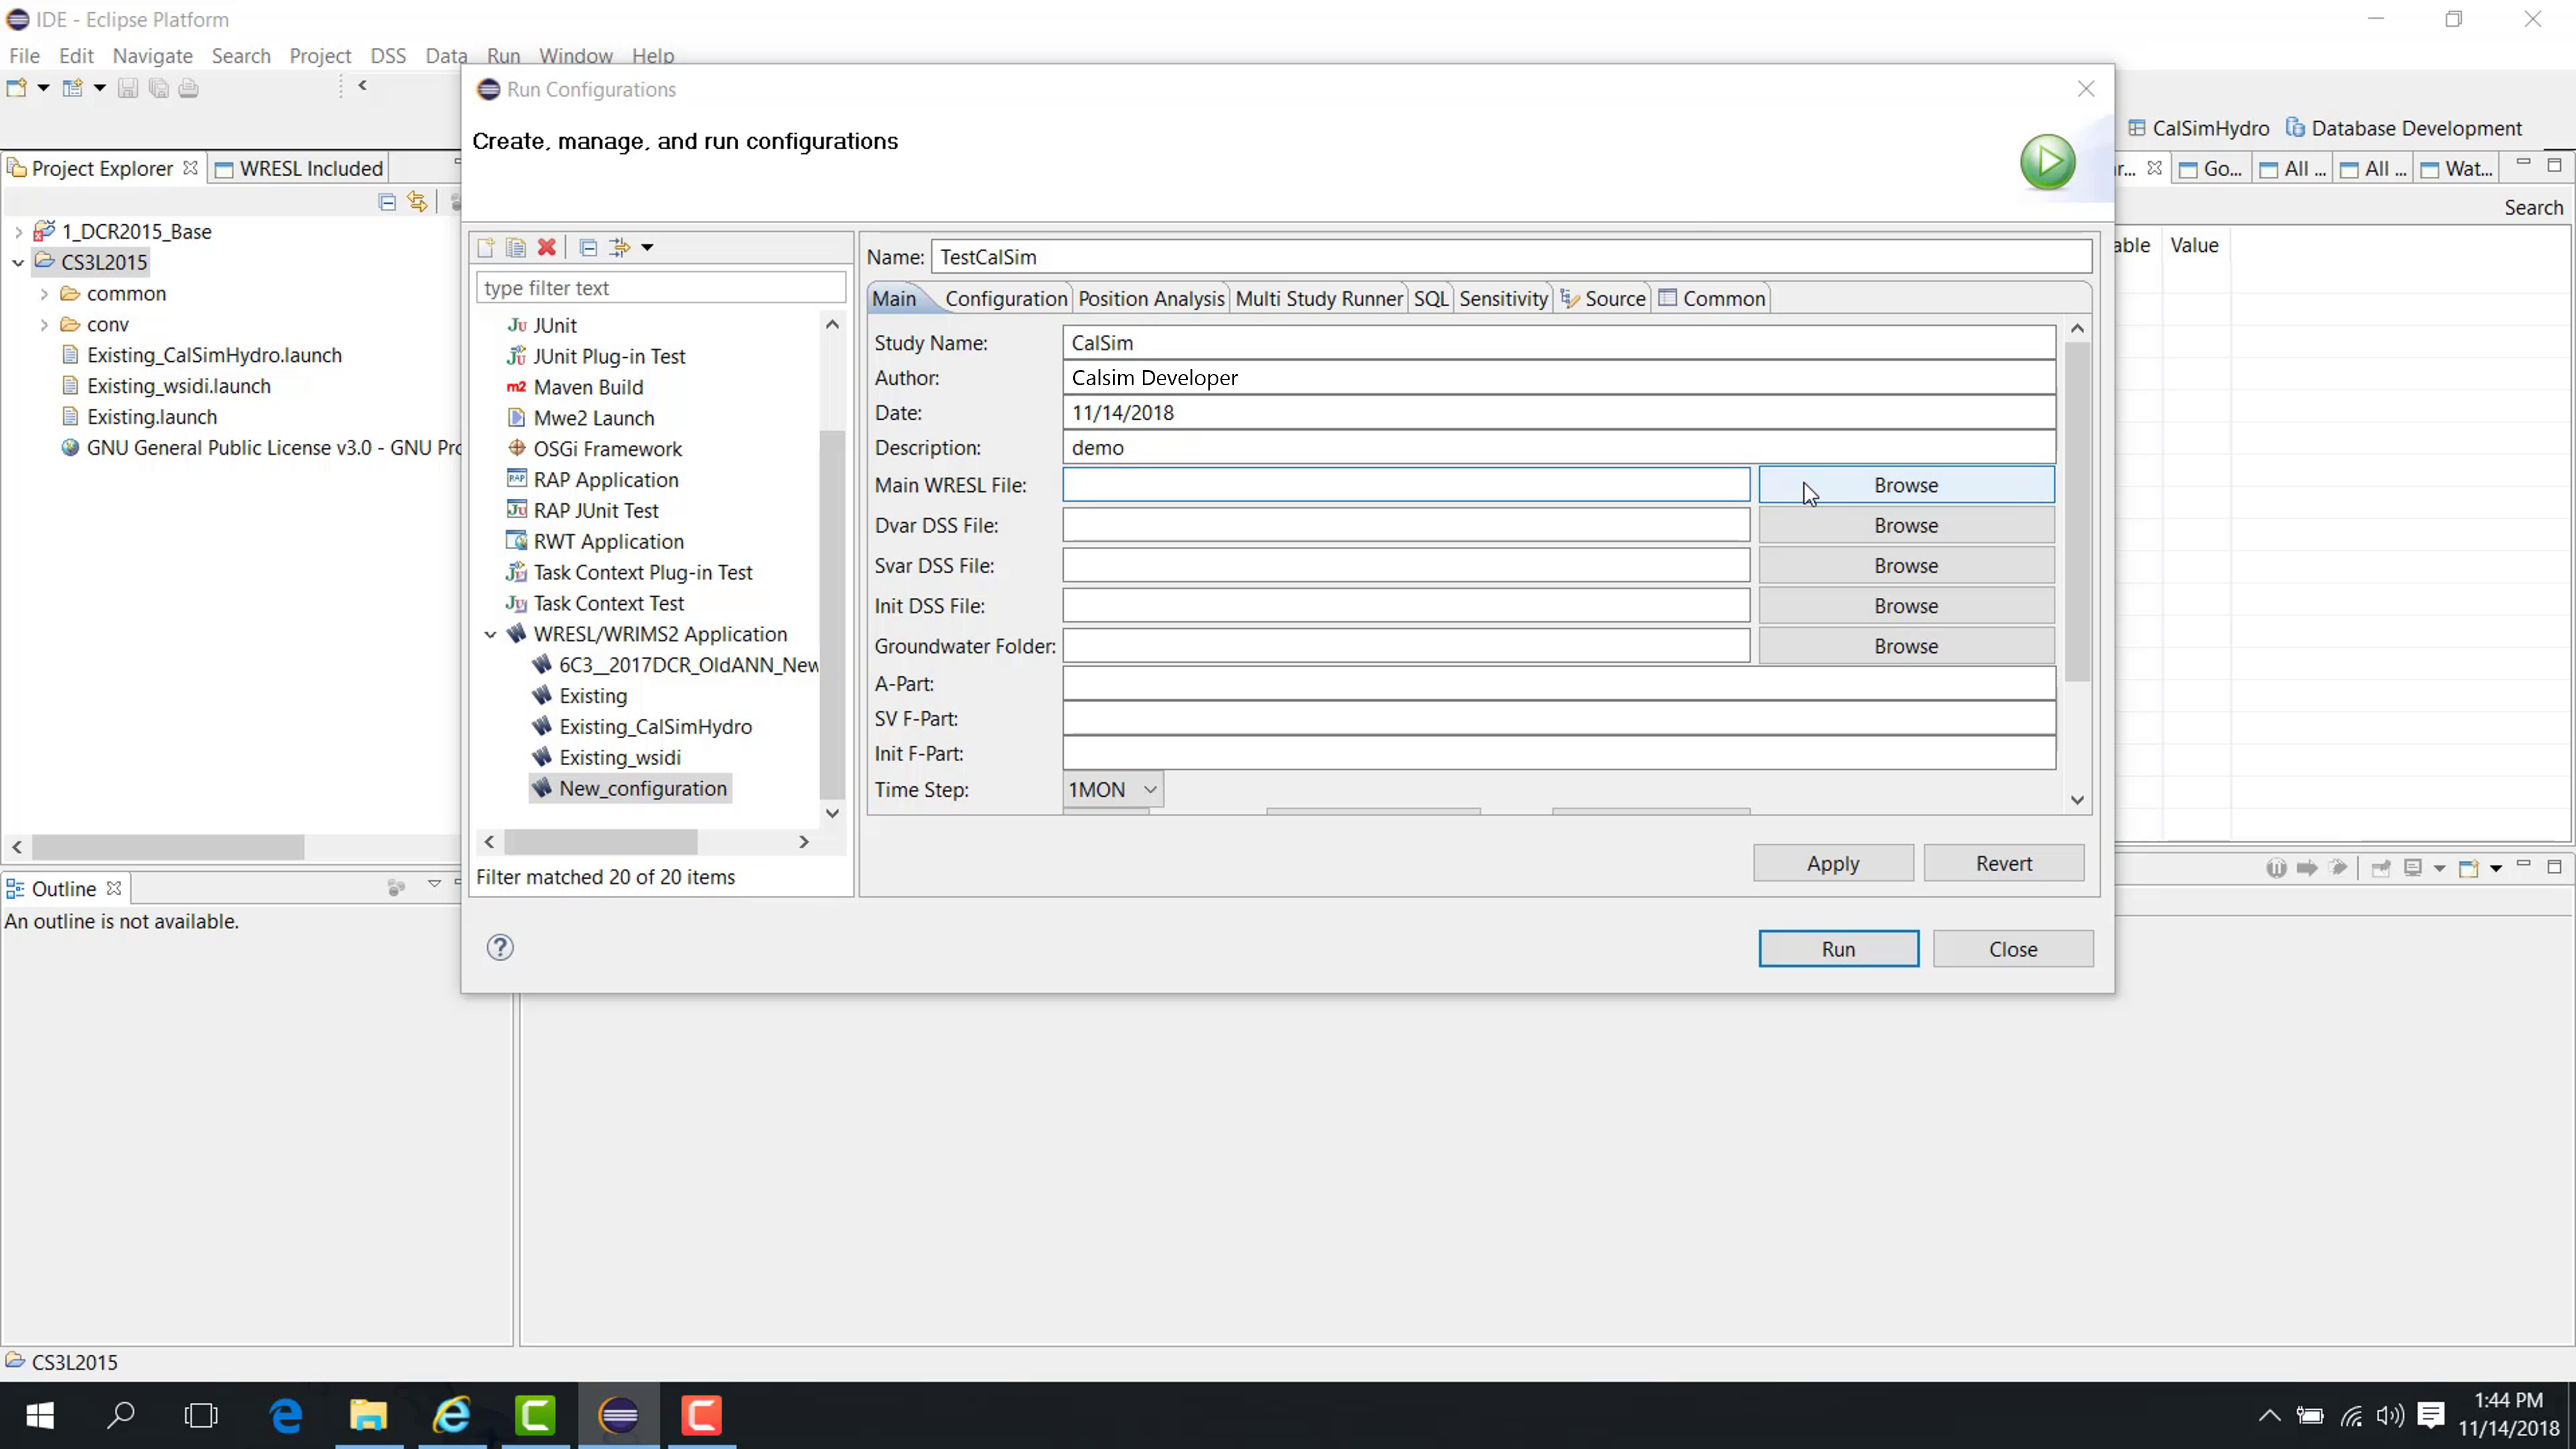
Enter a description that clearly identifies the launch configuration.
Next, browse to the main WRESL file.
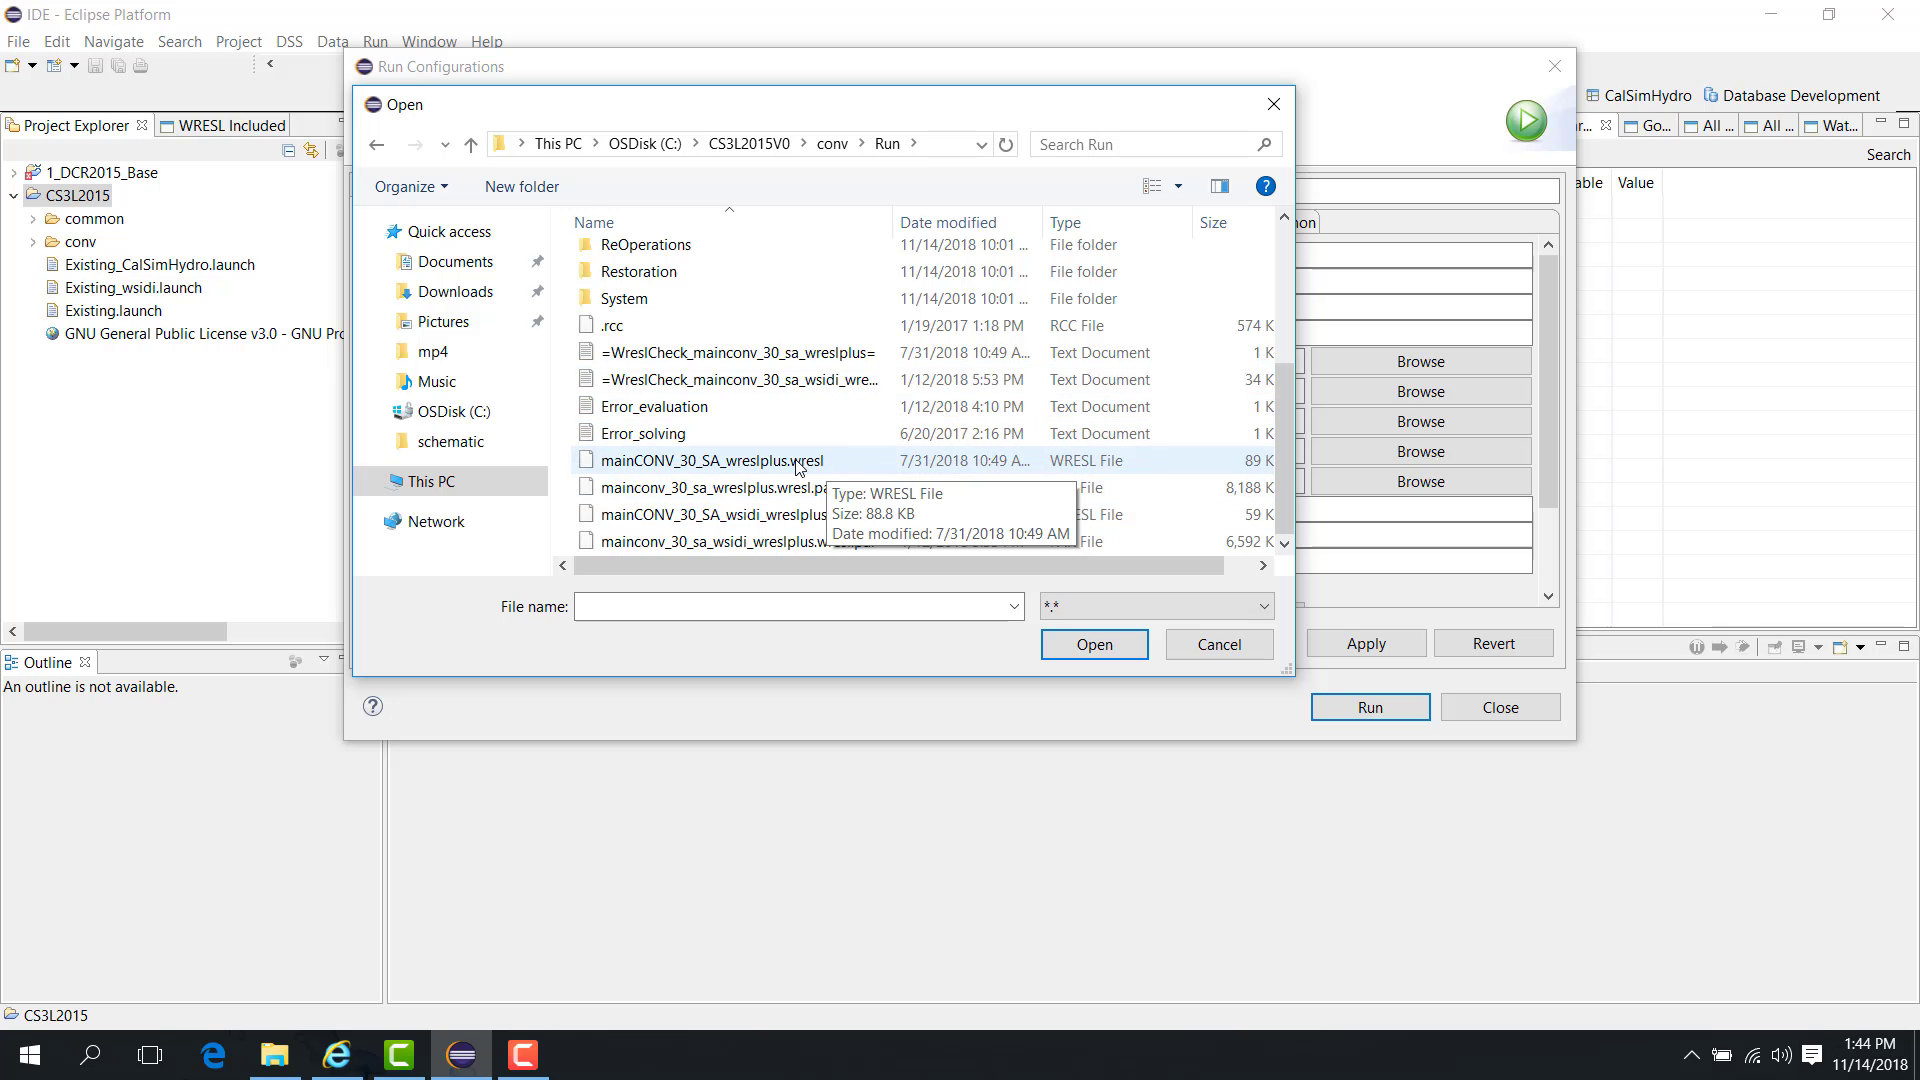
Browse to the study folder.
Open the
runfolder.Select the main WRESL file.
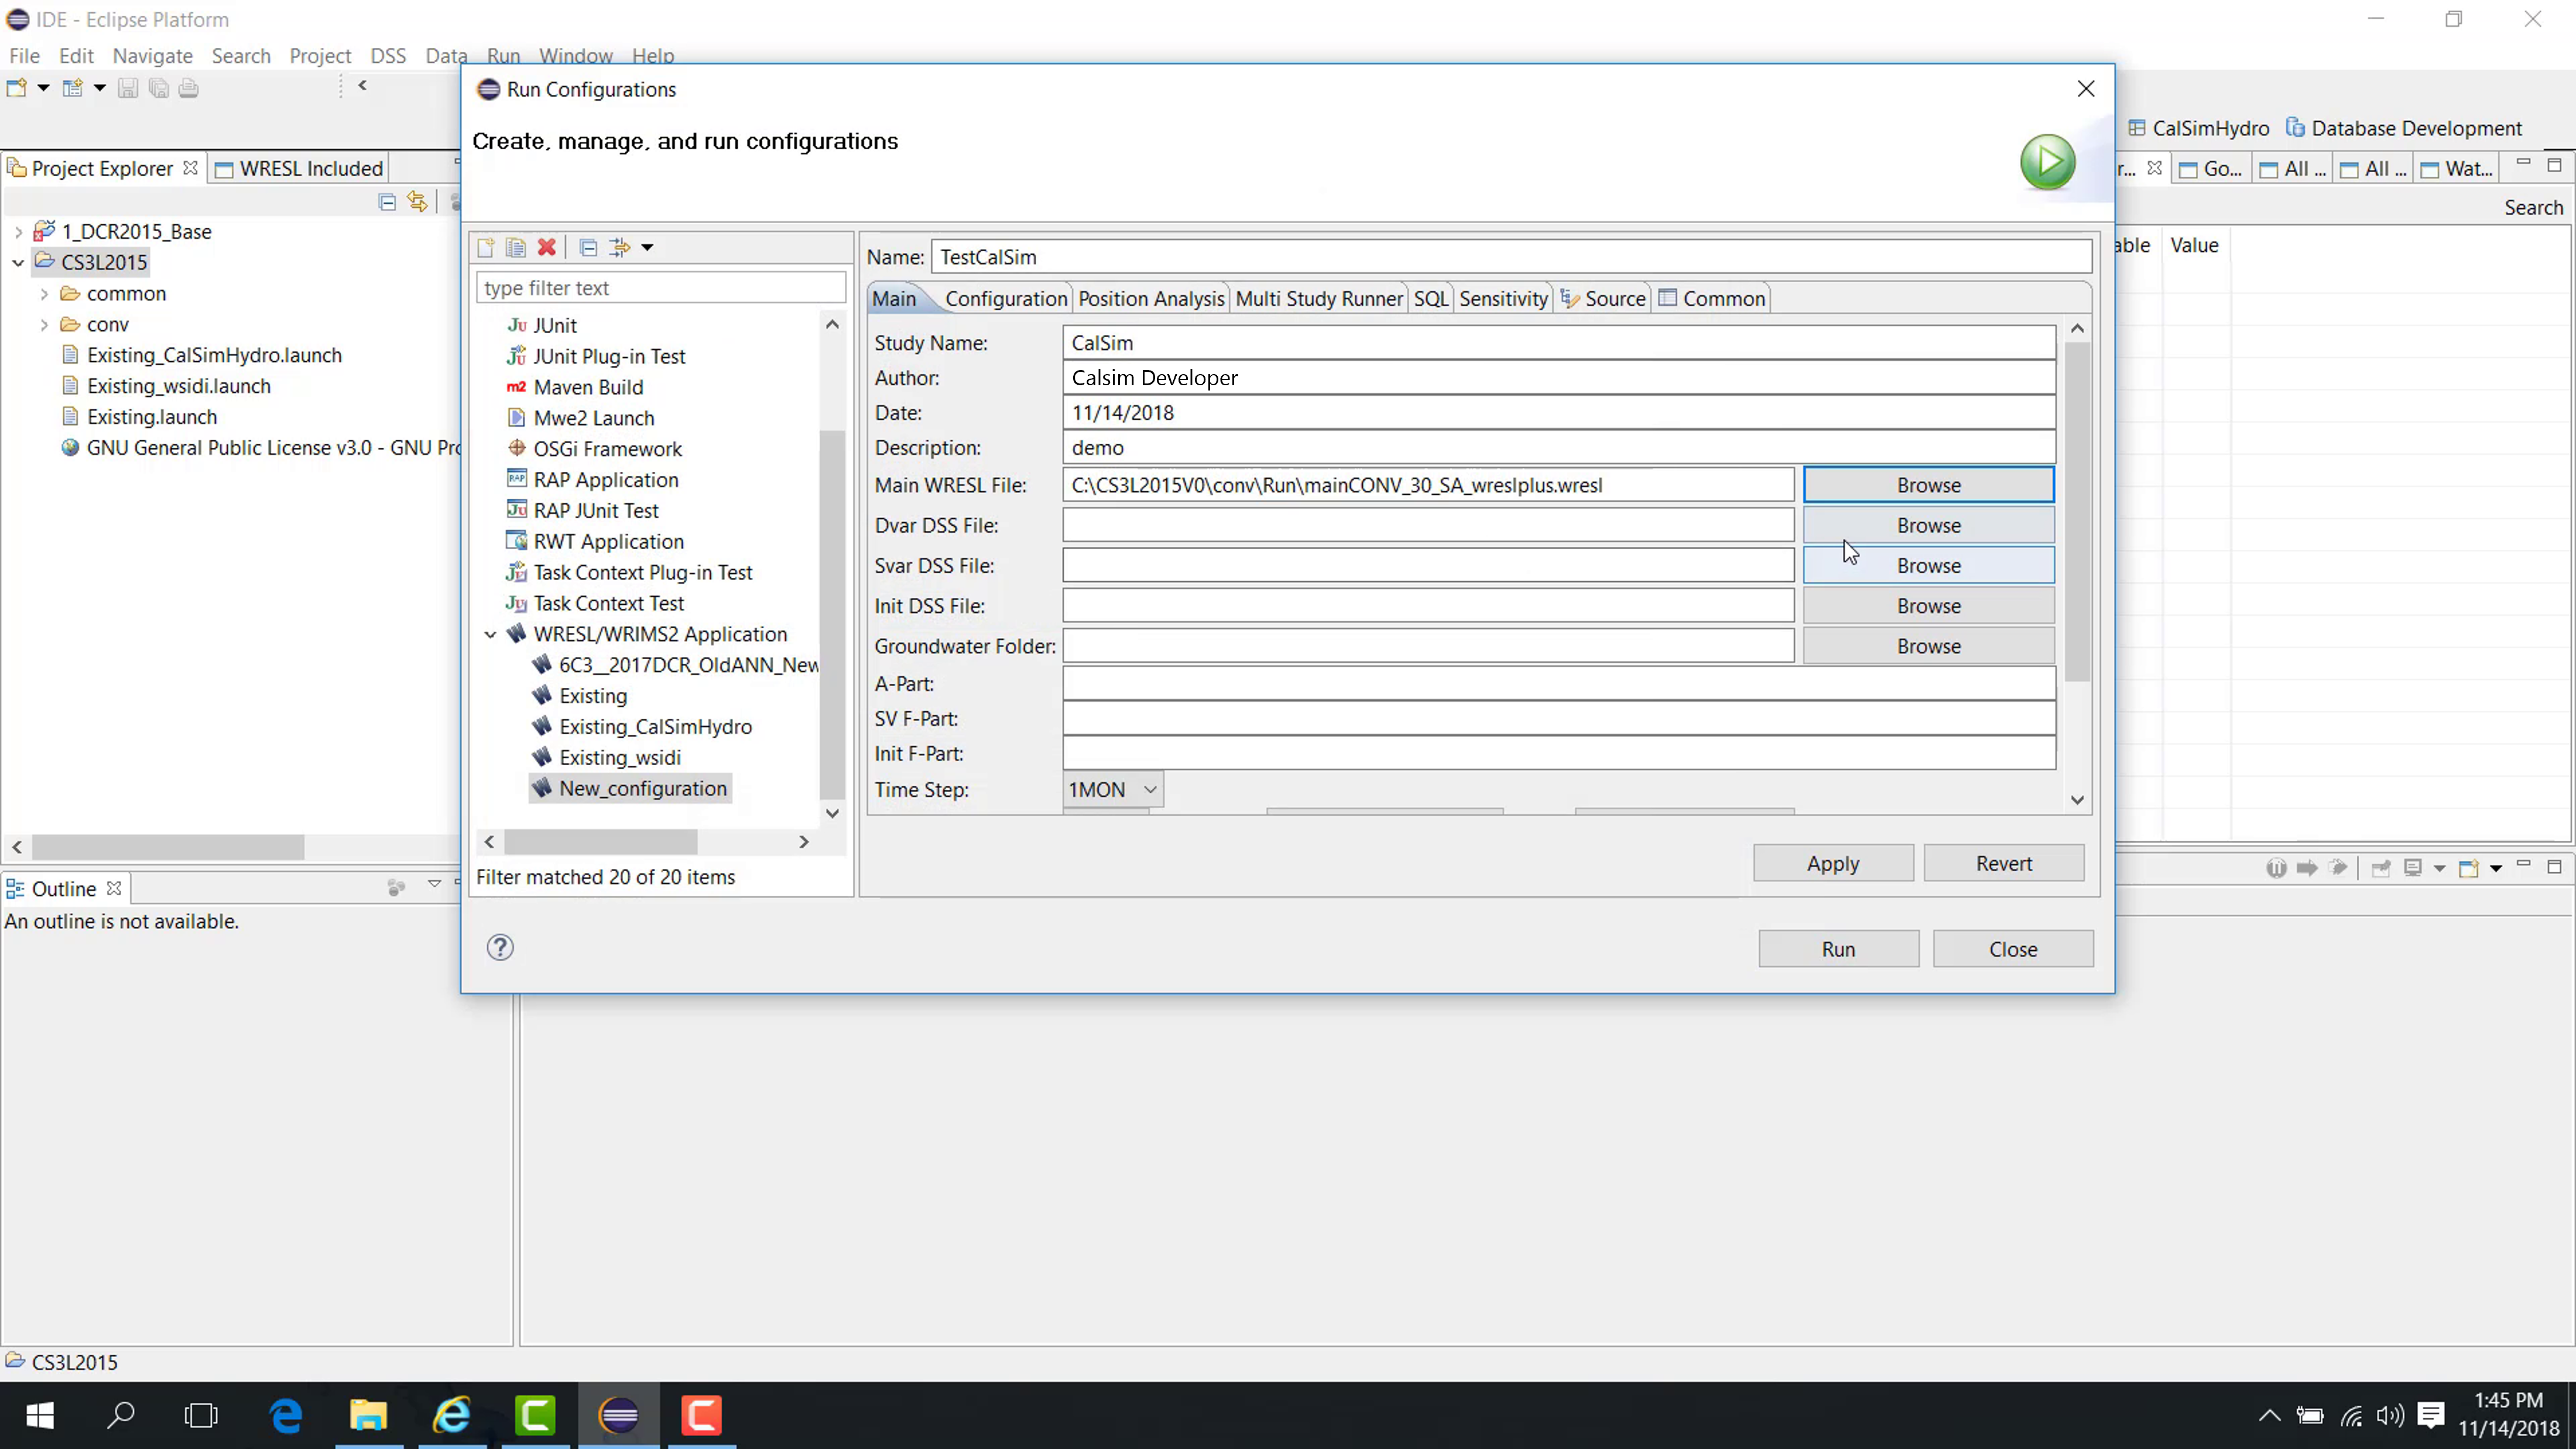
Then specify the DSS and related file paths:
Browse to the decision-variable DSS file, typically under
run\DSS, such astestDV.dss.Specify the SV DSS file, usually under
common\DSS.Specify the initial DSS file.
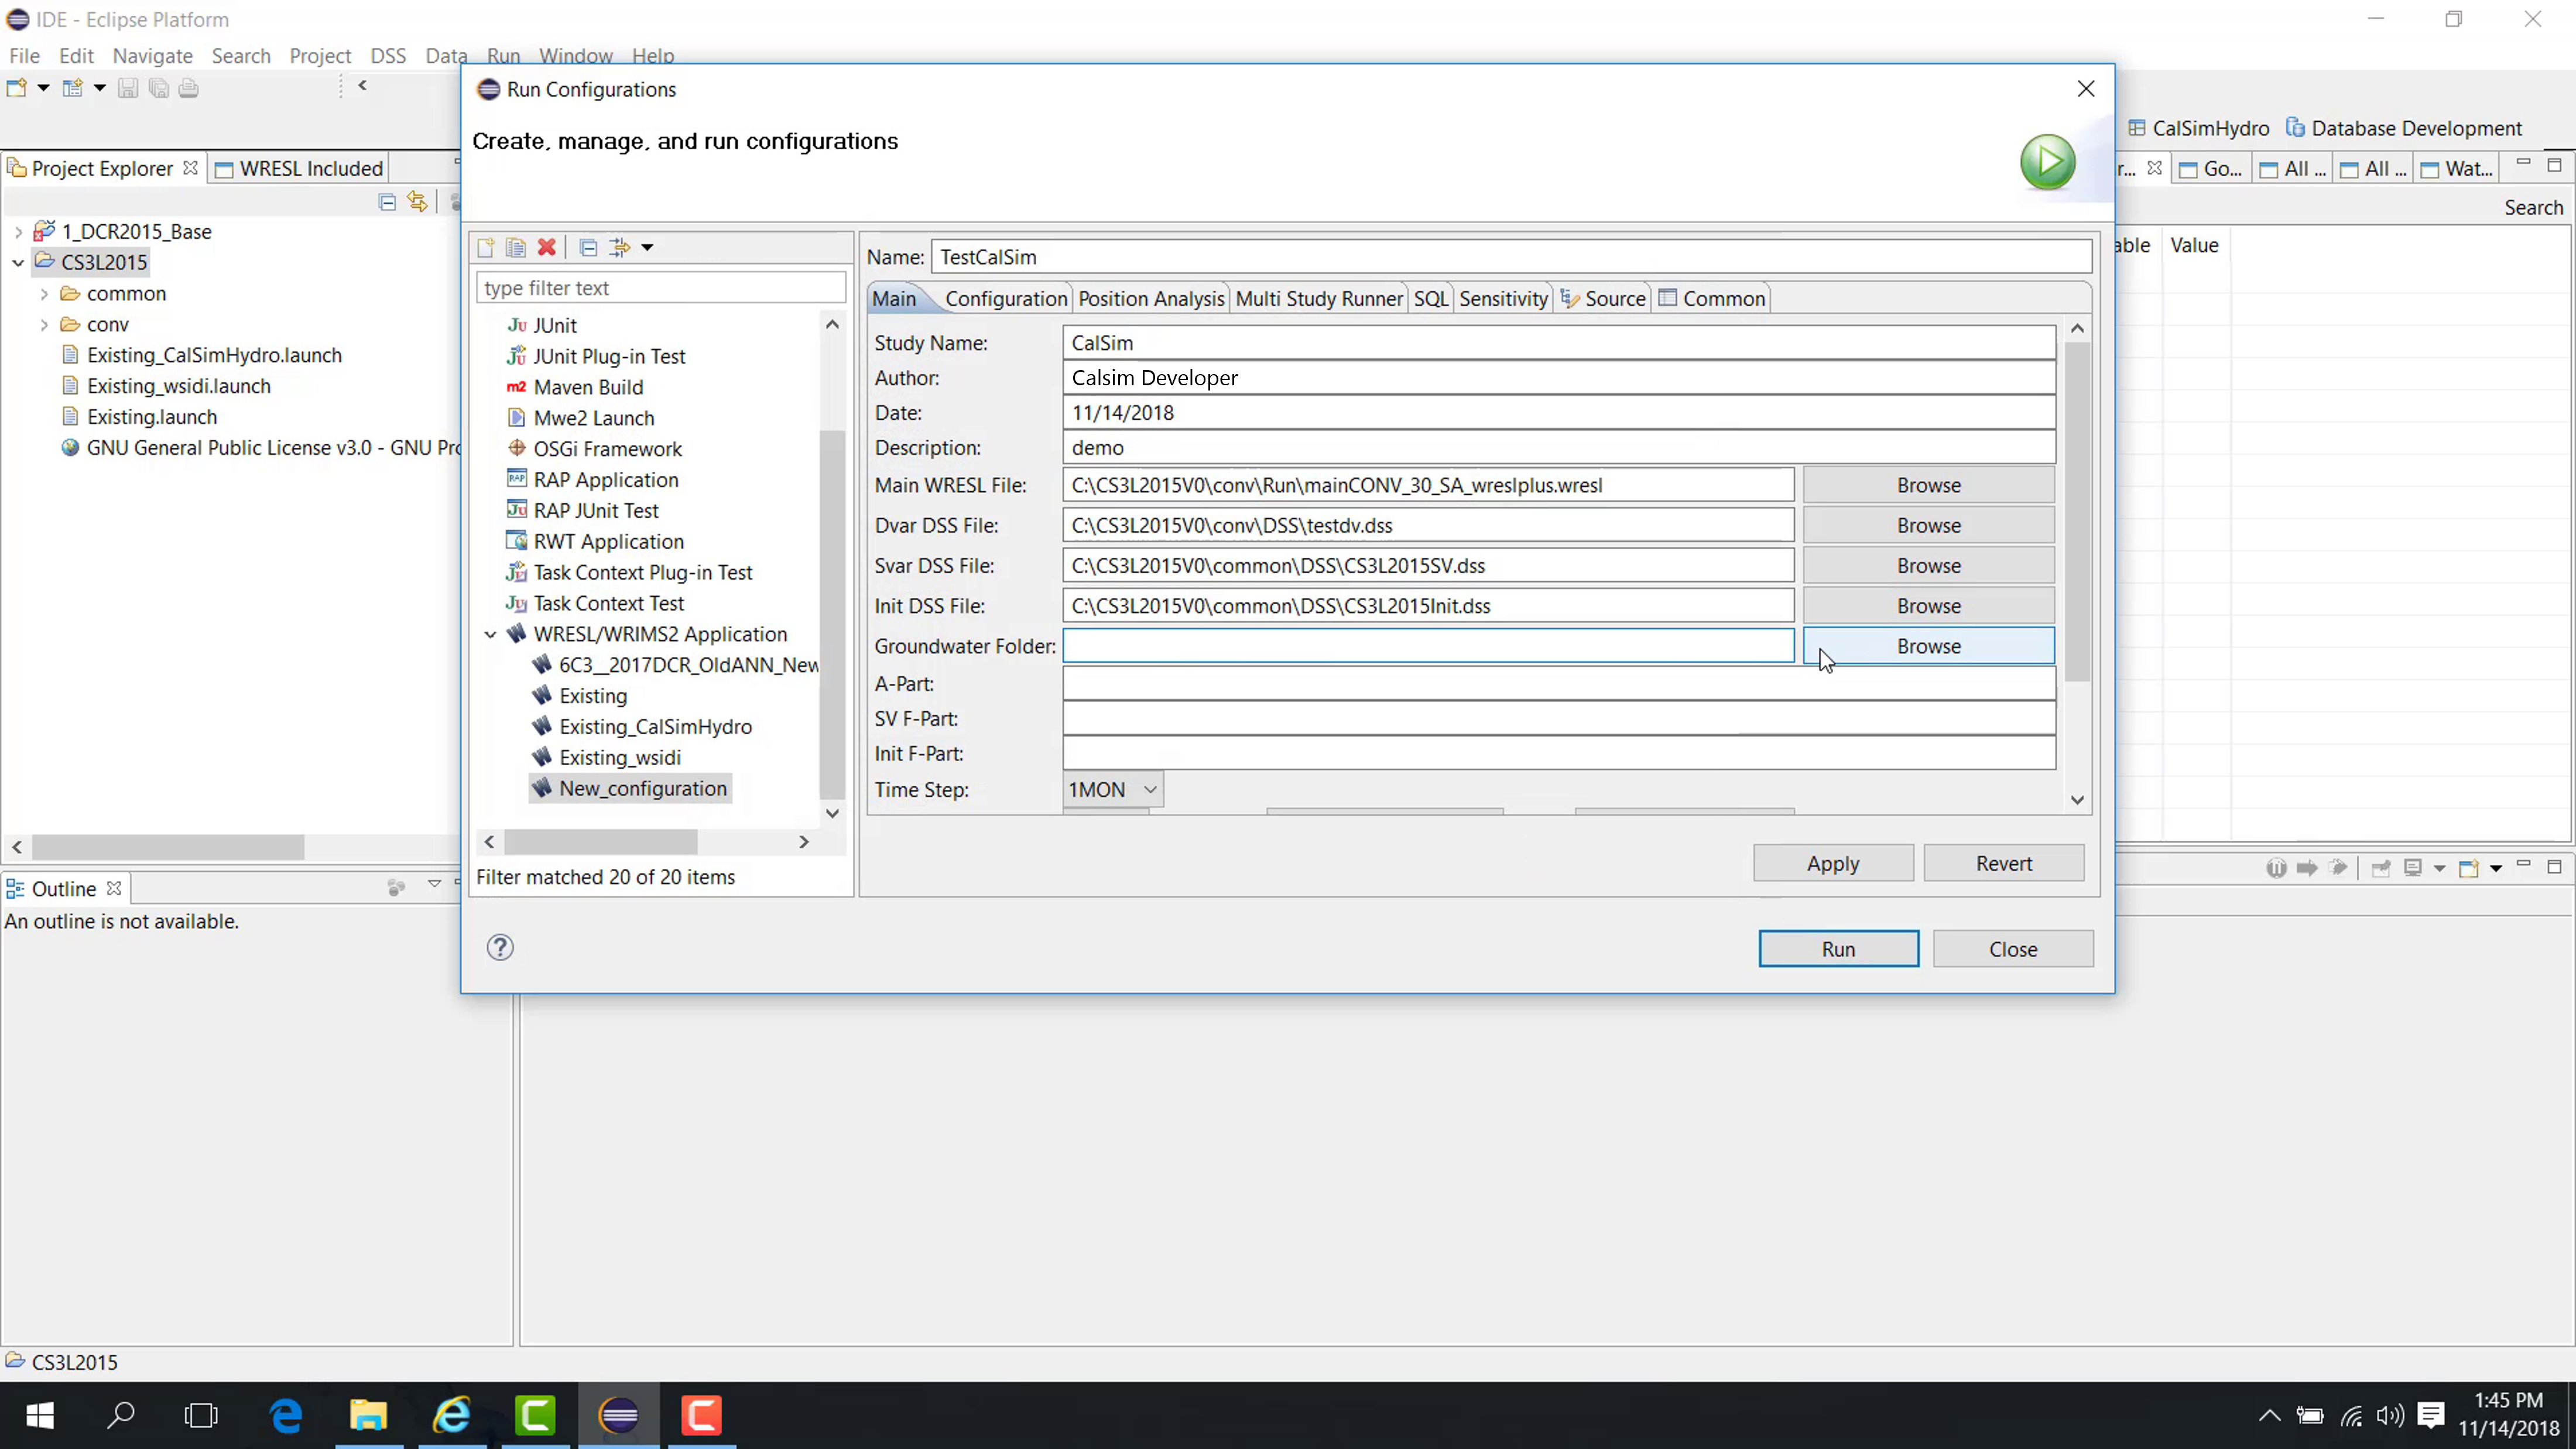
If applicable, specify the groundwater folder.
In CalSim 3, for example, a groundwater folder may be located under a path such as CVgroundwater\data.
The HEC-DSS fields are used as follows:
The Dvar DSS file is the output;
The Svar DSS file is an input;
The Initial DSS file is also an input.
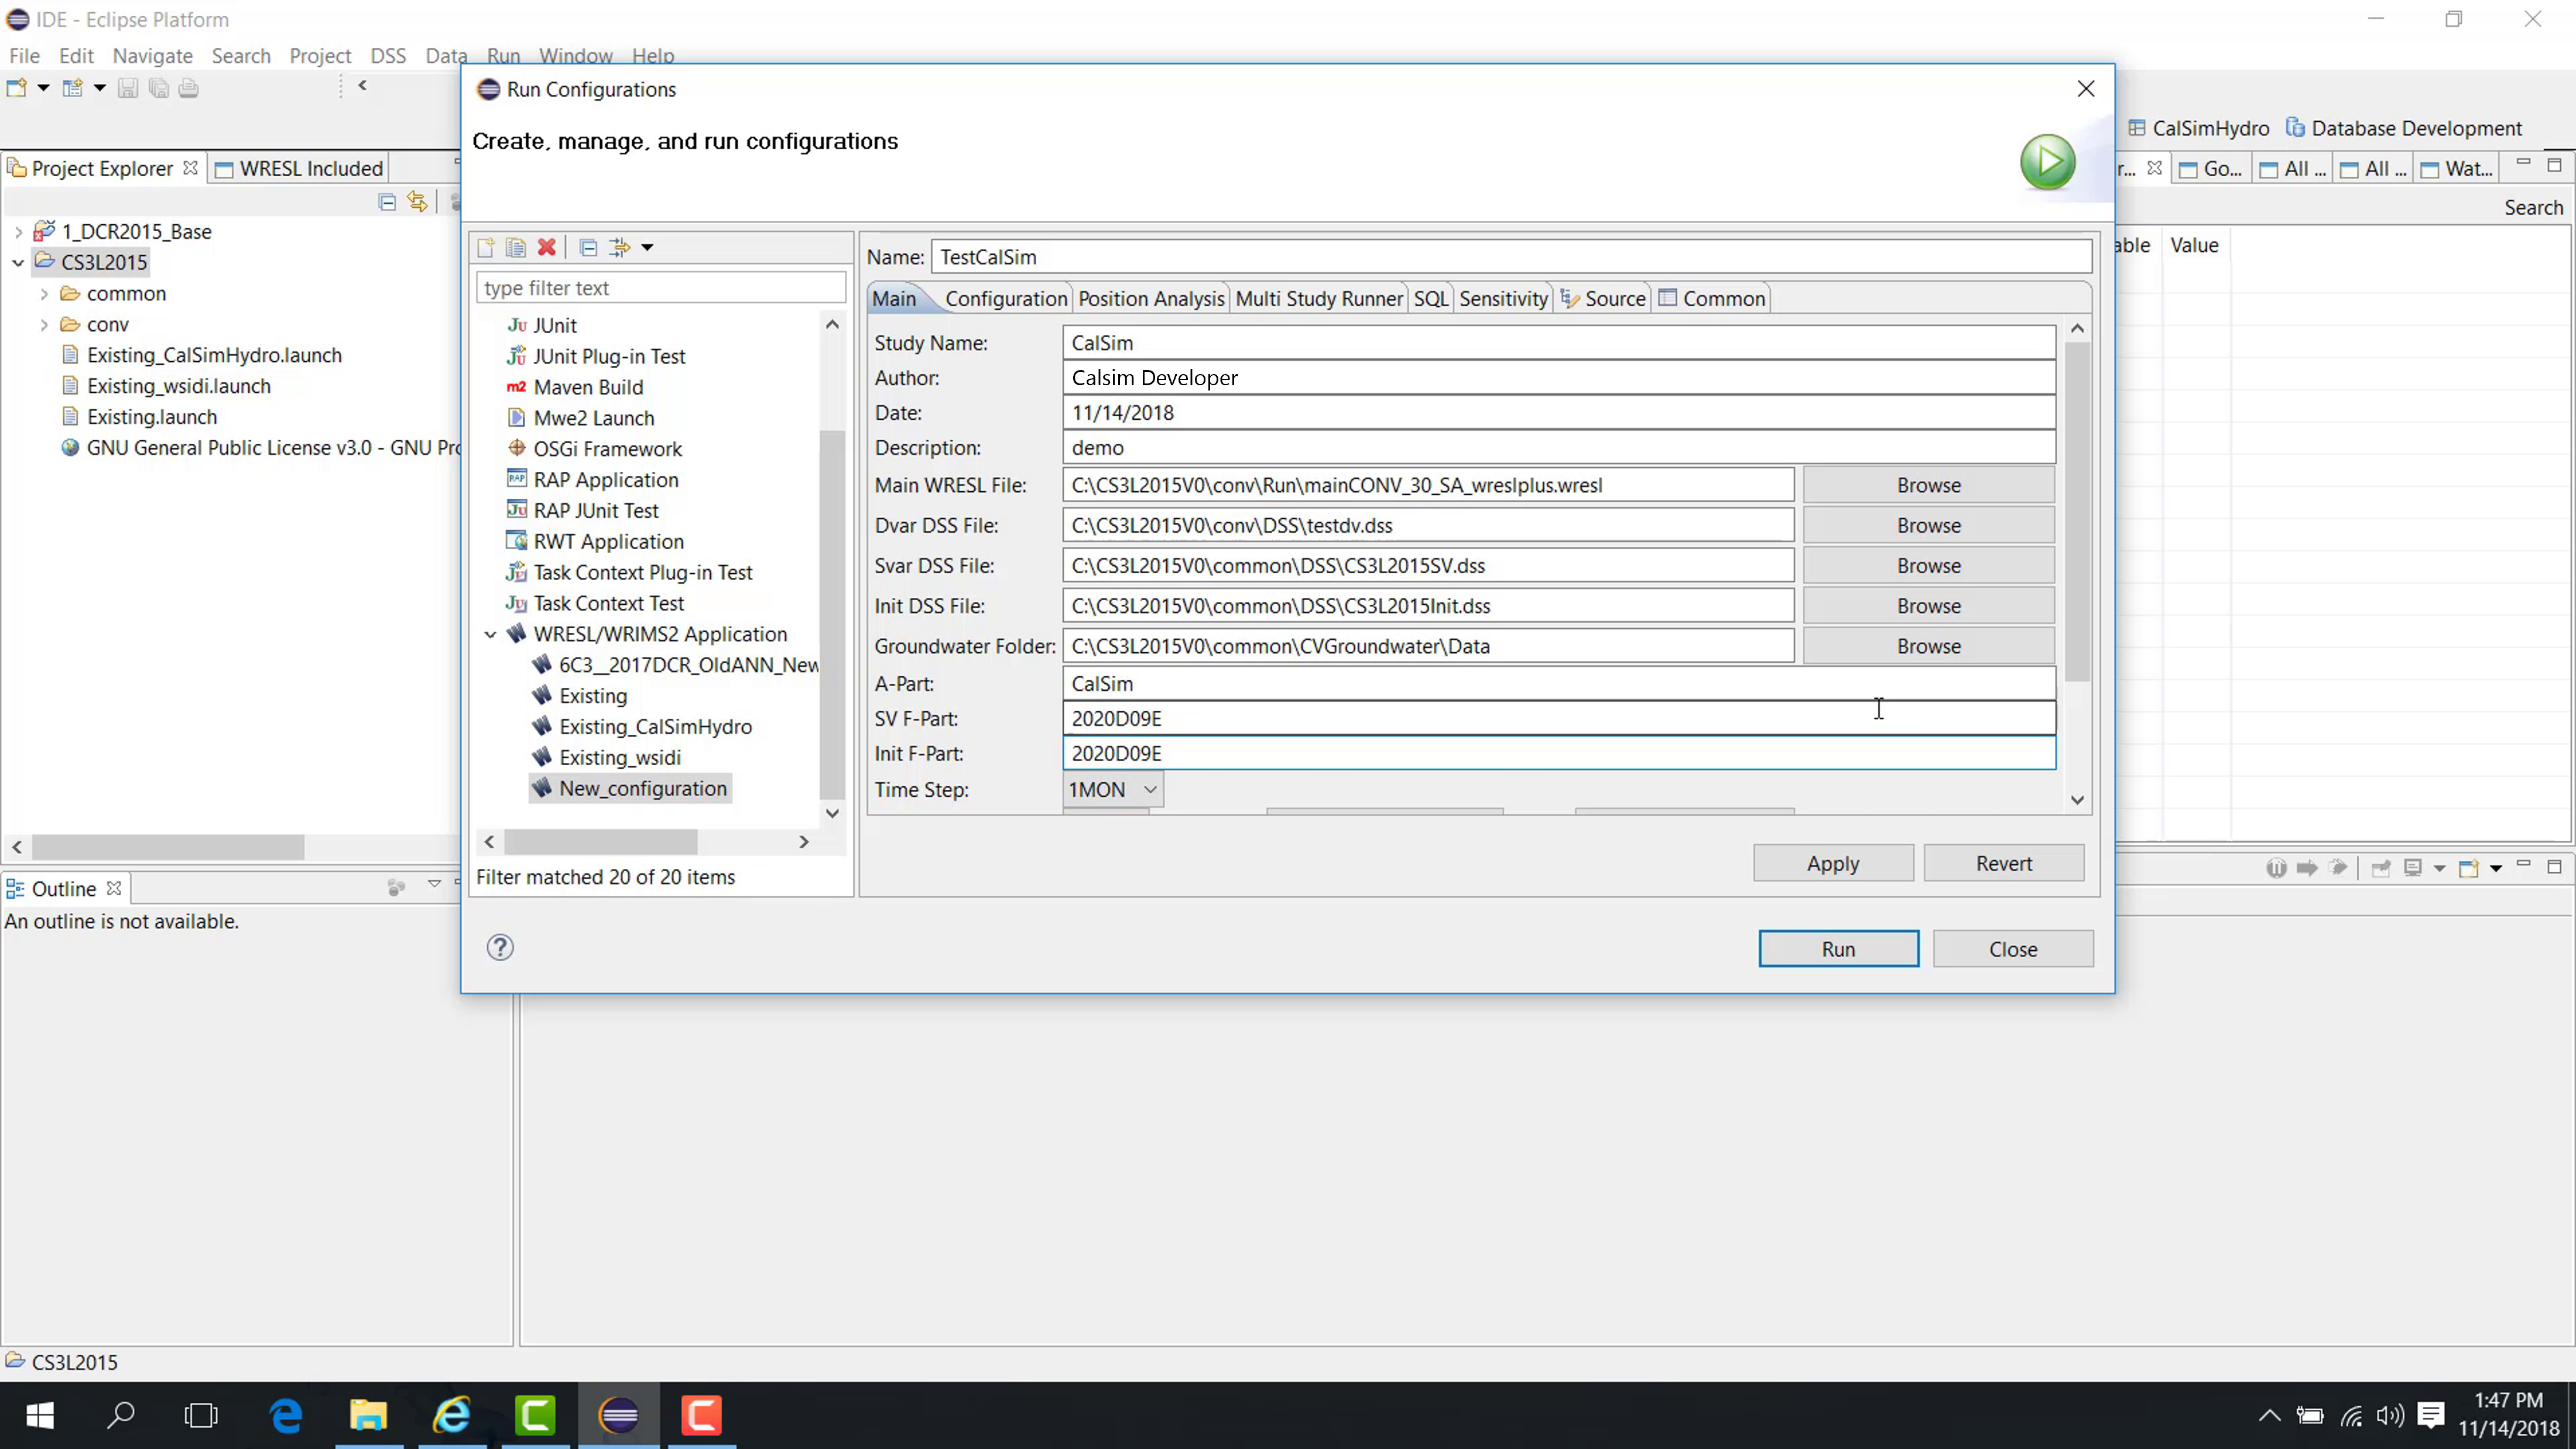
You must also provide Part A and Part F values for these DSS files.
These values are typically obtained from the pathname parts of the DSS records already used by the study. To find them, open the corresponding DV, SV, or Initial DSS file in DSSVue, inspect the pathname of the records used by the study, and copy the Part A and Part F values that match the existing naming convention.
The three files may share the same Part A.
The Part F values may be the same or different.
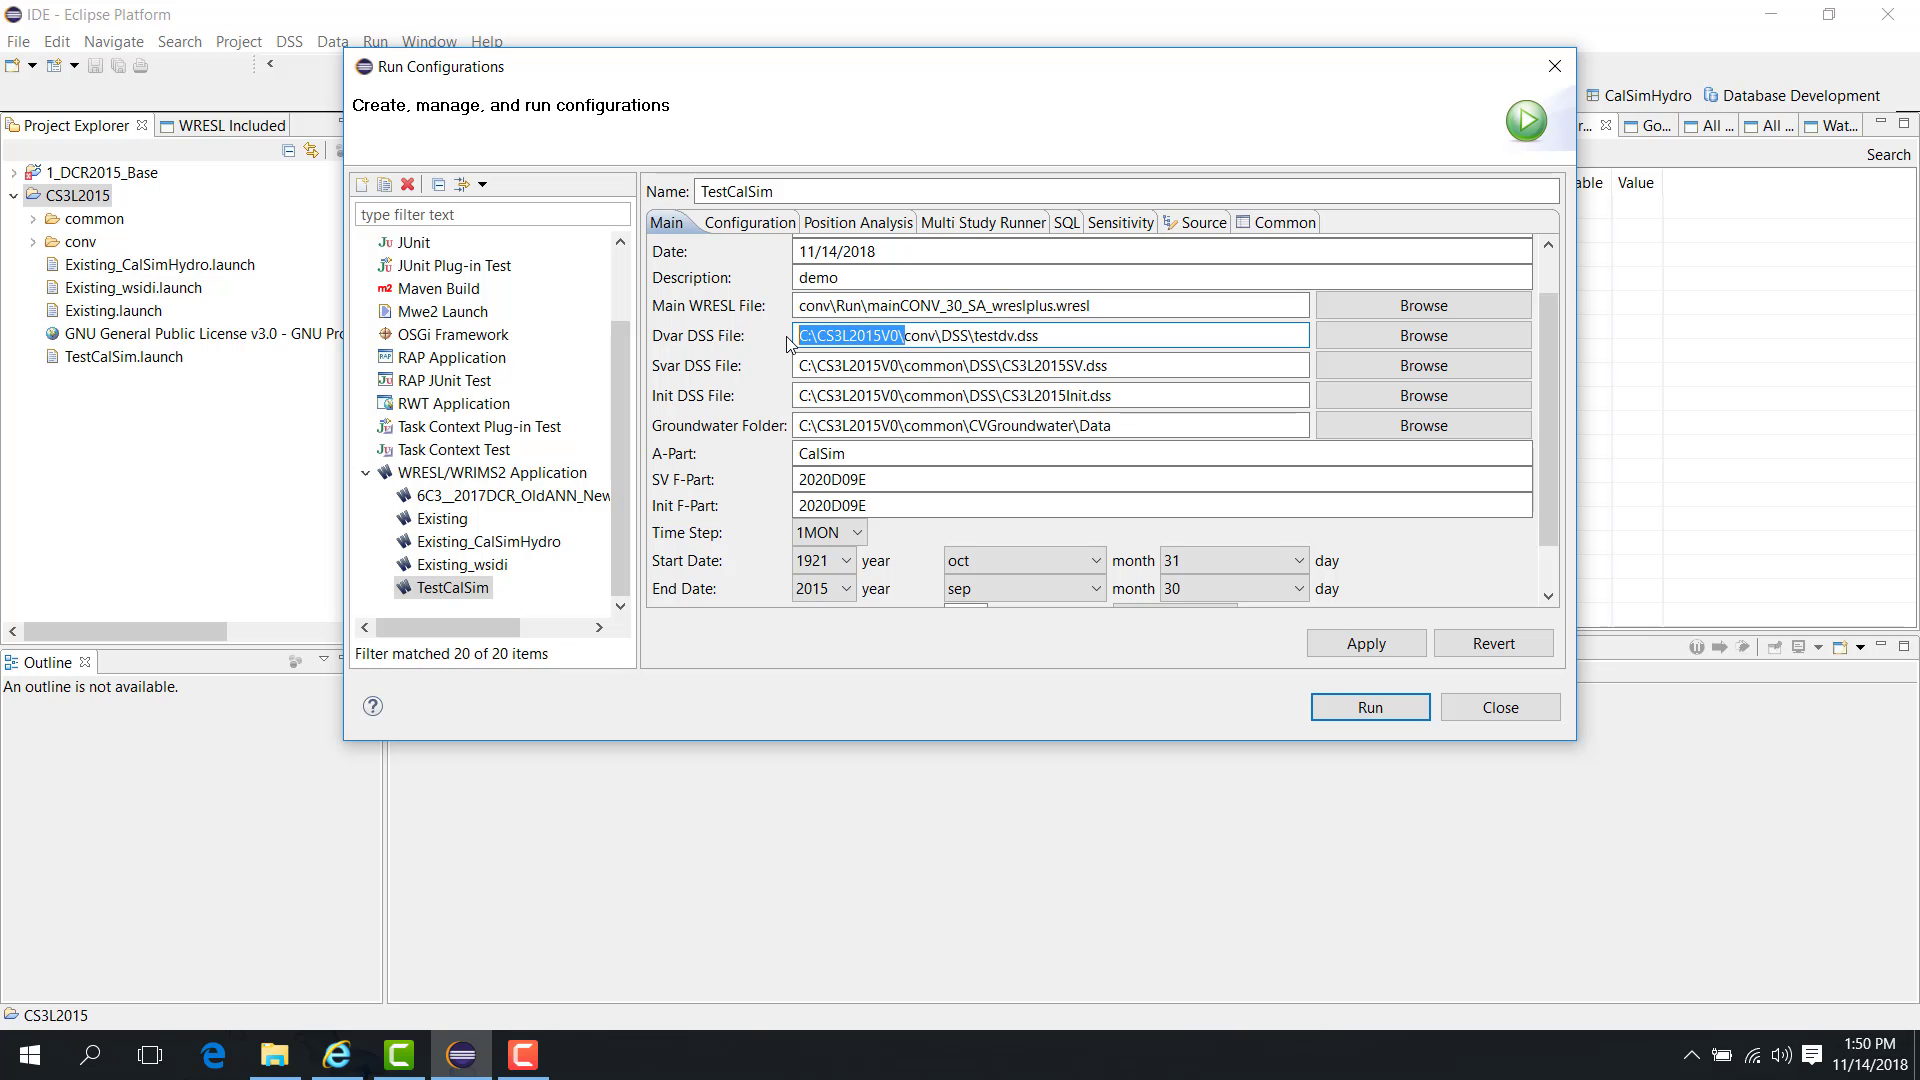
Then configure the time settings:
Choose whether the model is monthly or daily.
Set the starting and ending dates.

For a regular study that does not use position analysis or multi-study run, the main launch setup is complete at this point.
Click Apply.
Save the launch file into the study
After you click Apply, the launch file is created, but by default it may be saved in the WRIMS 3 package location.
To store the launch file with the study:
Change the storage option from Local File to Shared File.

Browse to the study folder.
Select the study folder.
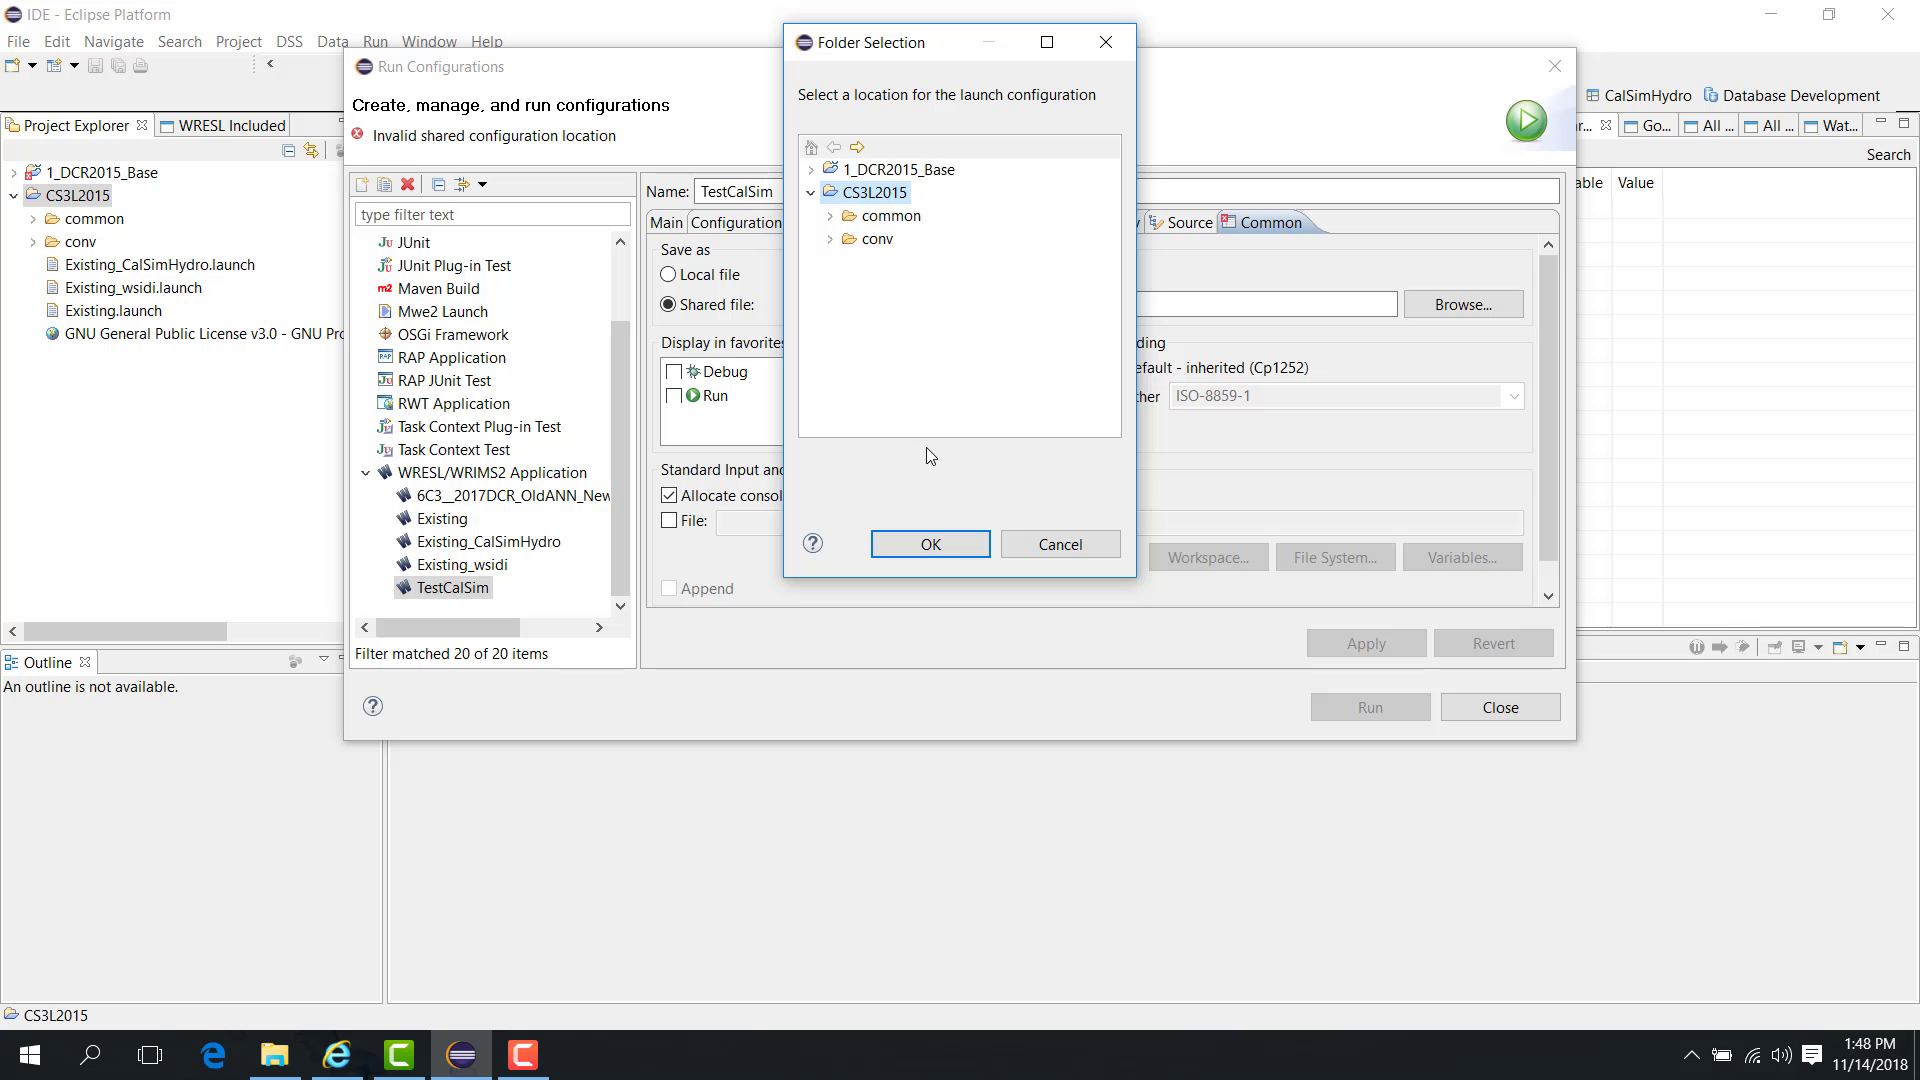
Click OK.
Click Apply again.
The launch file is now saved inside the study.
Use relative paths instead of absolute paths
If the launch file uses absolute paths, another user may need to update all file references when the study is stored in a different location on a different computer.
To improve portability:
Replace absolute paths with relative paths.
Make each path relative to the launch file location.
Click Apply again.
The main file, DV DSS file, SV file, initial file, and groundwater folder can all be converted to relative paths.
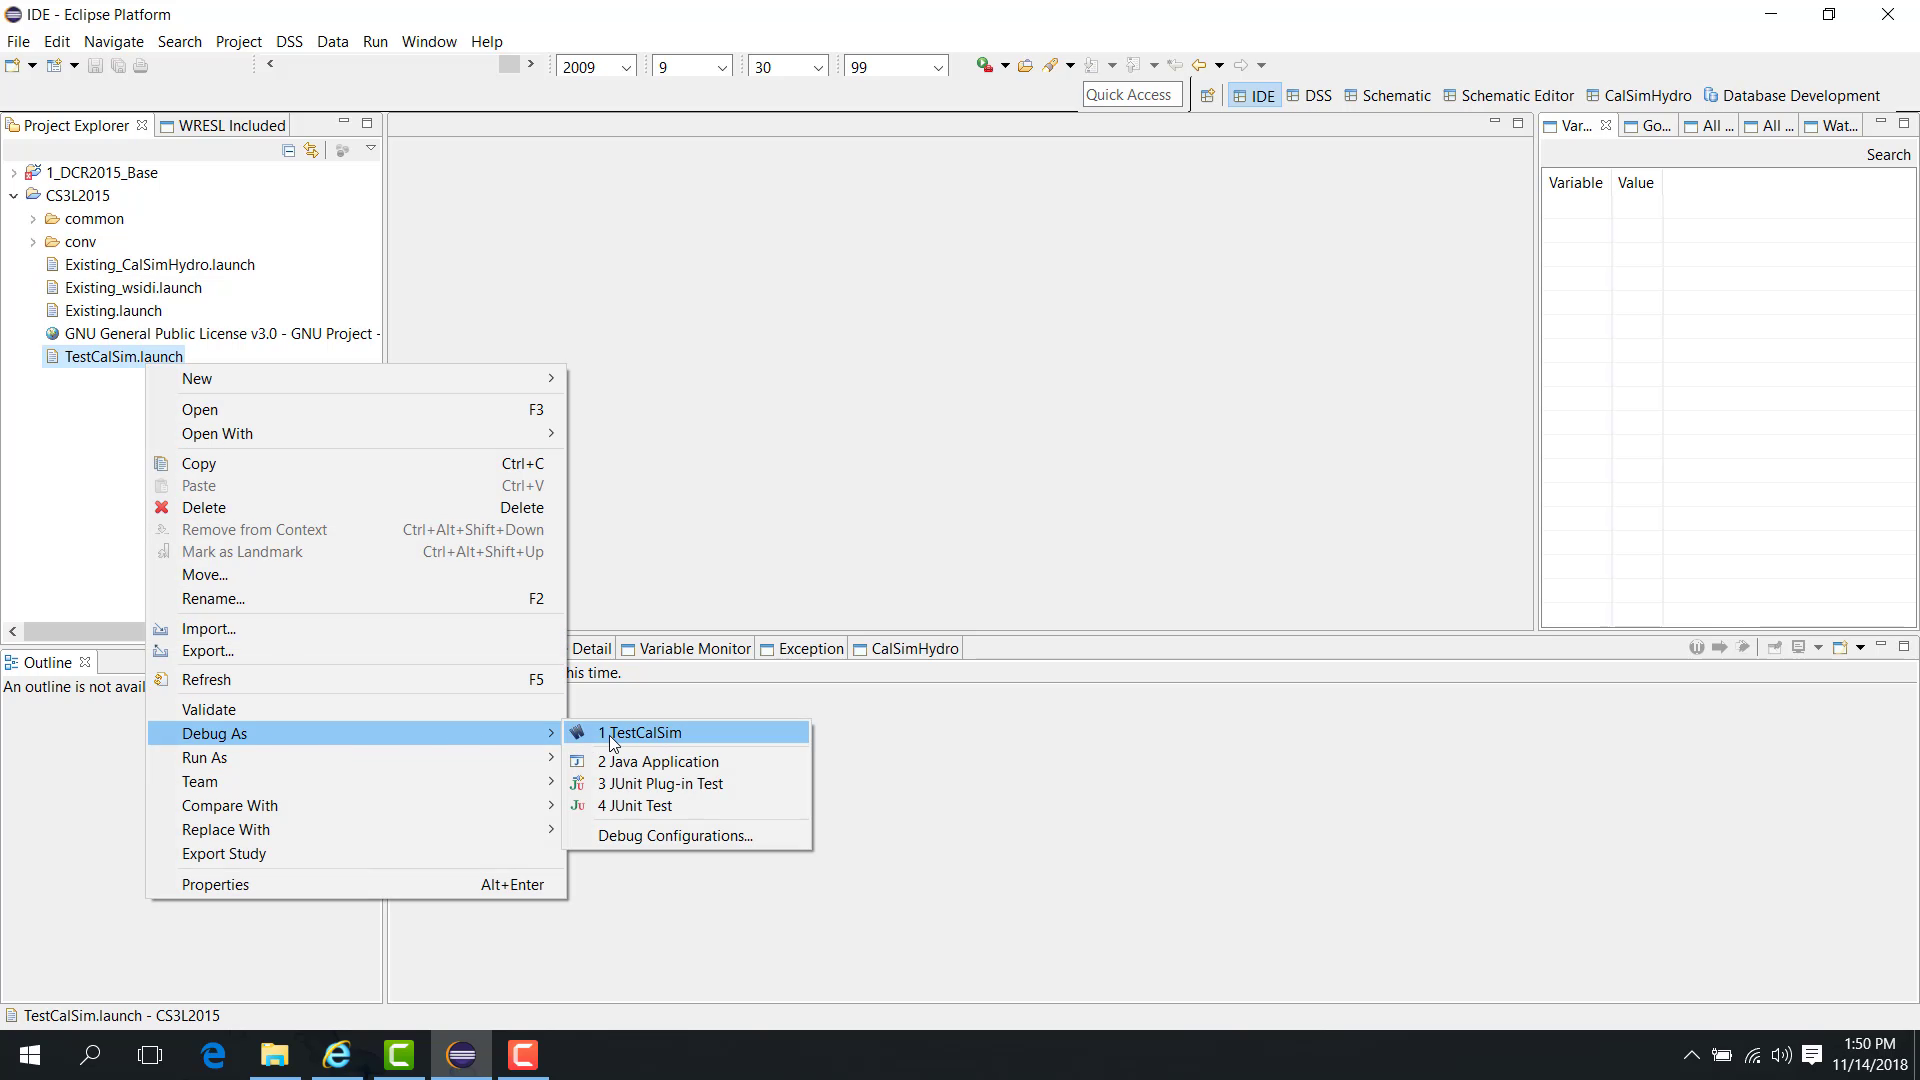
Run or debug the launch file
After the launch file is created, you can either:
click Run directly from the configuration window;
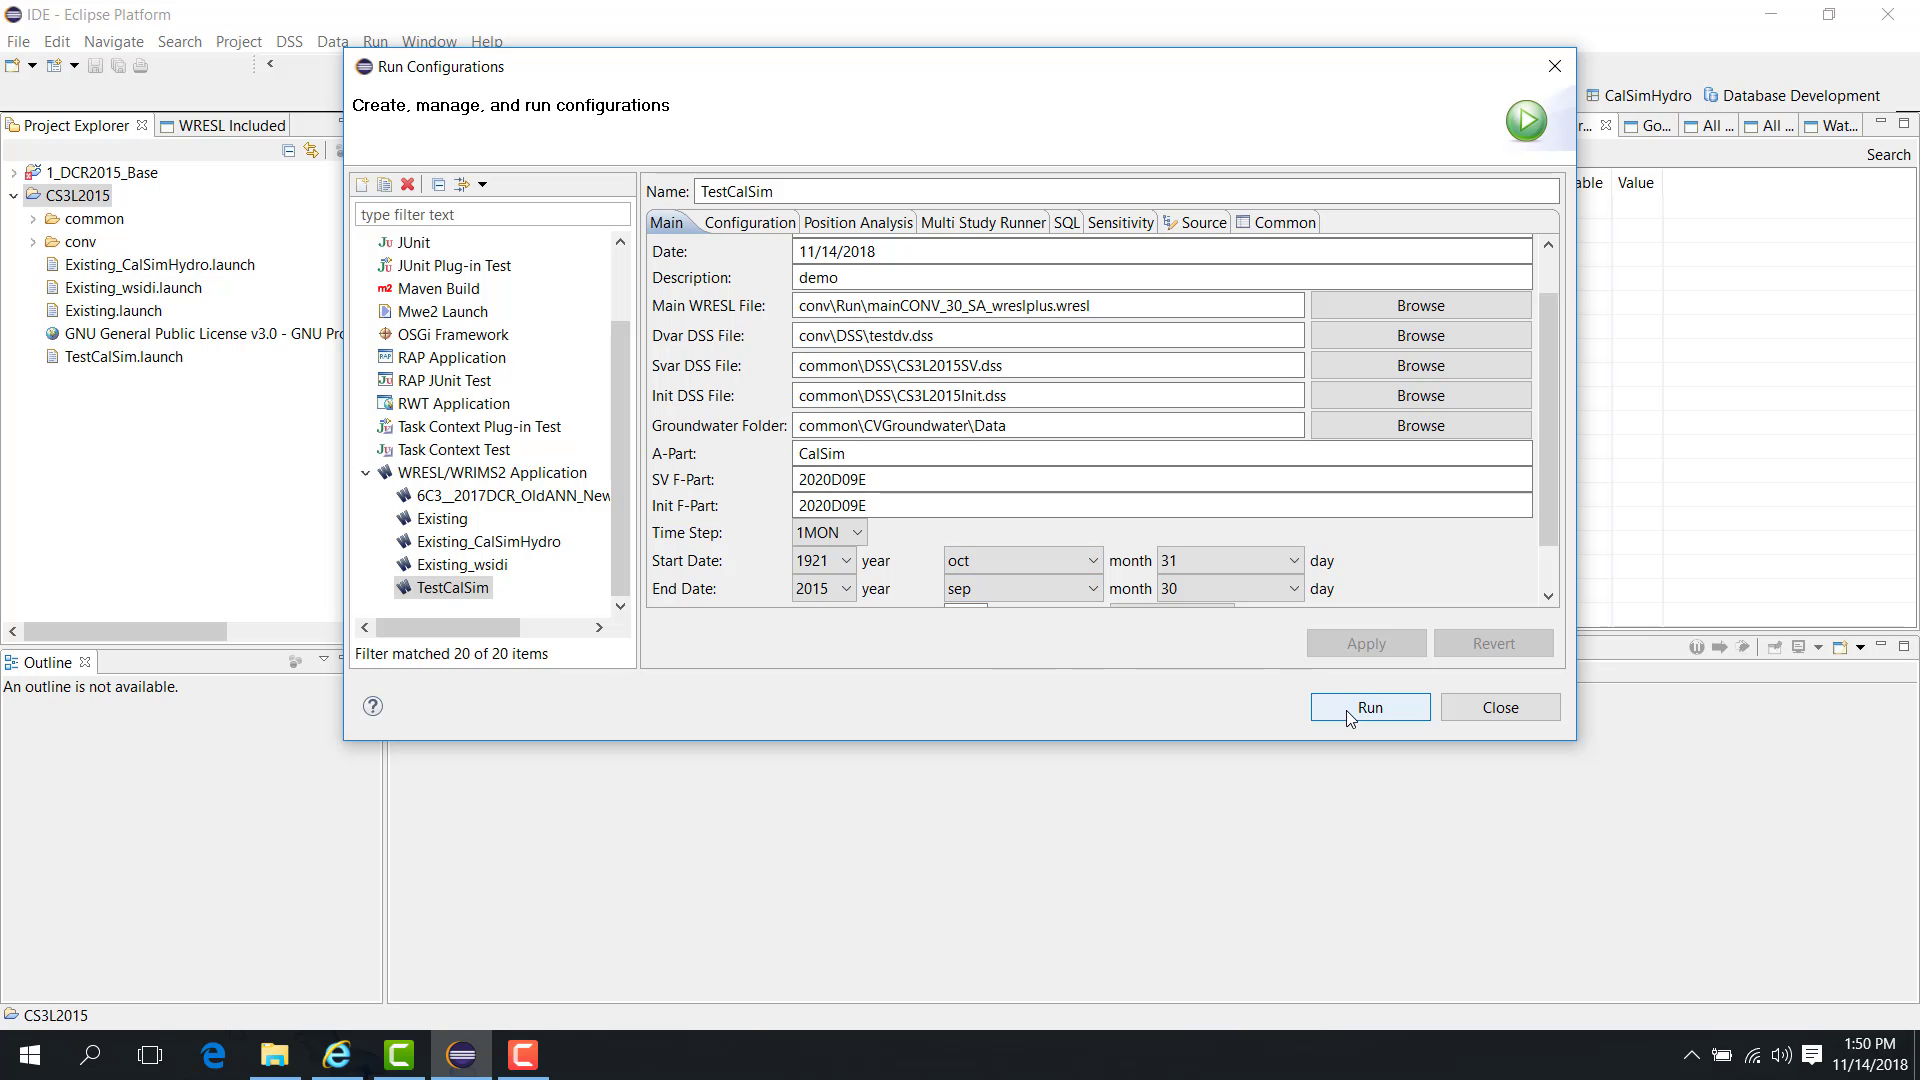
or close the configuration window, right-click the launch file, and choose Run As or Debug As.
Notes
Use Shared File so the launch file is stored with the study instead of the WRIMS package area.
Use relative paths whenever possible so the study is easier to move or share.
Run and Debug use the same launch configuration, but Debug allows pausing and inspection.
Related sections
1.5 Basic Modify Launch File
Purpose
This chapter explains how to create a new launch file by duplicating and modifying an existing one.
Before you start
The study already contains at least one working launch file.
You want a similar launch file with only a few fields changed.
Procedure
To create a new launch file from an existing one:
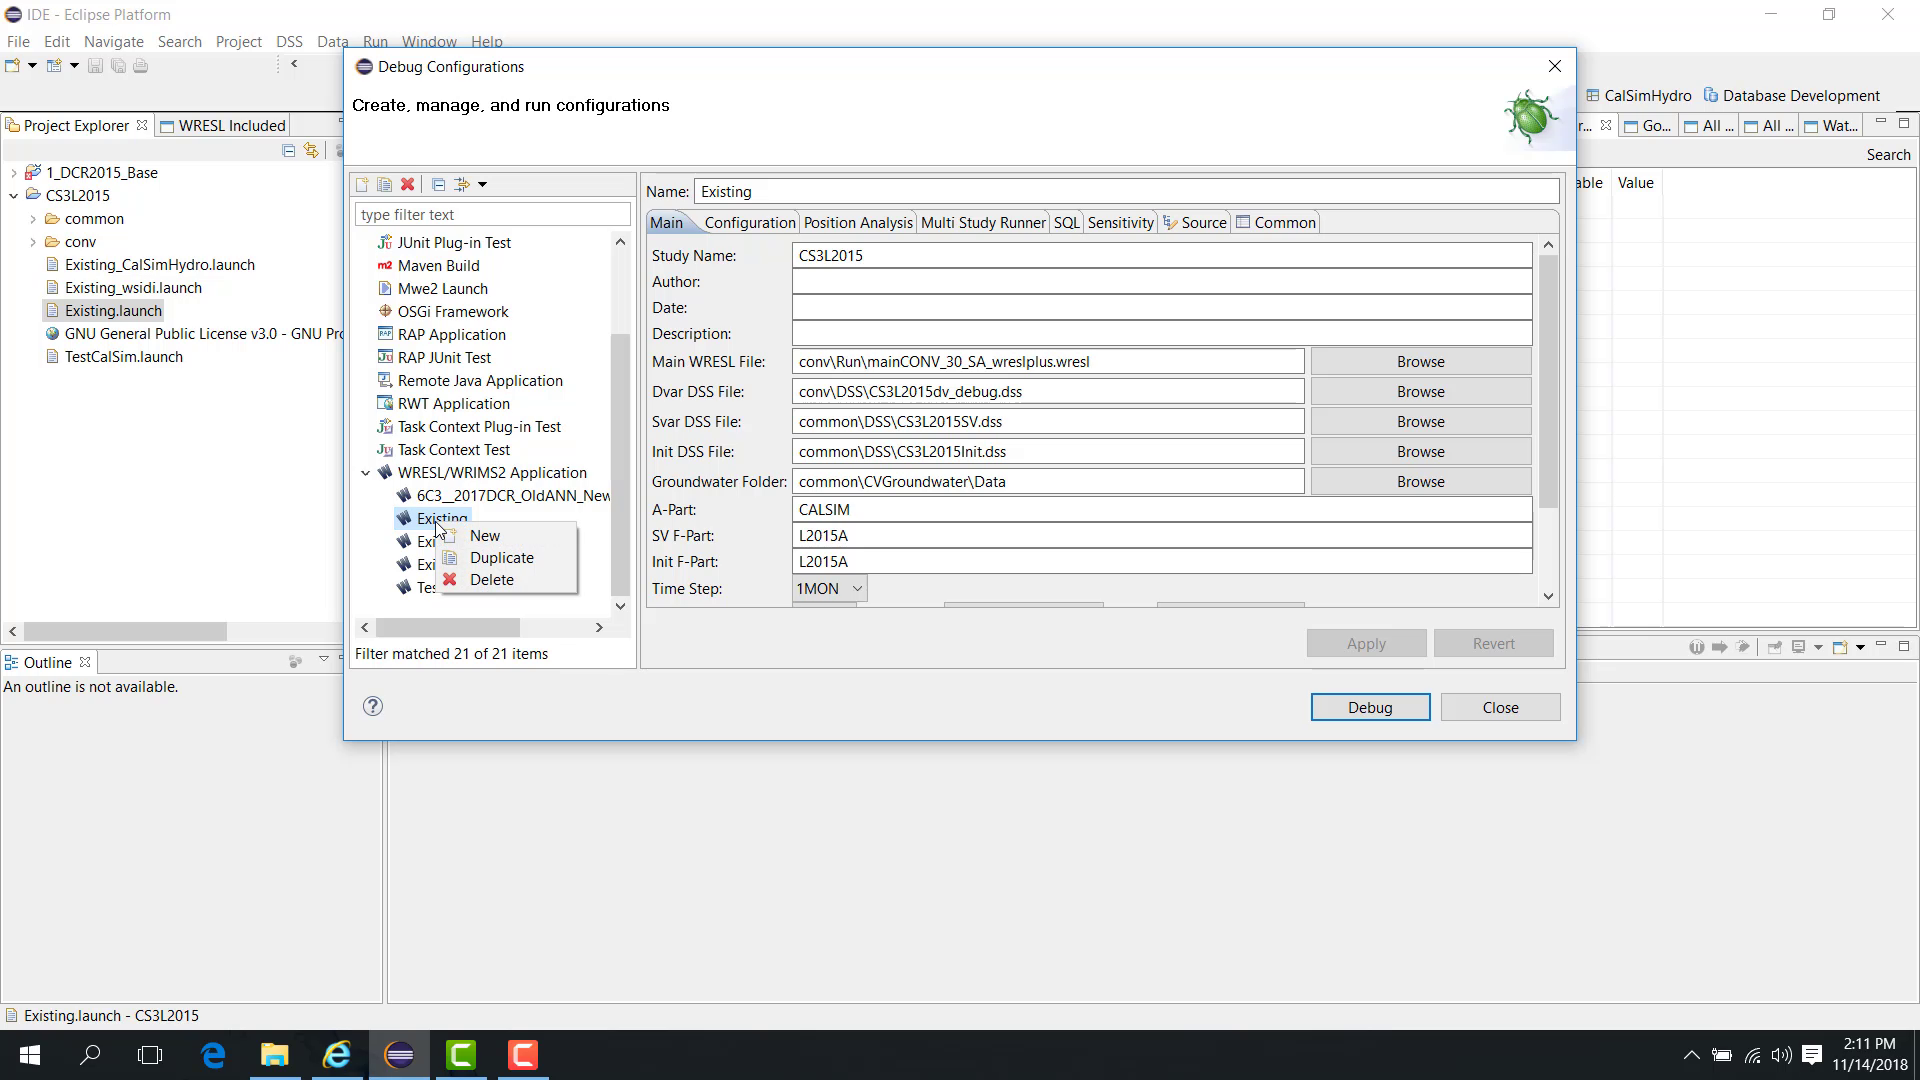
Open Debug Configuration.
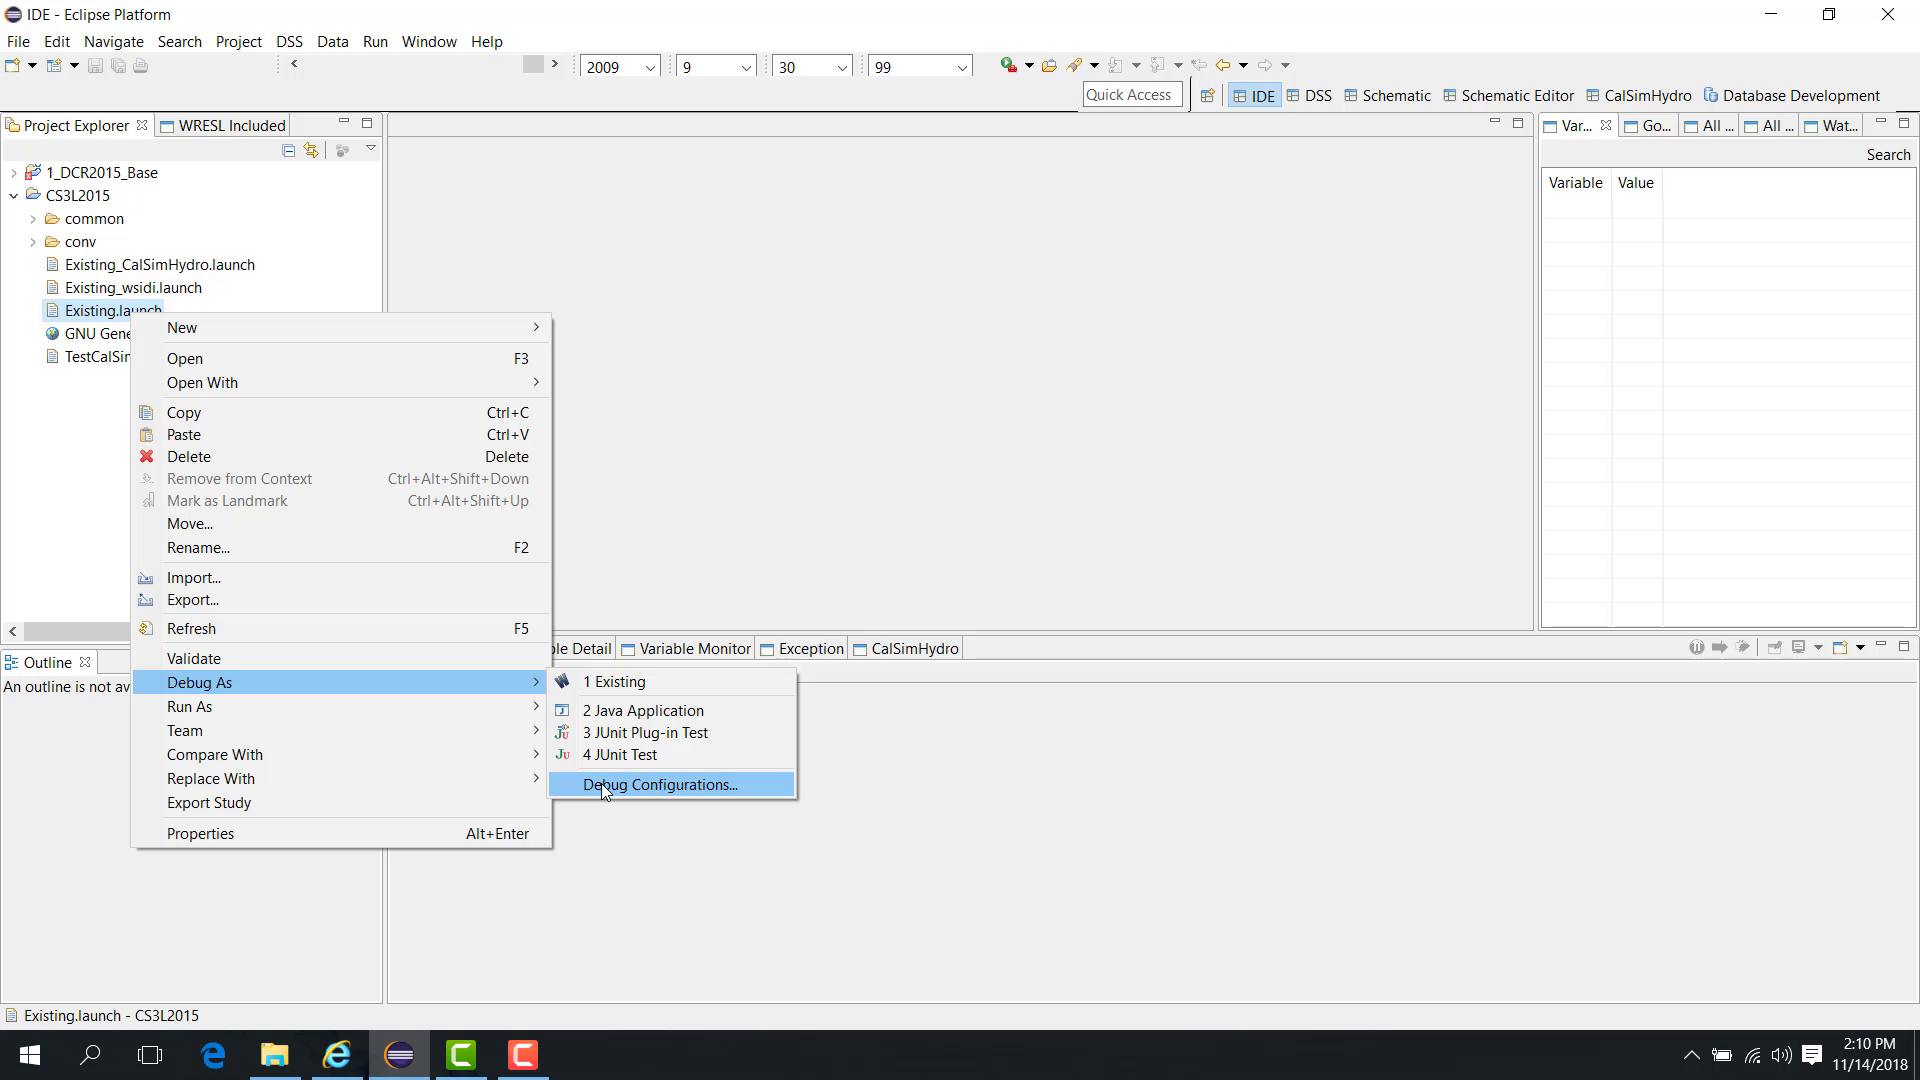
Under WRESL/WRIMS2 Application, locate the existing launch file.
Right-click the existing launch file.
Choose Duplicate.
Rename the duplicated launch file.
Click Apply.
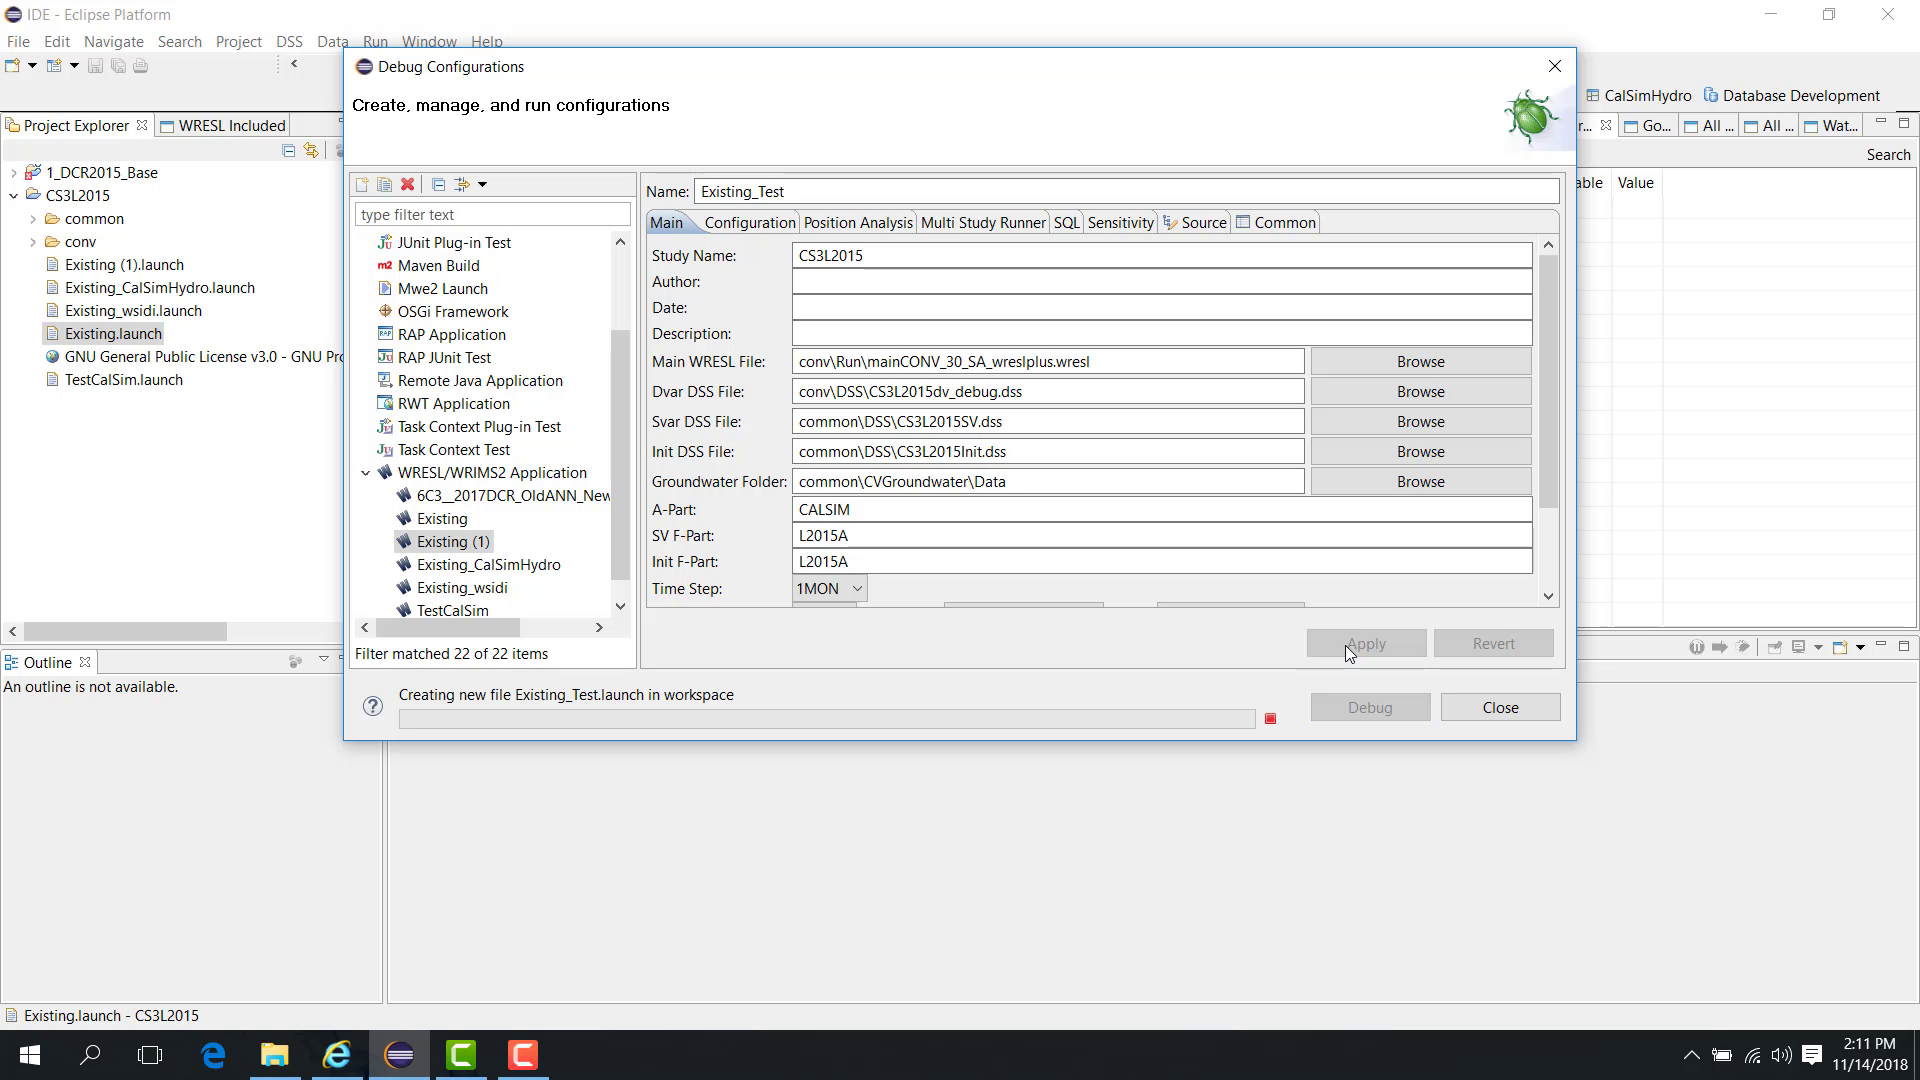
A new launch file is now available based on the existing configuration.
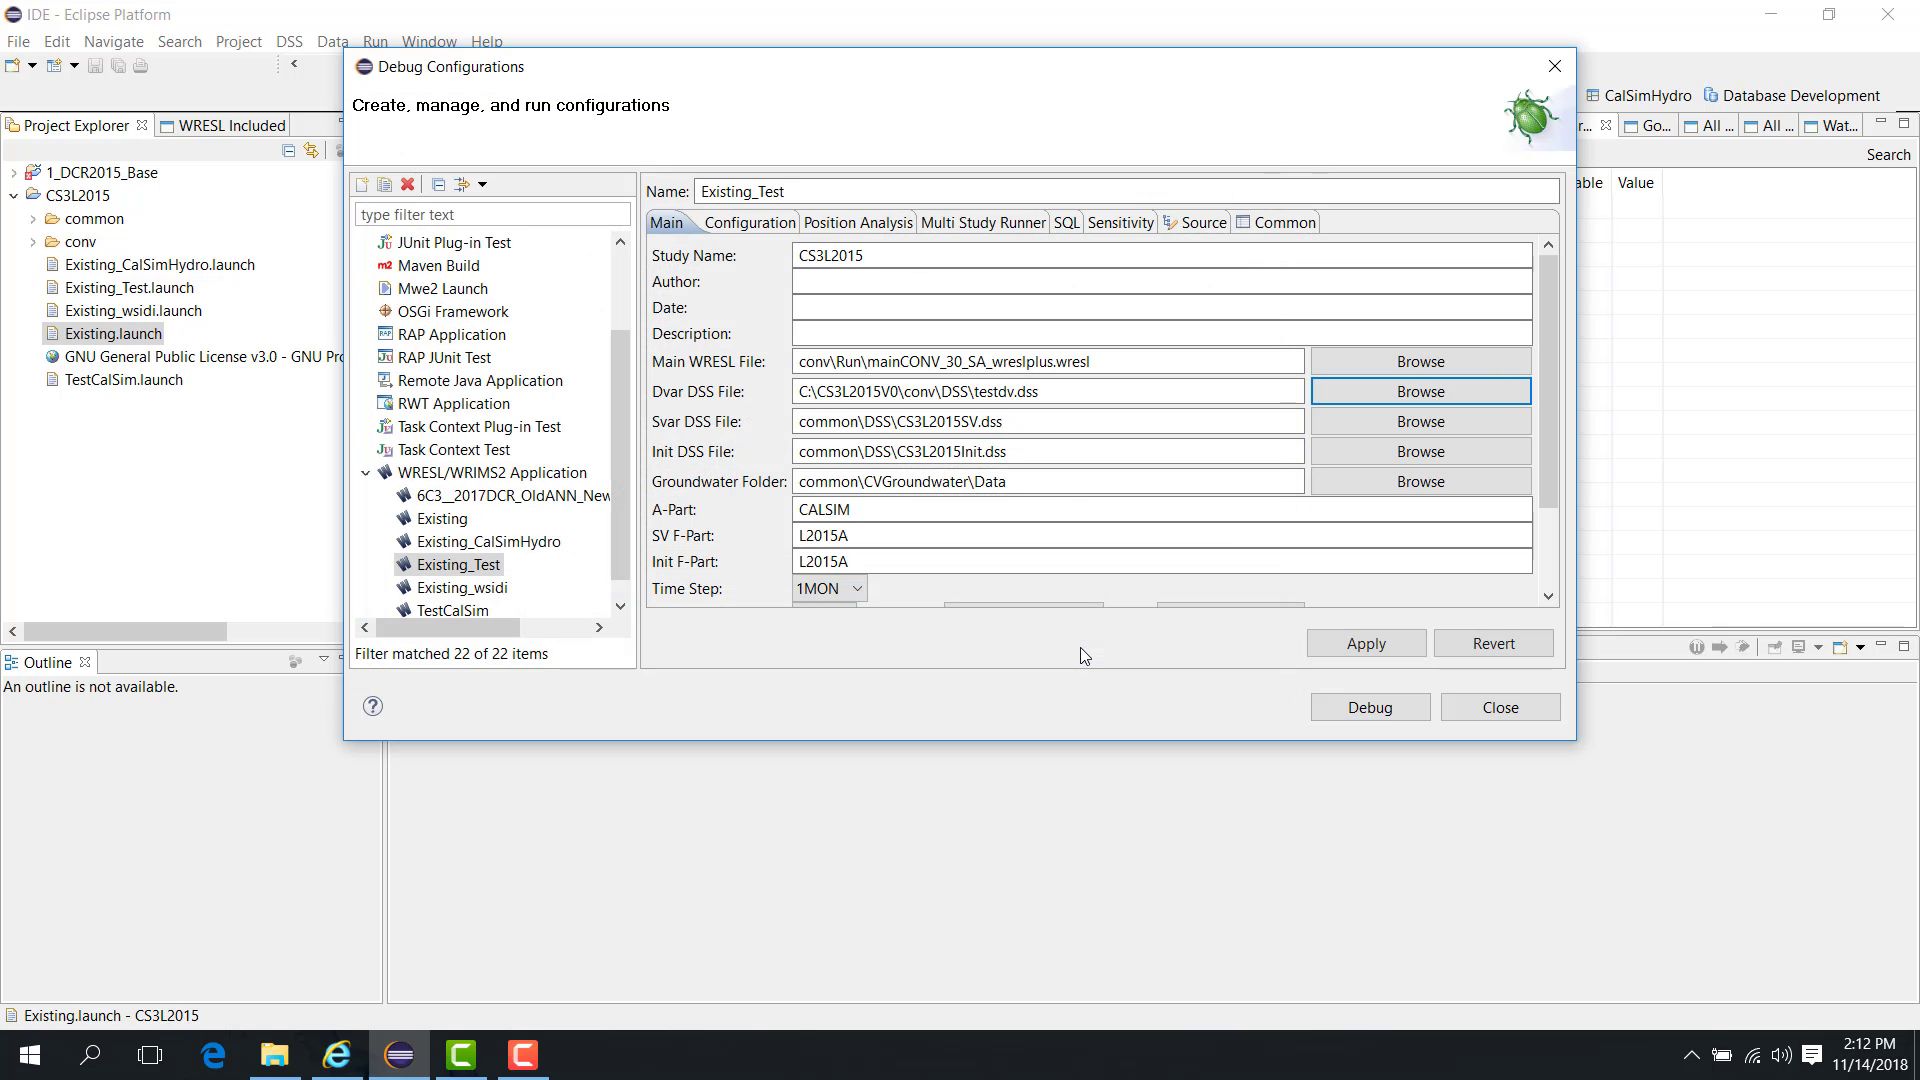
To update the decision-variable DSS file:
Browse to the decision-variable DSS file field.
Go to the study’s
run\DSSfolder.Select a DSS file, such as
testDV.dss.Click Open.
If the path appears as an absolute path, convert it to a relative path.
Replace the absolute path with a relative path.

Click Apply.
Notes
Duplicating an existing launch file reduces setup effort and lowers the chance of configuration errors.
After duplication, review file paths and convert absolute paths to relative paths if needed.
Related sections